
THE LITTLE PRINZ PART 13
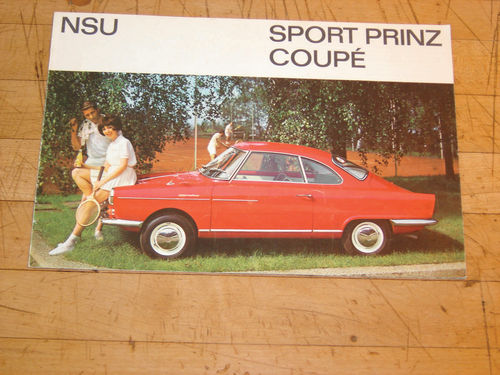
Re-Doing the Wiring On the 1959 NSU Sport Prinz Turns Into a Very Puzzling Project While a Baking Pan Provides Material for a Needed Trim Piece.
At the end of my last installment I had put a toe in the water to test the pros and cons of re-chroming. I submitted my rear bumper for a lengthy and expensive restoration while I looked at alternatives for other pieces that will need refreshing. In the meantime, I began sorting out the jumbled mess of a wiring system that was in the car when I got it.
A Riddle Wrapped in a Mystery Inside an Enigma
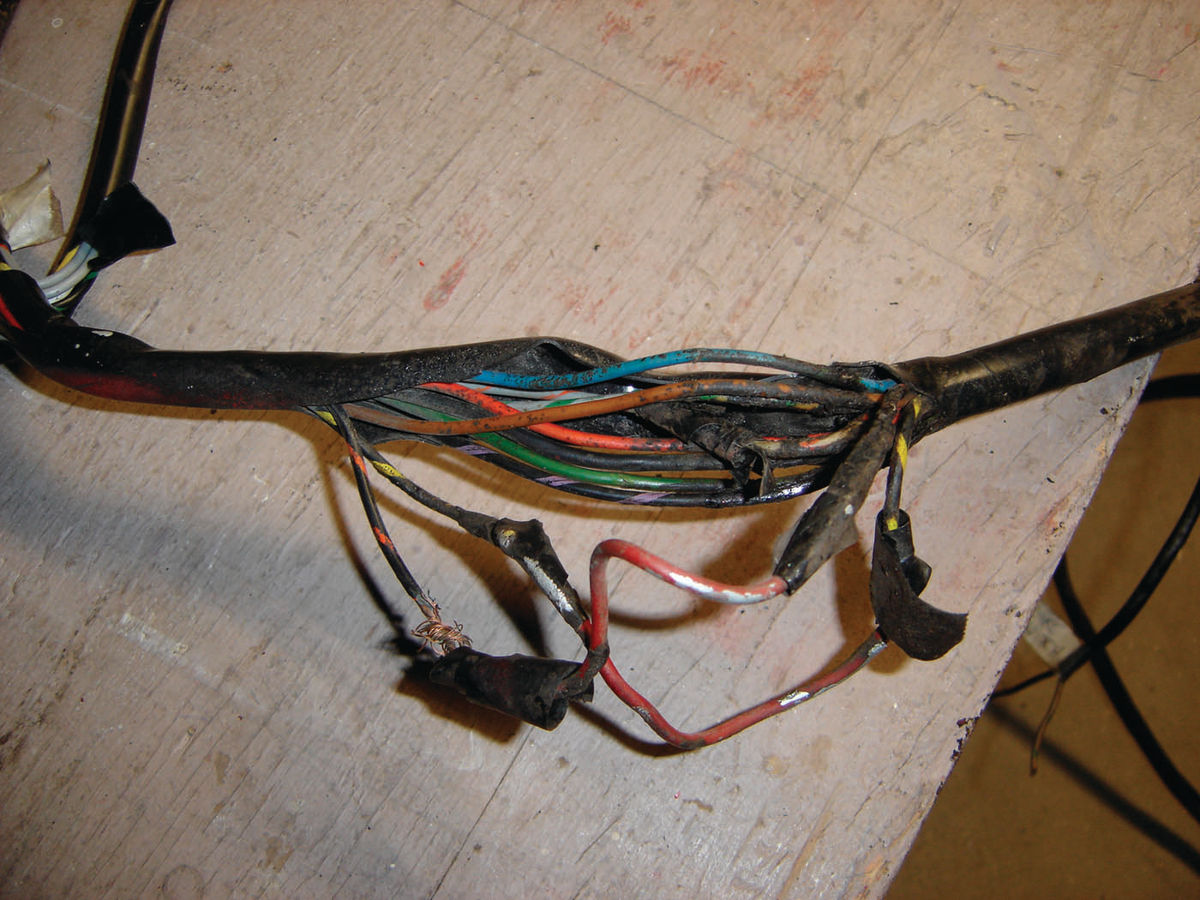
The above description was offered by Winston Churchill in 1939 when he was asked what role the Soviet Union might play in World War II. It also aptly describes my reaction to the wiring I found in my NSU, particularly under the dash. As I’ve said, I normally hate tinkering with car electrical systems. But I do love puzzles: crosswords, jigsaws, you name it. So I actually became intrigued by the car’s electricals and the challenge of seeing whether I could figure them out.
Recall that I had found an outfit in the U.K. that offered a full replacement wiring harness for the car. Upon further investigation, however, I decided to make one myself for several reasons. For one thing, the harness they provided was made to match one that came out of an actual car, rather than being built according to specifications. They acknowledged that they knew nothing about the car itself so could guarantee nothing more than the fact that it matched that harness. They did provide the serial number of the car so owners could judge whether it would be applicable to their year. But they couldn’t guarantee that it hadn’t been modified along the way and couldn’t provide any directions for installation, connection, etc.—they’d just provide the wiring to match.
Their harness also came from a car in the U.K. which meant it was a right-hand drive configuration. While the differences from a left-hand drive model might be slight, my friends in the Ireland NSU Club had cautioned me about problems with this. Lastly, while the cost of the harness was reasonable, that was quickly negated by the once-again exorbitant shipping charges which added a whopping 30% to the total! With that, my frugality overcame my fear and I elected to give it a go myself.
At least this time I had the advantage of a full electrical system schematic in my manual. Also, the keys to the wire colors and sizes, as well as the main components in the system, were in English for a change. There was one wrinkle in that there were actually two different schematics for my car. One was for a system using six fuses, the other for a system using eight. It did, however, show that the former was for lower-serial number cars, while the latter was for later years. Since mine is an early car and had a six-position fuse box, it was pretty clear which one should apply.
However, I came to find out that there were still differences with the original wiring layout in my car, apparently due to its early date of manufacture. This is another cautionary tale for other restorers of early models: one can’t always depend on the applicability of the generic info provided in the manuals. Things change as car production is ramped up and documentation finalized. The design gets tweaked, features get added or deleted and, as in my case, production sometimes shifts from one supplier to another or from external to in-house. All this introduces variation.
So, I decided a circuit-bycircuit, component-by-component comparison of my car’s system to the manual layout was needed. Given the condition of my car, and the fact that I admit to being electrically challenged, this took some time. But I actually enjoyed it. It really was just a big puzzle and once I got on a roll I was able to sort things out. I had to get used to the sometimespeculiar nomenclature that resulted from translations, such as the use of the word “distributor” for “terminal block,” but I got there.
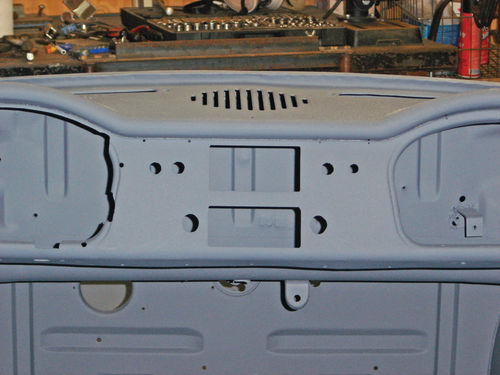
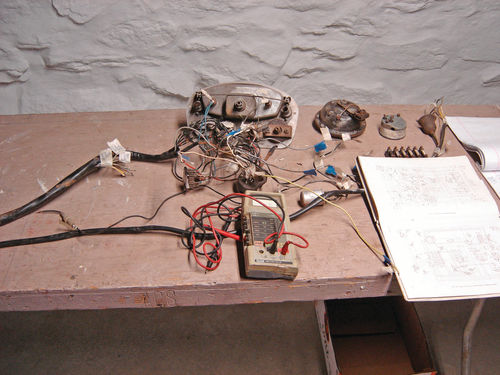
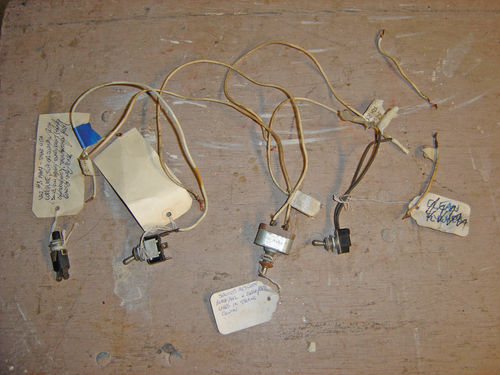
One thing was obvious: most of the confusion under the dash was caused by some previous owner(s) having spliced in switches to replace failed original components, including things like the horn. They had even gone so far as to drill holes in the dash to mount these makeshift toggles, push buttons, etc. Reaching over to press a button on the dash to activate the horn is not only unoriginal and impractical, but dangerous. So I’ll have to correct the failed components, not to mention plugging up the holes in the dash.
Once these jury-rigged elements were eliminated and the wiring corrected back to its original layout, the comparison with the schematic in the manual showed very few differences and those were logical and explainable. I was also surprised that many of the original wires were in better shape than I originally thought, at least those that hadn’t been cut/ spliced. I would need to decide whether to make the new harness match the old layout or change things slightly to make it consistent with the documentation. That would aid in any future problem determination. But even before that decision, I had to deal with an unexpected issue: finding the right wires to do the job.
Size—& Color Schemes—Matter
As many readers may already be aware, the U.S. uses the standard American Wire Gauge (AWG) system for describing the size of wire. Different standard gauges (14, 16, 18, etc.—the larger the number, the smaller the wire) are used to describe wires with a conductor (usually copper) of a specific cross-sectional area expressed in square inches. In Europe, however, at least at the time of my car’s manufacture, they used a different system whereby the wire size was described by the crosssectional area in square millimeters. These, too, were available in standard increments (0.75, 1.0, 1.5, etc.). No problem, right? Just convert the square millimeters to square inches to match the old metric wire to a contemporary AWG gauge. The problem is that the standard metric increments don’t match up exactly to the AWG sizes available. So one has to find the closest AWG gauge that is AT LEAST as big as the metric size, or a bit bigger if necessary, but not smaller. Going smaller might lead to excessive resistance, potentially resulting in failure and even fire.
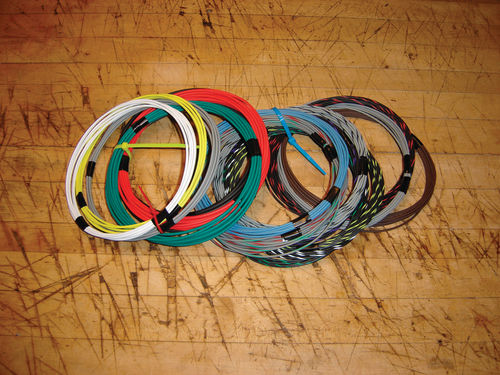
But the issues don’t end there. Once you determine the correct AWG wire size to use in each circuit, you also have to match the color schemes if you’re trying to stay true to the schematics and specs. These cover a wide range of solids and stripes. The total for my car between various wire sizes and color combinations came out to 18 different variants. With that sorted out, now the problem became one of finding a vendor who could supply all these wires in the relatively short lengths required.
Not surprisingly, most wire suppliers are looking to sell by the spool, not in little dribs and drabs like this. But buying 18 full spools of wire would have been cost-prohibitive. In the end I did find an on-line vendor at 4rcustomswire.com that is oriented toward small-quantity needs andoffers a wide variety of wiring options. There may be others out there, but these folks were very accommodating, responsive and reasonably priced. Still, all the variants added up to a fair amount of money. But I reasoned that, even after adding costs for additional purchases of connectors, wrap for the harness, etc. I’d still be coming out way ahead of what that harness from the UK would have cost me. Plus I’d have the satisfaction of doing it myself.

New Wire Provides a New Twist
Yet when the new wiring arrived, I was in for a surprise. While all the colors and lengths were right, it was clearly a smaller gauge than what was in the car. At first I thought the vendor must have made a mistake until I verified the gauges were the sizes I ordered. Now I was puzzled. So I went back to confirm my conversions from the metric sizes specified in the schematic to the AWG sizes I had just bought. Again, they checked out. This could only mean that the wiring in my car was larger than that specified in the manual. Sure enough, a check verified it was a thicker gauge. I had made the very mistake I cautioned about earlier of assuming my car matched the specifications in the manual. I had wasted time and money securing a whole pile of wiring to make up a new harness that would be too small and, therefore, unusable. Or was it?
Either my original wiring or the original specifications were wrong. Given the reputation of German engineering, it seemed unlikely the error resided in the documentation. But it seemed equally unlikely that oversized wiring would have been used in the construction of my car for no reason. My first thought was to verify whether the smaller-sized wires would even be electrically sound for carrying the currents needed. A check of various charts showed they were. All of the circuits run through 8-amp fuses and even the smallest wires, given the lengths involved, should be more than adequate.
This made the question of why the larger wiring had been used in my car even more vexing. I know it was original to the car. While a lot of cutting and splicing had been done under the dash, the main harness going front-to-back definitely seemed original, with its sheathing intact and pretty dried out with age. So, once again, I put out an S.O.S. for guidance from my friends in the Ireland NSU Club. One of the members is very wellversed on all aspects of these cars, including the electrical systems. He runs a repair shop and owns a Sport Prinz himself. He checked his car and verified that his wiring was consistent with the smaller size specified in the manual and that it’s more than able to handle the electrical loads. He suggested this may be a case like those he’s run into with early versions of other cars, especially when built by outside suppliers: sometimes a factory just used what it had on-hand, even if it exceeded what was necessary.
This definitely gave me a higher comfort level, though I’m still not sure which way to go at this point. Just so I sleep easier at night, I may opt to stay with the original larger-size wiring, just ordering new ones to replace any that are damaged. Either way, I hope to wire everything up and test it ahead of installation in the car. Having the car’s whole “central nervous system” laid out on the bench and powered up will allow me to both verify its safe function and troubleshoot any items that don’t work. It will be a heck of a lot easier than resolving problems after it’s installed.
Going for Some Trimmings
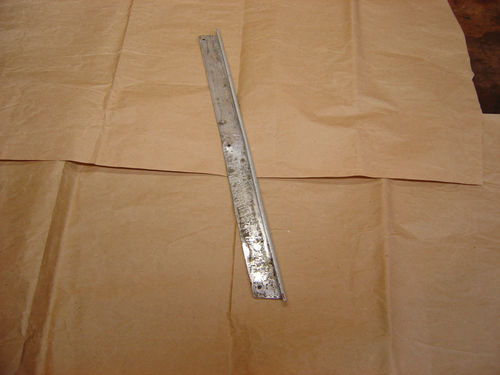
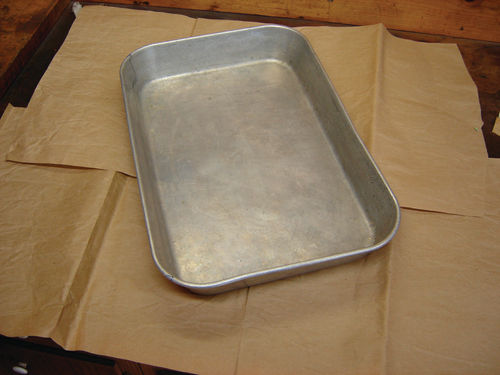
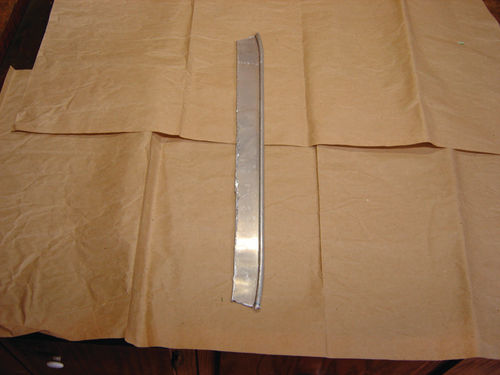
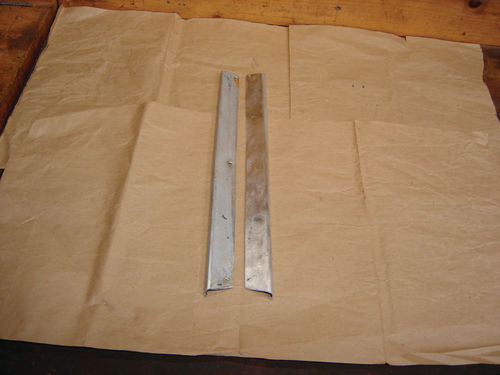
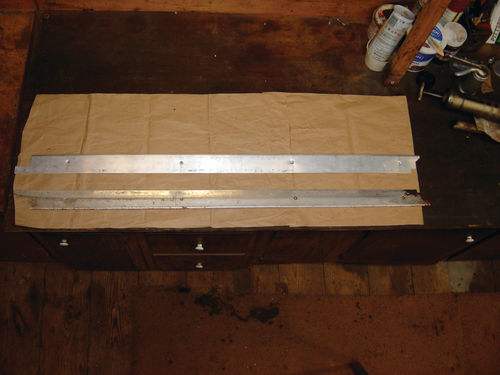
In the meantime, I decided to try making a couple of the missing pieces of body trim that I’m having a hard time locating. I’ll still look for originals, but this would at least give me some initial placeholders. One is used on the A-pillar where the door glass meets and the other covers the door sill. Since they’re aluminum and pretty flat, simple configurations, I was able to fashion reasonable facsimiles with the tools I have. Finding pieces of suitable material was a bit challenging. Ultimately, one was cut from an old baking pan, the other from a damaged piece of stock bought on discount from a home center. They came out pretty good and gave me the same satisfaction as filling in pieces on a jigsaw puzzle. And, as I said, I love puzzles.


