THE LITTLE PRINZ PART 15
Making Some Rubber Components For the 1959 NSU Sport Prinz Coupe Has Proved to Be a Real Challenge. But Fabricating New Pedal Bushings Worked Out Well.
In continuing to assemble and test all the electrical components on the little car, I discovered more repairs that needed to be made. I also had to figure out where I was going to get the various rubber gaskets needed to mount some of these items, such as some of the lights.
Surprise Repairs Needed For Supposedly “Good” Used Parts
When initially deciding whether the NSU restoration was do-able, I looked around to see if some of the missing pieces could even be found.
As I came across some of the rarer parts, such as tail lights, I figured I’d better grab them while I had the chance. When they arrived, I gave them a quick onceover and put them away for later. Now, when digging them out to test them as part of the car’s electrical system, I realized I should have taken a closer look at the time.
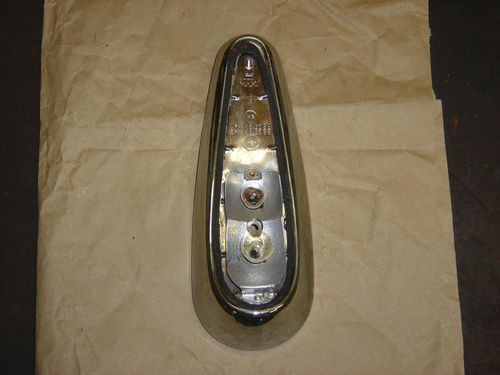
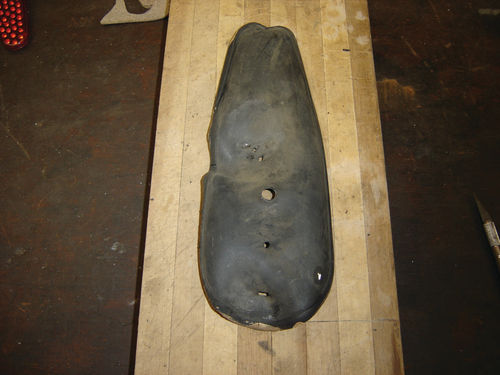
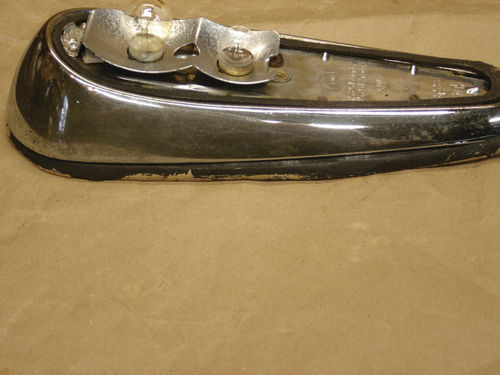
While the tail lights were outwardly intact, opening them up revealed that several of the tabs that make contact with the bulbs were missing. Also, the thin rubber gaskets that seal the lenses to the chrome housing had disintegrated. The lenses themselves were solid, but badly scratched and faded. Finally, the large, flat rubber gaskets that go behind the assemblies when mounted to the car were missing. Actually, there was one, but it was cracked, dried-out and deformed. Lesson learned: immediately and thoroughly check out any parts you buy.
I came up with fixes for the broken electrical contacts and polished most of the scratches and haze out of the lenses. But those rubber gaskets presented a real problem. They are no longer available and just using some sealer in their place would likely make a mess and look terrible. Finding replacements for deteriorated rubber components often presents a real challenge in any restoration. This is certainly the case with my car. Some of the window and door seals are available, but items like tail light seals are not. So I had to find a way to make my own.
Many Choices Beyond Traditional “Rubber”
Some of the rubber gaskets I need can be cut from simple, flat sheets. I’m confident I can scrounge around for suitable material for those. Others, however, are more complex shapes, so they’ll have to be molded in some way.
But before getting into the mechanics of doing that, I first had to consider what types of moldable rubber-type products would be available for the job. The products include actual latex rubbers, silicones, urethanes and others. And within those categories, there are different types, varying in flexibility, hardness and resistance to the elements. Many of the products are available in two- or threepart mixable, pourable configurations for use in molds. But I found most were only sold in gallon quantities and were expensive. They also required the use of equally-expensive release agents to free the parts from the mold. This was getting complicated.
So I decided to start with the simpler seals that go between the tail light lens and the chrome housing. These are basic and flat, but need to be thin and very narrow. They lie between the edge of the housing and a series of small inner dimples that limit their width to about 1/8 inch—just enough to cushion the edge of the lens, but tough to cut cleanly out of stretchy rubber. However, I found I could carefully cut them out of cork gasket material with an X-ACTO knife. To make them blend in and provide a better seal, I coated them with a thin layer of sprayon rubber undercoating. They came out pretty good; I’ll find out how they work when it comes to re-assembly.
The large rubber gaskets between the chrome housing and the body were another matter, mainly because they are not just flat sheets. They have a raised
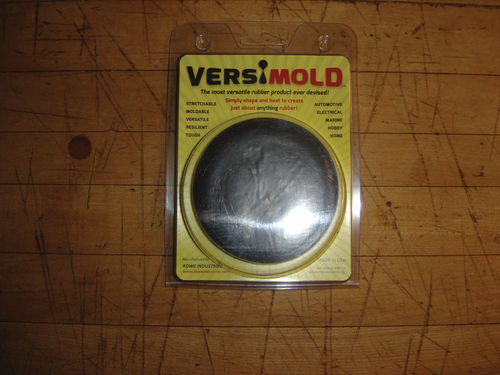
edge around the perimeter that tapers in to hug the tail light housing. These needed to be molded, but I wondered how I was going to create a mold when I didn’t have an intact original to work with. I thought perhaps there might be a material I could mold right around the housing. That’s when I discovered a product called “Versimold.” The manufacturer claimed it was a moldable rubber that could be fashioned into virtually any shape and then cured simply by heating with a heat gun or hair dryer. It was reasonably priced (about $20 for a hockey puck-size lump), so I thought I’d give it a try.
Some Failed Attempts at Seals
As advertised, the product was pretty pliable, yet when I tried using a kitchen roller to spread it out on a cookie sheet, as suggested, it wouldn’t go thin enough. What’s more, if a shape was rolled and formed on the cookie sheet and removed for any reason before curing, it would bounce back somewhat, altering its shape. Also, the manufacturer claimed that any unused portion trimmed off could simply be kneaded back into the rest, like clay or putty, for future use. However, I found that when doing so the pieces didn’t totally knead together as a whole; seams remained that wouldn’t go away. This clearly wasn’t going to work for these thin tail light seals, but I figured I’d try it on another application. More on that later.
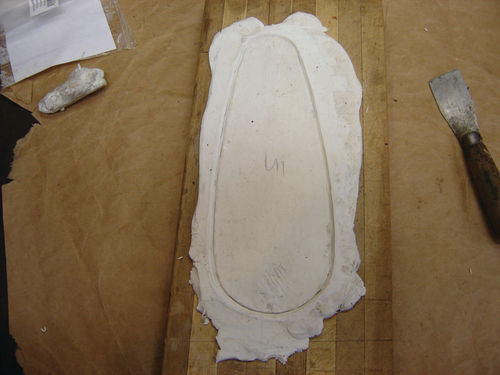
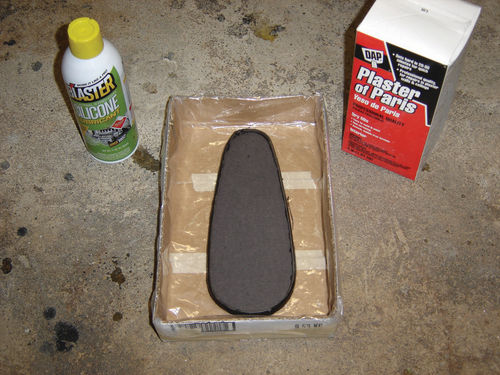
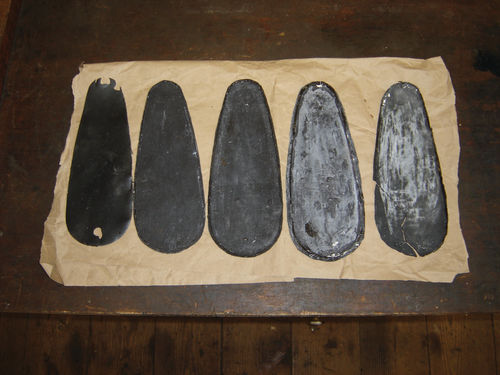
It was clear I was going to have to make some form of mold and find a suitable material to pour into it. I tried sculpting an impression of the gasket into modeling clay and filling it with silicone and later a liquid rubber product called “FlexiSeal.” But the raised edges came out very ragged. I needed a better mold. So I made a mock-up of the gasket and covered it with plaster-of-Paris. This mold seemed to come out pretty good. But, even after sealing it, attempts to use various substances—from Flexi-Seal to silicone to polyurethane—all failed. The materials either didn’t cure all the way through or didn’t release from the mold cleanly. So I may have to bite the bullet and purchase proper casting rubber and release agents; hopefully in smaller quantities. I’ll report on progress in a later installment.
Versimold Was Useful for Making Thicker Parts
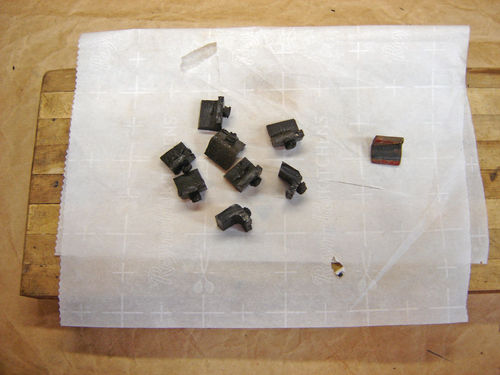
I also needed to make some thicker rubber parts, such as the small L-shaped bumpers that sit in the channel where the engine deck lid closes. I thought the Versimold might work for these applications.
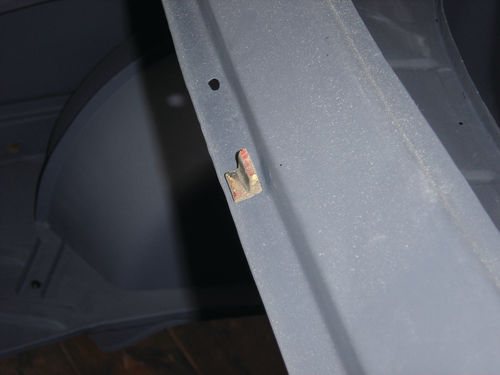
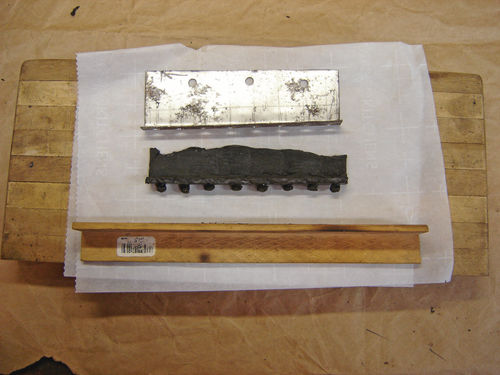
I had a couple of old bumpers to go by, but they were dried out and missing the mushroom-topped “stems” that would normally stick out from their bottoms to protrude through holes in the channel for mounting. To form the shape with these integral mounting stems, I bent a narrow strip of sheet metal into a right angle lengthwise and punched appropriatesized holes down one side of it. I pressed the Versimold into it to the right thickness with a mating piece, ensuring that a fair amount oozed out through the holes. I mushroomed out that excess and then cured the whole thing with a hair dryer. I separated the cured rubber from the makeshift mold, carefully pushing those mushroom stems back through the holes without breaking them. I then cut the piece into the required eight sections. This seemed to work pretty well. The bumpers’ shape looks right and the stems hold them in place. The rubber is a bit soft, but I think they’ll work.
Making Pedal Bushings From Available Materials
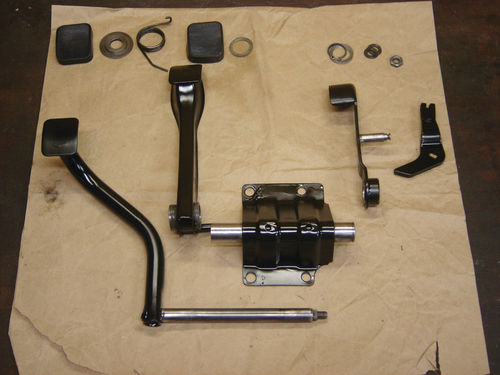
While I pondered next steps on the rubber gaskets, I decided to tackle a re-build of my pedal assembly. The arrangement here is pretty typical, with the three pedals mounted to a central support with a shaft running between them. As with everything else on the car, the pedals were crusty and could only be rotated with force, so they had to come apart to at least be cleaned, painted and re-greased.
However, disassembly revealed that the bushings the pedals rode on were in poor shape. In fact, I couldn’t even tell what they were made of. There was a lot of rust, so they didn’t appear to be the normal plastic, nylon or even bronze. Yet, they were soft and I was able to scrape them out with an X-ACTO knife. They almost seemed like they may have been cork.
Regardless, once again replacements weren’t available so I’d have to make my own. I thought nylon would be the best bet, so I checked my local big-box home centers and found nylon spacers in dimensions large enough to cut down to the two sizes I needed. The only hitch was that none were long enough, so I’d have to put several sideby-side to get the length required. The most pressing issue was how to turn them down to size. The obvious choice would be to use a lathe, but I don’t have one.
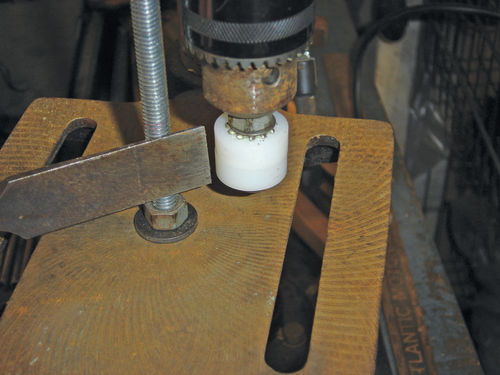
However I’d seen suggestions as to how to use a drill press as a sort of “vertical lathe,” so I gave it a try. I mounted the pieces on a bolt that fit tightly through their inner diameter. I snugged it up with a nut and star washers at either end to try to keep the nylon spacers from turning on the bolt. I then mounted the bolt in the chuck of my drill press with another tall bolt coming up from the drill press base alongside the chuck. This would serve as a rest for a sharp chisel. The rig worked pretty well, though the tough nylon made for surprisingly slow going. So I looked for a faster alternative and found it in my bench grinder.
I took the wire wheel off one side of the grinder and slide the nylon spacers on the mandrel, again snugging them together with a nut and washers. This proved much more effective. The higher speed made for much faster cutting, though I have to advise anyone trying this to take sensible safety precautions: use eye protection and gloves, don’t get any loose clothing or ties near the grinder and hold the chisel or other cutting tool down at the bottom of the rotating parts, with the direction of rotation aimed away from you. Several close calls have taught me to have a healthy respect for rotating machinery.
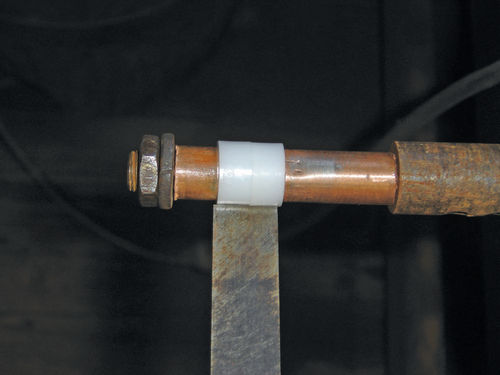
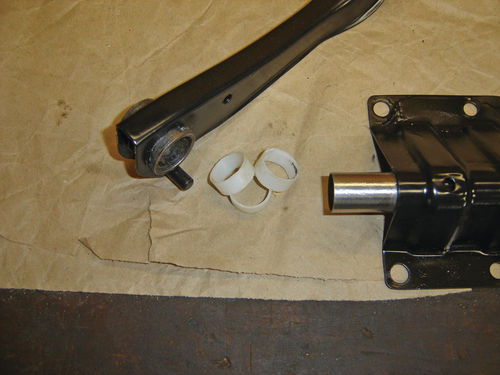
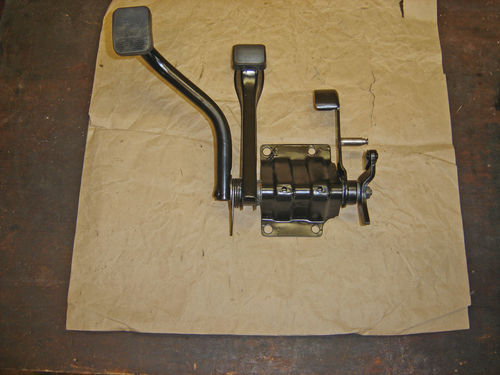
After getting the spacers to the proper outer diameter, I hollowed out the inner diameter using conventional drilling, with one exception: since the final piece would have a very thin wall, I secured a hose clamp around the outside before drilling. This helped to ensure the piece didn’t break apart, while also giving me a collar to clamp the piece down and hold it in place on the drill press. Since I was making these to fit metric dimensions and didn’t have metric drill bits of the size needed, I got them as close as possible with standard bits, then enlarged them slightly using a Dremel tool—crude, but effective.
While it seemed silly doing all this work for what would normally be a cheap plastic part, I had no alternative and, in the end, the bushings worked. The pedal assembly went back together nicely, with no play and easy rotation. So that’s one more item for the “done” shelf in my barn. The “to-do” shelf is starting to show some space, which I’m sure I’ll fill up with my next project at some point. But, my first priority is finishing the little NSU.
Ready for Some Body Progress
As nicer weather returns, I’ll be back into the body work. It’ll be a real turning point when I have a complete, primed and painted shell in front of me. Then I can relive a bit of my childhood as I start to assemble this “model kit.”
That’s always the best part: when you go from tear-down to build-up and an actual car starts to emerge from the parts bin.


