How -to The (Ongoing) Tale of Three MG Ts, Pt. 4
Red Needs Shocks & Springs; Yellow Has Electrical Woes, and Blue’s Disassembly Leads to a Twisted Frame.
EDITOR’S NOTE: THIS is the fourth installment tracing different approaches to the restoration of a T Series MG. A red 1952 MG TD is getting a stock frame-up restoration, a yellow 1954 MG TF is undergoing a“rolling restoration” and a blue-and-white 1950 MG TD“parts car”is on its way to becoming a “hot rod.” At the end of the series we’ll compare the cost and fun factors of each of the three projects.
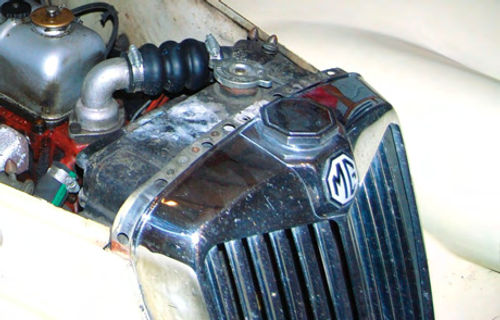
The Red MG Has Inconsistent Progress
The body repairs on the red MG are not moving along as quickly as planned. Instead of a coat of nice new red paint, the bodywork so far has consisted of repairing a section of the wood body framing, re-hanging a few pieces of sheet metal and applying primer to a few parts.
In comparison to the slow going on the car’s cosmetics, progress has been made on getting the car ready for reassembly. The frame was powder coated, the lever-action shocks were rebuilt and the rear leaf springs were cleaned, painted and re-assembled. (Powder coating is applied electro-statically as a free-flowing, dry powder and then baked at 450 degrees. This allows it to flow out and form a hard finish that is more durable than conventional paint.)
Some powder coating shops can only handle small automotive parts, but we are lucky to have Statewide Custom Powder Coating (statewide coating.com) in New London, Wisconsin, near our shop, Gunner’s Great Garage. They have a 20-ft. curing oven and Statewide also can media blast many parts before it powder coats them. The MG frame cost about $150 to media blast and $700 for the powder coating.
We had mentioned Worldwide Auto Parts (nosimport.com) when we shipped the MG’s front and rear lever-action shocks to this Madison, Wisconsin, company to have them remanufactured (with a lifetime warranty). When owner Peter Caldwell called a few weeks later to say they were done, we arranged to stop there to pick up our shocks.
A quick tour of the 10,000 sq. ft. facility was impressive. Worldwide rebuilds 5000 lever shocks a year and most of them go into British sports cars. How- ever, Peter pointed out that Austin- Healey Sprite shocks have been found to work in hot rods, so this has been a growing market niche for him. While most of the building is devoted to shock cores, parts, machinery and rebuilt shocks, Peter also sells NOS (New Old Stock) and NORS (New Old Replacement Stock) parts for early model imports.
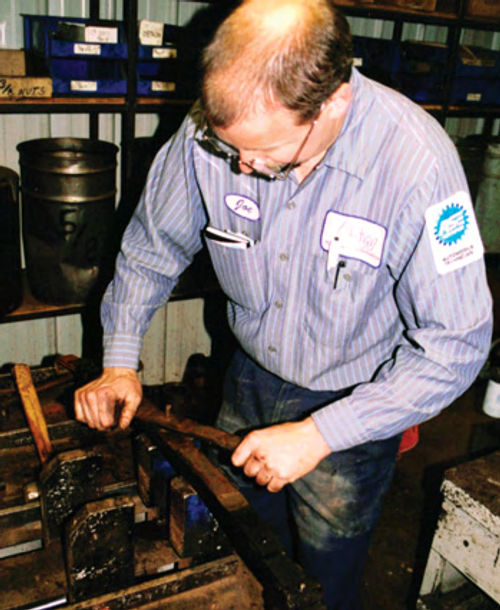
We anguished a bit over which of two methods to use on the rear leaf springs of the MG TD. From experience, we knew that re-arching the springs doesn’t always work. The alternative is sendingthem to Eaton Detroit Spring, in Detroit (eaton-springs.com), where “memory” can be put back into spring steel.
However, the MG is small and light and since the springs looked good, we opted to take them to Accurate Alignment (accuratealignment.com) in Appleton, Wisconsin, which does a great job with the less-costly “cold setting” process. Accurate owner Mark Broehm and spring expert Joe Heide- mann have helped me before and when we brought the springs into the shop, Joe pointed out that we forgot to bring him the specs from the MG TD Work- shop Manual. These tell him just how the springs should look if he has to re-arch them with his 150-ton press.
After we mailed the specs to Joe, he called to say that the TD springs were actually stronger than the specs and did not have to be cold set (which costs slightly over $100). We still asked Joe to take the two spring packs apart in the special vise he uses for this job.
We had already ordered new shackle pins, rubber bushings, center pins, spring clips and a set of black rubber interleaf pads from Moss Motors, Ltd. (mossmotors.com) for Joe to use in re-assembling the spring packs, which goes much easier with his vise. The availability of MG T Series parts through several different catalog suppliers (Moss and Abingdon Spares in the United States and NGT Services in England) is a big help to restorers of these cars.

Another early step in re-assembling the red MG TD is rebuilding the pedal box. Before attempting this job, you should have a copy of the free Moss Motors MG- T series catalog for reference. The Moss Catalog has exploded views of all the parts and assemblies—clutch and brake pedal, pedal shaft, spacers and bushings—that make up the pedal box assembly.
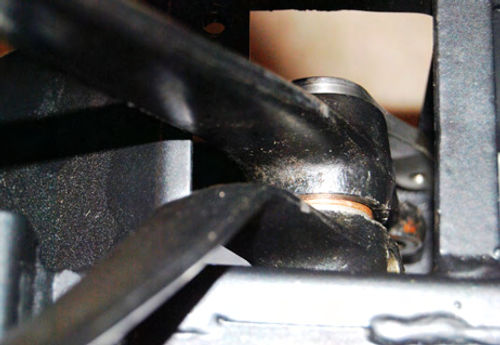
The pedal shaft rides in a bushing in the frame rail and often gets grooved by normal wear, making the pedals a bit floppy. For a time, quality reproduction shafts were hard to get, but they are now available. You also can buy a new frame bushing, as well as new bushings for the clutch and brake pedals. Use a standard bushing driver to remove the old bushings and install the new ones.
The pedal shaft should fit in the new frame bushing with no binding or excessive looseness as the shaft is rotated. If the fit is too tight, polish the shaft slightly to get it correct. Then remove the Zerk fitting and push some grease down into the opening. After installing new pedal bushings, slide the pedals on the shaft in their proper position. Take care to install a spacing washer on either side of the brake pedal. Then grease all the parts with a general purpose grease.
The Yellow “Rolling Restoration” Is Repaired On the Road
You’ll remember that the yellow MG TF “fixer upper” car has a recently rebuilt generator. Although we haven’t broken down or been stranded in this car, the charging system doesn’t seem to be working just right since the rebuilt generator was installed.
TFs have both a red light that indicates a low charging situation, as well as an ammeter that reads “backwards.” In other words, the charging side of the gauge is to the left and the discharge side is to the right.
When you start a TF it initially runs off the battery, with the red light glowing. Shortly after you drive off—when the tach reaches about 1500 rpm—the red light will dim and the ammeter will show that the generator is in the charging range.
Now, since we had the generator rebuilt, the red light very often stays on too long and well after the engine achieves 1500 rpm. Eventually, it does go out (when the gauge needle swings to the positive side), but this takes longer than it normally did. We replaced the voltage regulator with a look-alike unit we had purchased from Moss some years ago. This didn’t work at all. In fact, it made the car come on when the key was in the “off” position. So, we cleaned up all the contacts on the old voltage regulator and reinstalled it.
Cleaning the contacts didn’t help, although the problem is not consistent either. Once in awhile the red light will go out quickly, like it used to, but other times it won’t go out until the car has gone several miles. We’re beginning to suspect that the battery—the same one that came in the car when we bought it in 2003— may be starting to go. So, it seems like the next test involves a better battery.
Another small job we did on this car was the installation of new Plexiglas wind wings, which we sourced from Moss Motors. Last year, one of the old wind wings caught a burst of wind and blew right off the car. Moss had the new ones on sale, so we got a pair at a good price and found them very easy to install. The brackets have small, but strong Allen screws that fasten them onto the windshield frame. Then the pre-cut wind wings fasten to the brackets via a thumb- screw arrangement. Having this accessory really reduces wind and noise.
One reason we wanted the TF to be a rolling restoration is that we didn’t want to be without a T to drive all summer. While on one such drive we encountered one of the few on-the-road problems we’ve ever had with the car.
We were on our way to the vintage races at Elkhart Lake when the TF began to hesitate and finally came to a stop with the distinct smell of gasoline in the air. Opening the hood, we found that one of the float bowls from the twin S.U. carburetors had fallen off! After a few seconds of “what is this going to cost us” thoughts, we noticed that the bolt that holds the float bowl in place was wedged between the starter and the engine block. Not only that, but the orange fiber washer that prevents gas leaks was still on the float bowl support arm. We took the Whitworth wrenches out of the underhood toolbox and re-attached the float bowl reasonably tight. Then we continued about 40 miles to the Road America racecourse. But we didn’t get far before we noticed some- thing we’d seen a few days earlier—spots of liquid on the windshield. And it wasn’t gas or rain.
By the time we got to the track, the windshield was very spotty and we looked under the hood again. No, it was- n’t a gas leak—it turned out to be a small hole in the bottom of the upper radiator hose. Apparently it had been leaking for a week or so, but since a T-Series will “air cool” for a good long while, a low coolant level had gone unnoticed because there was only enough left to leak whenever it circulated to the upper hose. Otherwise, the car got a little hot, but never boiled over. Take it from me, the T-Series models are pretty durable cars!
Once we noticed the leak (the car was starting to run pretty hot), we drove back to the track and found Bill Treffert, a member of our club who was racing an MGA. We borrowed a spare radiator hose and cut it to fit the MG TD. It was straight hose, rather than the bellows type that T- series cars normally use, but with a little persuasion and a dab of soap we got it to slide onto the thermostat housing and push up far enough that we could work the other end on the radiator pipe.
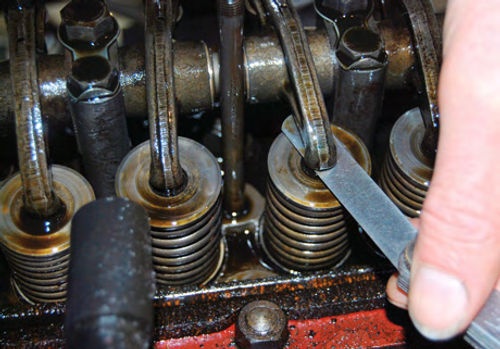
While MG engines are well-known for their distinctive clicking sounds, we felt that the TF was a little noisier than most and decided to perform a tappet adjustment. On later TD engines (after car number 24116 and on all TF 1250s), the valve lifter clearance should be .012 for both intake and exhaust valves in a hot engine. We warmed the engine up for about 15 minutes and undid the two thumbscrews on top of the valve cover so it could be removed. We pushed the car back and forth, in gear, to get the different valves in the wide-open position.
To reduce the number of times the engine is rotated, you can do the job with eight pushes if you adjust the rocker arms in a specific order where the number of the rocker arm and the open valve add up to 9.
For instance, the first rocker arm near the front of the engine is set with the number 8 valve fully open and the full sequence is as follows:
Adjust This Rocker Arm… With This Valve Wide Open…
Adjustments are made by loosening a hex lock nut on each rocker with a wrench while using a screwdriver in the slot of the adjusting screw to keep it from turning. Then the screw is gently turned in, with a feeler gage held between the valve and rocker arm until the proper setting is achieved. Then tighten the lock- nut while holding the adjusting screw stationary and re-check your settings.
Blue MG Starts Road to Recovery
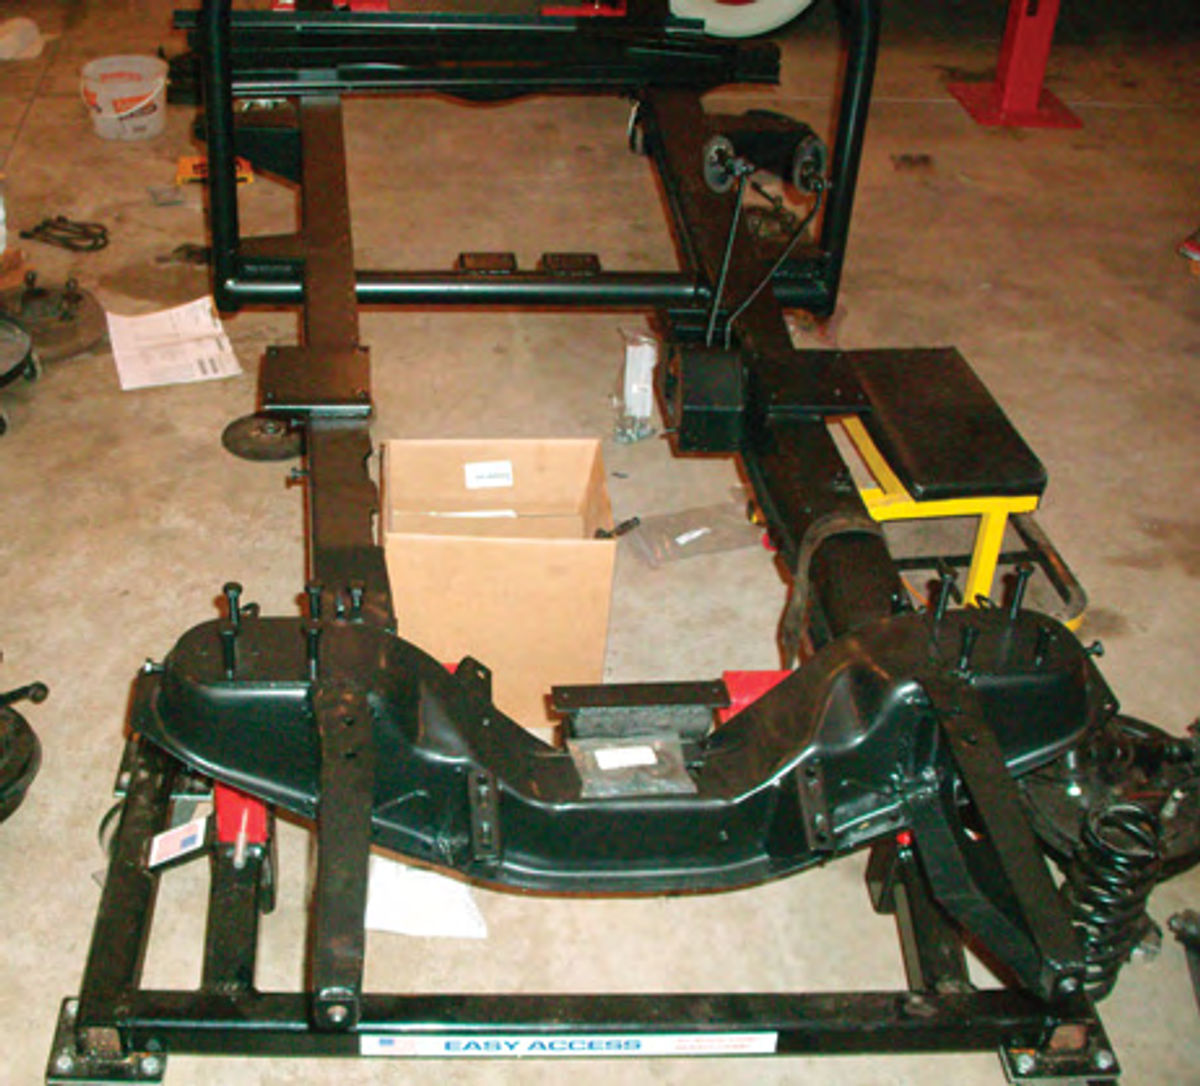
The blue MG TD that had once been rotting away in a barn got started on the comeback trail this quarter. You may recall that we bought this vehicle as a parts car, but some hot rod friends who visited the shop goaded us into trying to save it, even though the frame had several holes in it and the back half of the car was very rusty and badly deteriorated.
We took everything apart that we could and wound up with a room full of body fragments, a crusty looking engine and transmission and a very rusty ladder-style MG frame with the leaf springs still attached at one end (and impossible to remove).
We put the frame on an open car trailer and took it to Statewide Custom Powder Coating for media blasting. All of the rust was blasted away and the frame took on a textured, grayish hue. Statewide somehow got the bolts out of the front spring eyes, so the leaf springs could be removed from the frame.
Next, we took the cleaned-up frame to Rex Evchuk at Waupaca Machine Repair in Waupaca, Wisconsin, to have the rotted sections of the frame rails welded up and repaired.
During the car disassembly process we also had damaged the front of the frame while trying to remove the bumper bolts with the help of a large breaker bar and pipe. Instead of removing the bolts, the pipe extension had provided so much torque that the front ends of the frame twisted and tore!
Since Rex is a hot rod builder, fixing the MG frame at his shop was not a big deal. He asked us to bring along the powder-coated frame from the red TD so he would have a good example to work from. He then repaired the rusted and damaged frame to match the other one and sprayed the whole unit with a gray epoxy paint so it wouldn’t rust.
At first we had wanted to get this powder coated, but realized that it made no sense to do so until we worked out all the details of our hot rod. If we powder coated first and then fabricated engine mounts and such, we would have to do it over again.
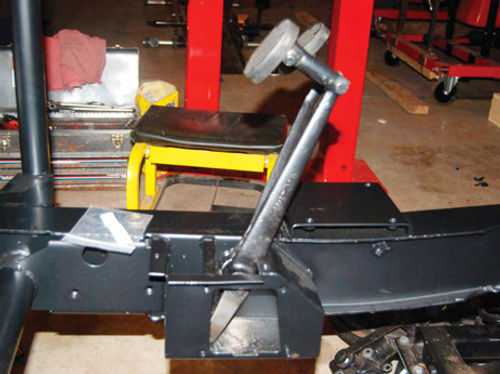
Although all of our ideas are subject to change at this point, we initially decided to stick with the original lever-action shocks on the hot rod. They were pretty ugly, but Peter Caldwell at Worldwide Auto Parts assured us that he could rebuild them just as he had done with the shocks from the red car.
A few weeks later we picked up a set of ready-to-install front and rear lever- action shocks with a fresh black finish on them. Peter said that these shocks were a bit of a challenge due to the extent of their deterioration. “The cores are not the smoothest I’ve ever seen, but they still look pretty nice” he joked. “We rebuild shocks, but we don’t do body work on them.”
(Next: The red MG TD’s body should have some new paint and we’ll be assembling more chassis parts and restoring the windshield. The yellow MG TF is due for some brake work as the pedal is too soft and possibly a clutch adjustment. As for the blue MG TD hot rod, we have plans to rebuild the dashboard with some very handsome retro-look gauges from VDO (continentalcorporation.com) and we’ll begin rebuilding an “old school” Ford V8-60 flathead engine for this car.)


