Buffing and Polishing Metal Auto Parts
When Matt Kokolis was a kid, his dad insisted that he restore the trim on early Corvette hardtops even though Matt would rather have been hanging out with his friends.
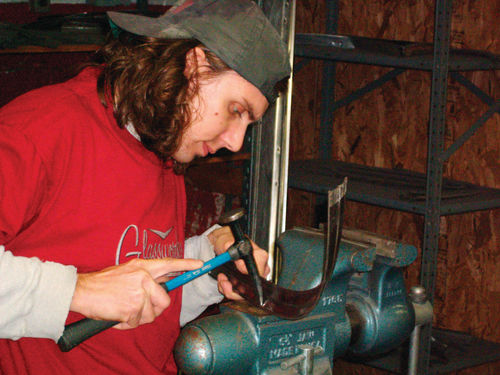
Now Matt restores Corvette roof trim for a living at Glassworks in Crescent, Pennsylvania, and when he sands, buffs and polishes, he slips off into his own world, an artist at metal working, you might say. But even though Matt goes into a state of “total concentration” when working, he has a simple point of view about the job.
“I think that, generally, most folks I speak to are people at home trying to do this,” he says. “They just need to spot a dent, pick it out with a lightweight hammer, file it flat and then go through various grits of sandpaper, 80-grit for heavy-duty pieces and, normally, 150 for all other trim pieces. This process is just the one you must follow to help get the spot level. Then you use 220-, 400-, 600- and 1500-grit to work out all of the scratches with wet sanding. Once their arms feel like they’re going to fall off, they know they’re done. Then they can pick up a small cotton buff wheel and either green or white rouge. After attaching the buff wheel to a grinder, they’ll be able to buff out the light remaining scratches.”
Restoring Bright Metal Auto Trim
As Matt says, you can buff and polish much of the bright metal trim on your collector car right in your home garage, especially if you are able to accumulate the proper supplies and tools and develop the patience needed to do this work.
You won’t have to attend school, take part in special seminars or work for 20 years as an expert’s apprentice. But you do have to invest in some tools, buy all of the proper abrasives, arrange for a suitable place to work and be ready to, as Matt put it, “sand until your arm feels like it’s going to fall off.”
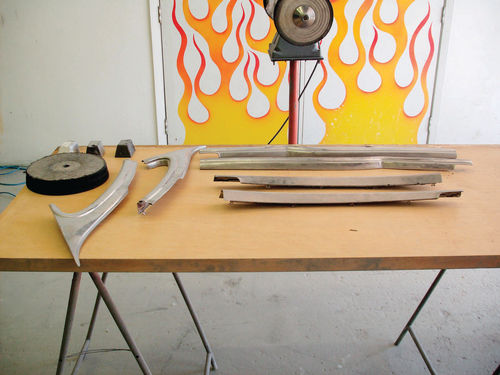
As we watched Matt in his shop, we were amazed to see him working on moldings that we would have written off as ruined. Hammering the back side of the moldings initially leaves the front with a “pockmarked” or “textured” appearance and we would have given up at that point.
This expert, however, keeps going until all the dents are gone. He then sands the front of the piece with finer and finer sandpaper until it is totally smooth again. After buffing it with the proper rogue, it will look absolutely new. When he completes a vintage Corvette hardtop and reassembles it, the fiberglass “lid” shines like a jewel.
Remember that Matt learned these skills as a teenager, back when he had very little personal interest in vintage ‘Vettes. With that in mind, the important thing to realize is that means you can do this type of restoration yourself. All you really need is the focus and concentration that Matt brings to the job. If you can muster that up, you’ll have no trouble learning how to restore auto trim.
Tools and Equipment
“I’m always a little bit skeptical on giving folks information about stainless steel restoration,” Matt admitted to us. However, he added, “I think you’ll find that a lot of Do-It-Yourselfers don’t have the tools that a professional stainless steel restoration shop would have.
“There’s two different directions to take here. Either you sand the heck out of the piece by hand and use a lightweight buffer to bring up the shine or you have the proper equipment like a sanding belt and high- speed buffer, to get pieces done in mass quantity.”
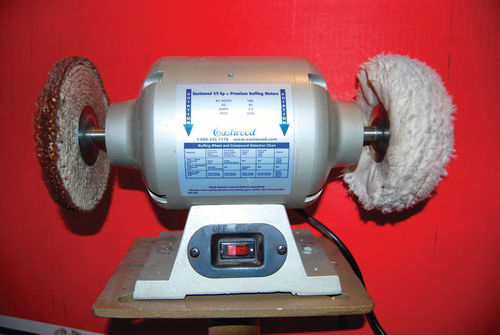
Ironically, the day before visiting Glassworks, we had made a stop at Eastwood (www.eastwood.com), several hundred miles to the east, in Pottstown, Pennsylvania, to find what type of buffing equipment the budget-minded Do-It-Yourselfer could buy. Eastwood started 35 years ago as a company specializing in buffing supplies and tools for hobbyists. Although it has grown into a specialty tool supplier with a diverse product line, the buffing supplies and equipment remain a core part of the company. In fact, a full seven pages of the company’s 88-page mail order catalog are devoted to the Buffing and Metal Finishing category.
Professional Combo Buffing Kits are available for under $50 and high-speed buff motors can be had for around $160. Buffing compounds for all types of metals, along with full-size and mini buffs, flap brushes and polishes are other products you’ll want to consider. In another section of the catalog you’ll find a set of plastic pry tools designed for damage-free trim removal. Eastwood’s owner, Curt Strohacker, says a good starting kit could be put together for under $500.
A Closer Look At Buffing Tools & Supplies
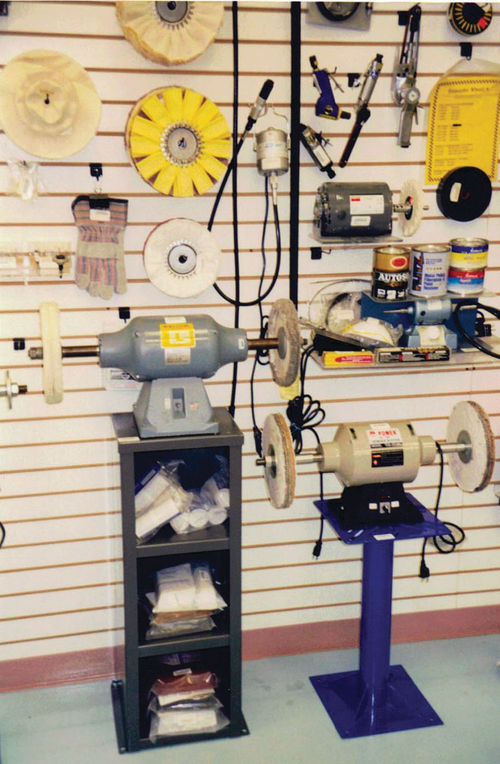
You will need buffs, buffing rouges and a motor. Theoretically, a hobbyist could buff on a grinding wheel, but a high-speed buffing motor makes the job easier and gives much better results. Suppliers like Eastwood sell buffing motors in different price ranges.
There are various compounds and types of wheels for buffing different metals. Buffing motors come with illustrated instructions and charts that help you select the right buffs and buffing compounds. Buffs are made of cloth sewn together and the tighter the stitching, the harder and more aggressive the buff will be. A hard metal like stainless requires more aggressive buffs for initial buffing.
The Sisal buff is the classic style used for stainless steel. It has spiral-sewn construction and is made of woven-rope fiber covered with cotton cloth. A variation is the red, Treated Sisal buff that gives a faster cut and lasts longer. As you get to final buffing on stainless, you’ll switch to one of several looser-sewn buffs used for polishing the metal after it’s been smoothed down by the Sisal buff.
As far as buffing rouges go, an Emery compound can be used to do aggressive fast cutting on stainless steel in the initial stage of buffing it. A light to medium gray Stainless compound is good for medium cutting on stainless. It can be used on a Sisal or Ventilated buff. The Ventilated buff has pleated, biased cloth to keep the piece being worked on cooler and prevent streaking of the compound. A White Rouge is used in the final stage to remove any light scratches left by the Stainless compound. It works best on soft Loose Section or Canton Flannel buffs that cut light and give a higher degree of shine to the stainless.
Tripoli is a mid-range buffing compound that is ideal for soft metals like aluminum, pot metal and brass. White Rouge compound removes the scratches left after a hard metal is buffed with Stainless Emery or a soft metal is buffed with Tripoli. Buffing with Jeweler’s Rouge can follow after stainless steel or aluminum are buffed with White Rouge. As you might have guessed from the name— Jeweler’s Rouge—this compound also works well on fine metals like gold and silver as well as on plated metals.
Prepping For and Proceeding With the Job
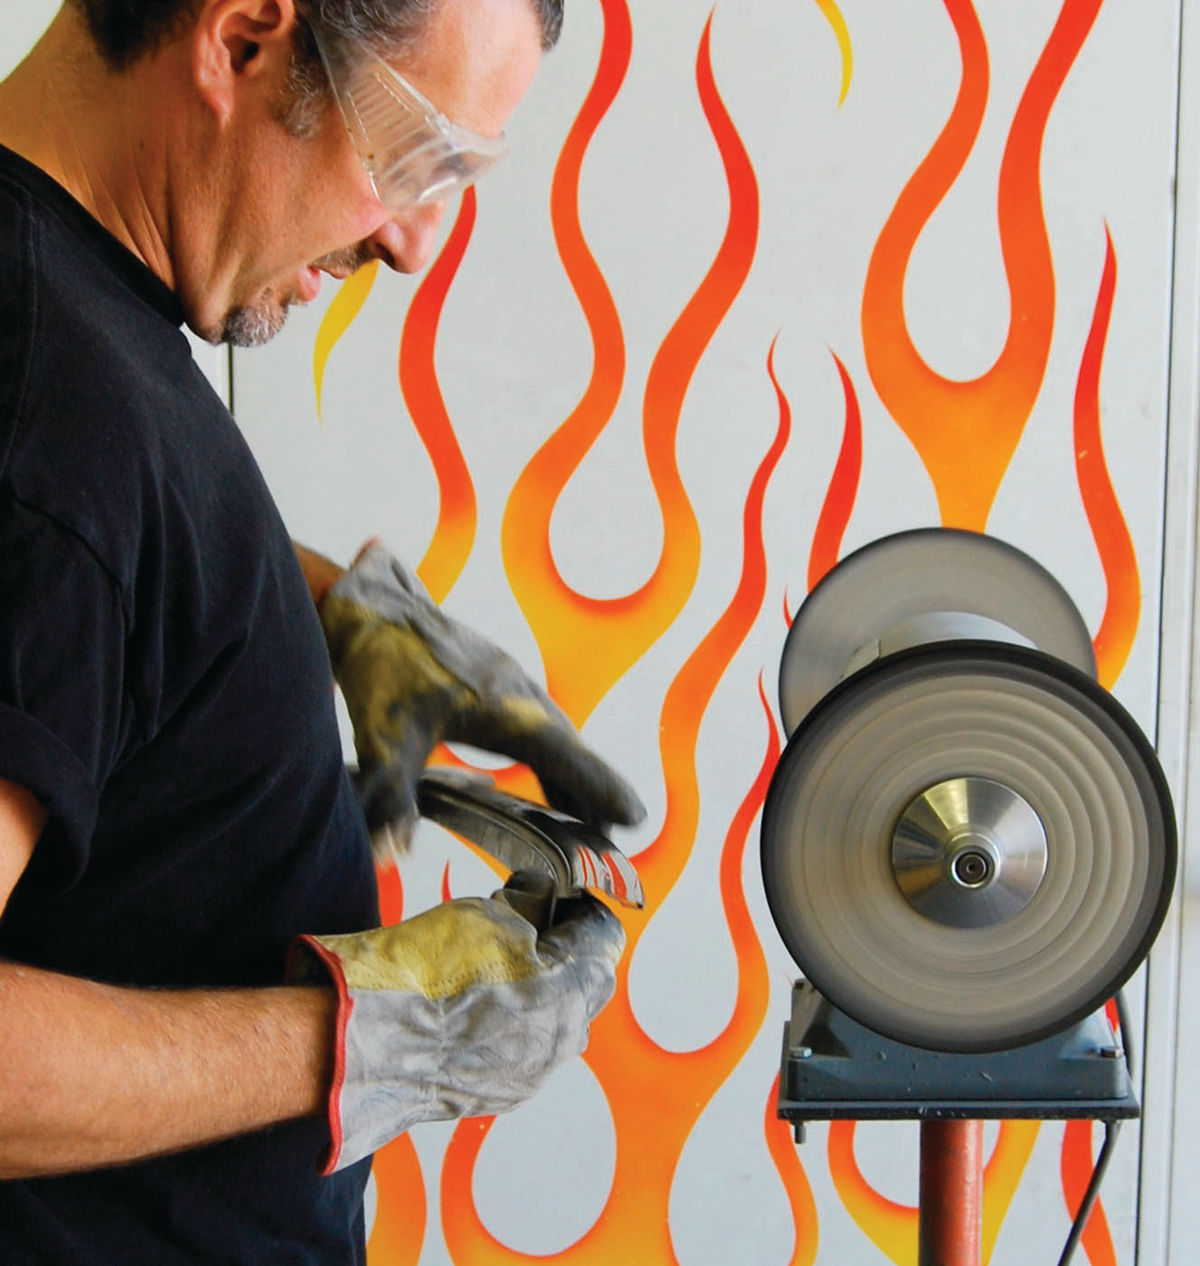
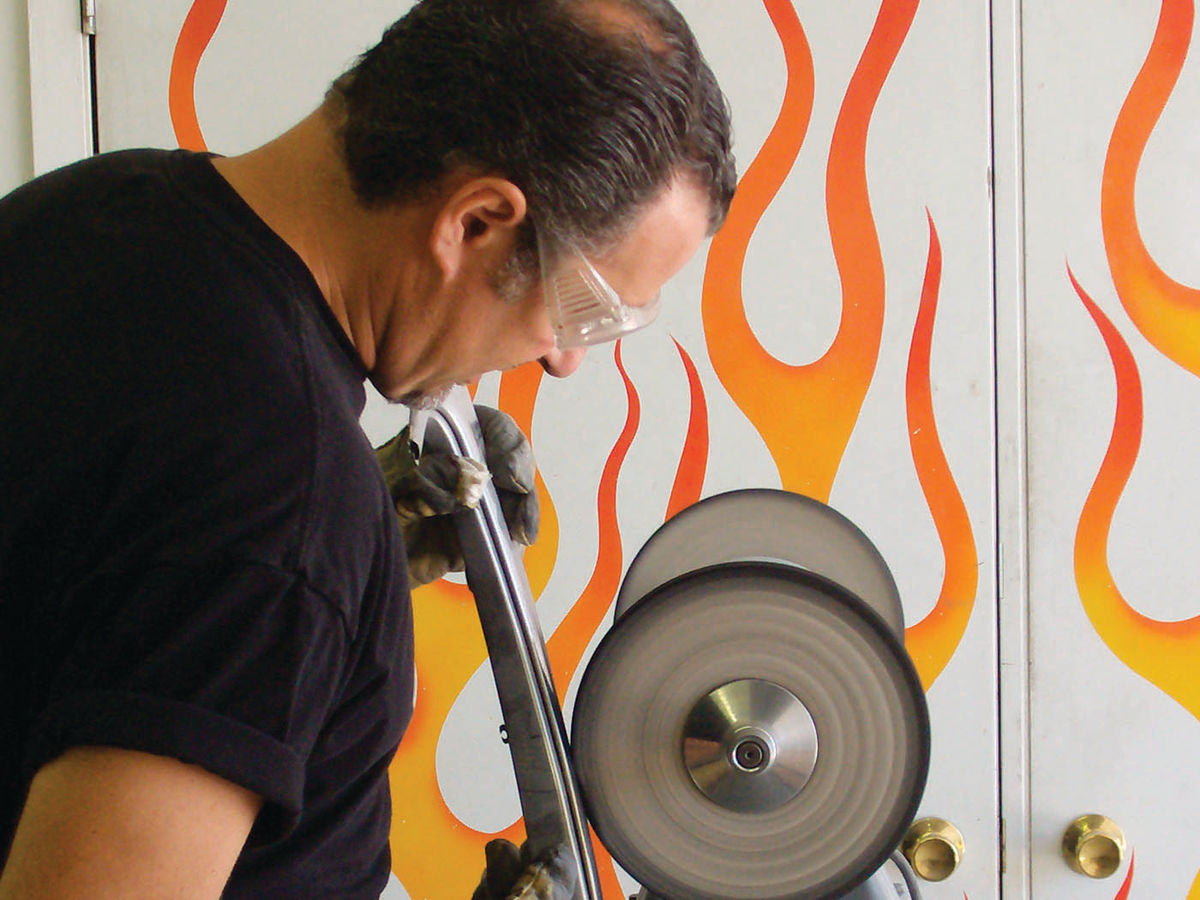
Safety and a buffer’s location are things to consider before you start spinning a wheel. The buffing motor runs at 3600 rpm, which means that if you aren’t careful, it can tug a part from your hands and shoot it across the room so fast you’ll think a slingshot dragster went by. Wear your face shield and heavy leather gloves. The gloves will protect you from the wheel and heat...it comes as no surprise that the parts being buffed get really hot. Furthermore, don’t wear jewelry and tuck in any loose clothing; you don’t want to be caught in the spinning wheel.
When you buff, you apply buffing compounds to a rapidly spinning wheel. Some of the abrasives are going to wind up in the air, on your clothes or on whatever is behind the buffing motor. So, wear a facemask or respirator and a shop apron. We put a yellow streak on the shop wall behind the buffing wheel the first time we used it. Now we keep a big piece of cardboard against the wall.
The proper way to buff a piece is to let the wheel run off the edge of the part. Work on the lower portion of the wheel, just below its center axis. Apply the stainless steel buffing compound to the wheel sparingly. You can take the compound in your gloved hand and carefully rub it on the spinning wheel.
While buffing the piece, avoid using too much pressure. You will buff in stages, sometimes changing wheels and compounds. If you have an extra pair of clean, heavy leather gloves, use them when you change wheels and compounds. This will keep the new wheel from getting the old compound on it. If you work skillfully and patiently, you can buff stainless steel parts to the point where they have the luster and sheen of a piece of chrome.
10 Tips For Buffing
If you plan to go into the buffing business, get a custom-made buffing system sold by companies like C.F. Global Products.
Sewing gives buffs their stiffness. For example, a 1/8 Spiral Sewn has 1/8-inch between the stitching and is stiffer than a 3/8 Spiral Sewn with 3/8- inch stitching.
As buffs wear, their diameter shrinks and this reduces the surface area of the circumference. So, a newer buff always works better.
You need at least 7000 feet of buffing surface per minute to buff stainless and this equates to a minimum buff wheel diameter of 8 inches.
Remove your compound from the cardboard container and apply it by holding the bar against the wheel at the lower portion of the front of the buff.
While buffing, apply more compound for about 3 seconds every half-minute toaminute.
Use only one compound with each wheel. If you want to apply two types of compounds using the same type of wheel, get two wheels of that type.
Since some compounds look the same, do not mix them up. Return them to their original cardboard tube or box or store them in labeled sandwich bags when finished.
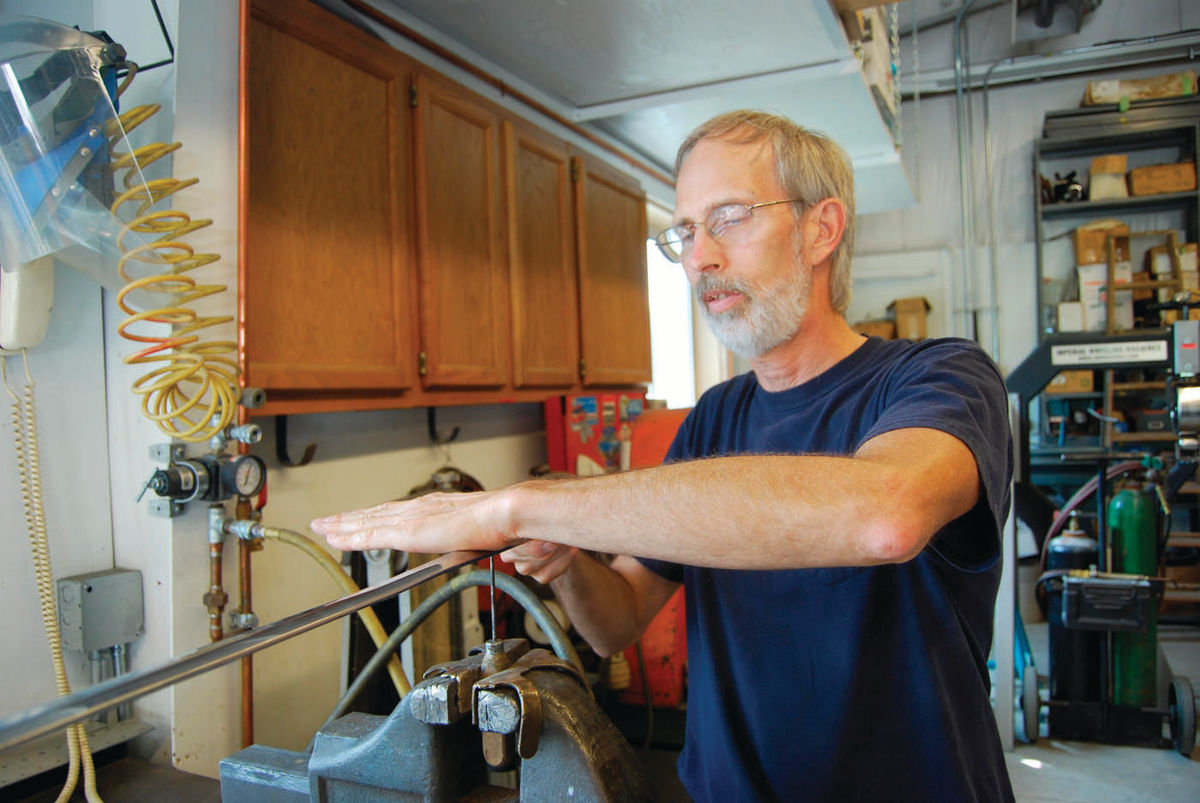
You may want to use large electrical ties to hold long pieces on a board while you buff them. Later, you can buff the small areas that were covered by the ties.
Suppliers like Eastwood sell mini buffs, soft flap wheels and fine- weave cotton buffs for reaching hard-to- get-at areas and going into tight spaces.
Working With...Stainless Steel
On stainless steel, start with a Sisal buff, which gives a fast, aggressive cut. You also can use a red Treated Sisal buff that is impregnated with a chemical that makes it even more aggressive. Both are suitable for use with Stainless Steel Emery or Greaseless compounds. For coarse work, you can also use a Spiral Sewn
buff with Stainless Steel Emery. Later, you might want to use a cotton Ventilated Buff with Stainless Steel or White Rouge for less aggressive buffing. Then a Loose Section buff can be used with White Rouge or Jeweler’s Rouge to create a high-shine on the nearly finished piece. The Loose Section buff will also be able to get into hard-to-reach areas. As a final step, to get a brilliant finish, you can use an extra-soft 100-percent-cotton Canton Flannel wheel with White or Jeweler’s Rouge.
... Aluminum
On aluminum, start with a Spiral Sewn buff using Tripoli compound. Then go to a Ventilated Buff with Tripoli before switching to a second one to use with White Rouge for less finer polishing. Then, a Loose Section buff can be used with White Rouge and Jeweler’s Rouge to create a high-shine on the nearly finished piece and get into hard-to-reach areas. For your final brilliance go to a Canton Flannel wheel with White or Jeweler’s Rouge.
... Brass and Copper
On soft brass or copper, the process is the same as for aluminum. With skilled use of the softer compounds and looser buffs, you can really get brass and copper to look great. Many brass parts are used on imported vehicles, such as British sports cars, and giving them a brilliant shine is very rewarding.
Editor’s note: Along with his veteran status as an automotive writer, John “Gunner” Gunnell runs a restoration shop in Manawa, Wisconsin. For more on his shop, Gunner’s Great Garage, visit gunnersgreatgarage.com


