The Ongoing Tale of Three MG Ts
It’s Been Four Years Since We Looked In On This Multi-Car Project. But After a Lengthy Delay It’s Back In Motion Again.
This is the 9th installment tracing different approaches to the restoration of a T Series MG. The plan still is to give my red 1952 MG TD a stock frame-up restoration. My yellow 1954 MG TF is undergoing a “rolling restoration.” My once blue and white 1950 MG TD “parts car” is going to be fixed up as a “hot rod.” At the end I want to compare the cost and fun factors of each project. (Editor’s Note: The last installment was in the July 2013 issue.)
Articles about this multi-car project moved along pretty well…but then something happened in the summer of 2014. On the last day of July that year I was attending a “Boot Camp” at 3M headquarters in Minneapolis, Minnesota, and got very sick. The 3M staff convinced me that they should take me to an Urgent Care facility. Once there it was determined that some large gallstones had slid down a duct into my pancreas. One stone was stuck and it had caused my pancreas to become inflamed. I had pancreatitis.
An ambulance then rushed me to United Hospital in St. Paul. I spent a month there. My gall bladder was removed but some complications developed. Fortunately, I survived the experience, but after getting out of the hospital I spent two weeks in a nursing home and three months recovering. For a while I couldn’t even perform simple tasks such as signing a check or driving.
Obviously, the MG projects and my series about them had to be put on hold for a while. Sometime in 2015 I tried to get the story going again, but by then the project was on a long-term hold because I had a lot of catching up to do on a number of fronts. But whenever I went to vintage-car events I got questions from Auto Restorer readers about the “Tale of Three MGs” series and whether I was going to continue it.
Picking Up the Pieces… With a New Approach


I finally decided that we had to get the project back on track because a car that’s in pieces is just about worthless. A disassembled car has little value and I didn’t want to feel like the money I had already invested in the project was going to be completely wasted. At the same time, I realized that trying to work on three cars at the same time wasn’t a very practical plan. The project needed more of a focus and I decided to concentrate on prioritizing the completion of the red 1952 MG TD that had been slated for a complete ground-up restoration.
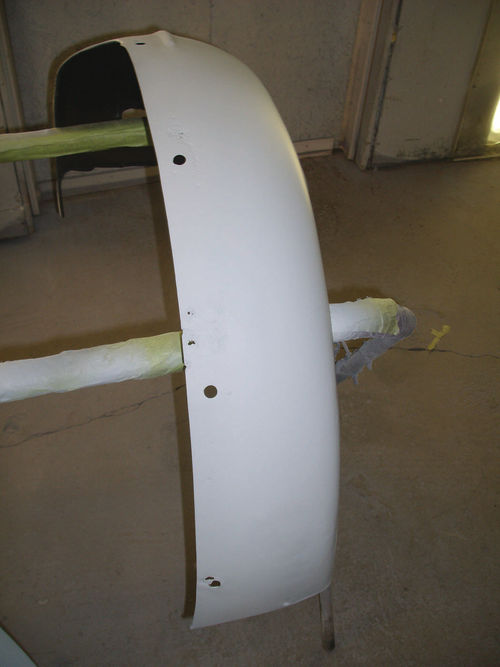
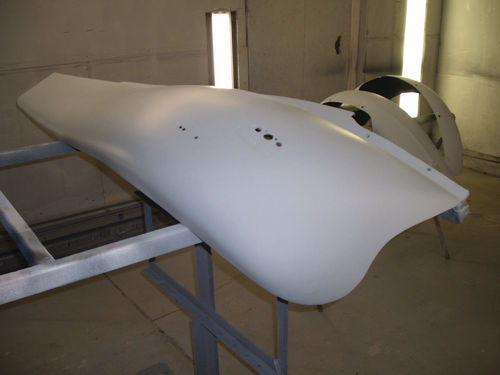
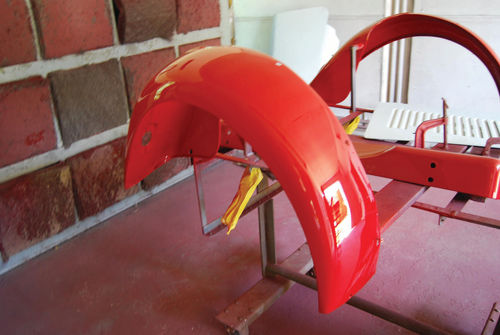
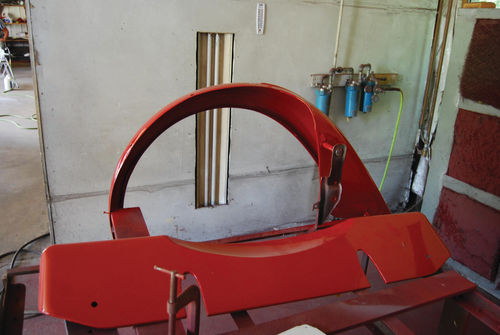
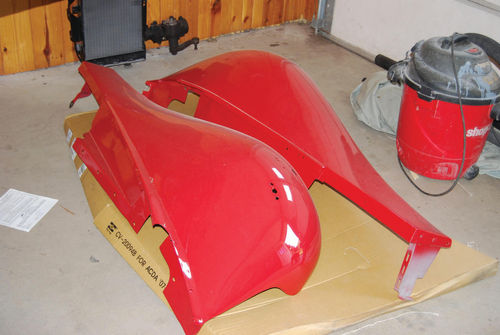
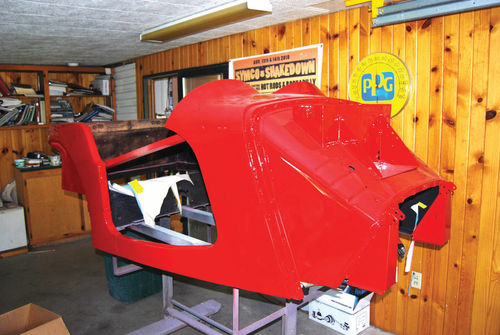
At the end of the last installment I had written this about the 1952 MG: “Hopefully we’ll be starting to paint the red TD by the next installment in three months.” Well, the work took longer than three months, but the paint job has begun. The body tub, fenders, gravel pan and hood are now painted bright red. The small, cut-down MG doors are awaiting a coat of the same MG red color.
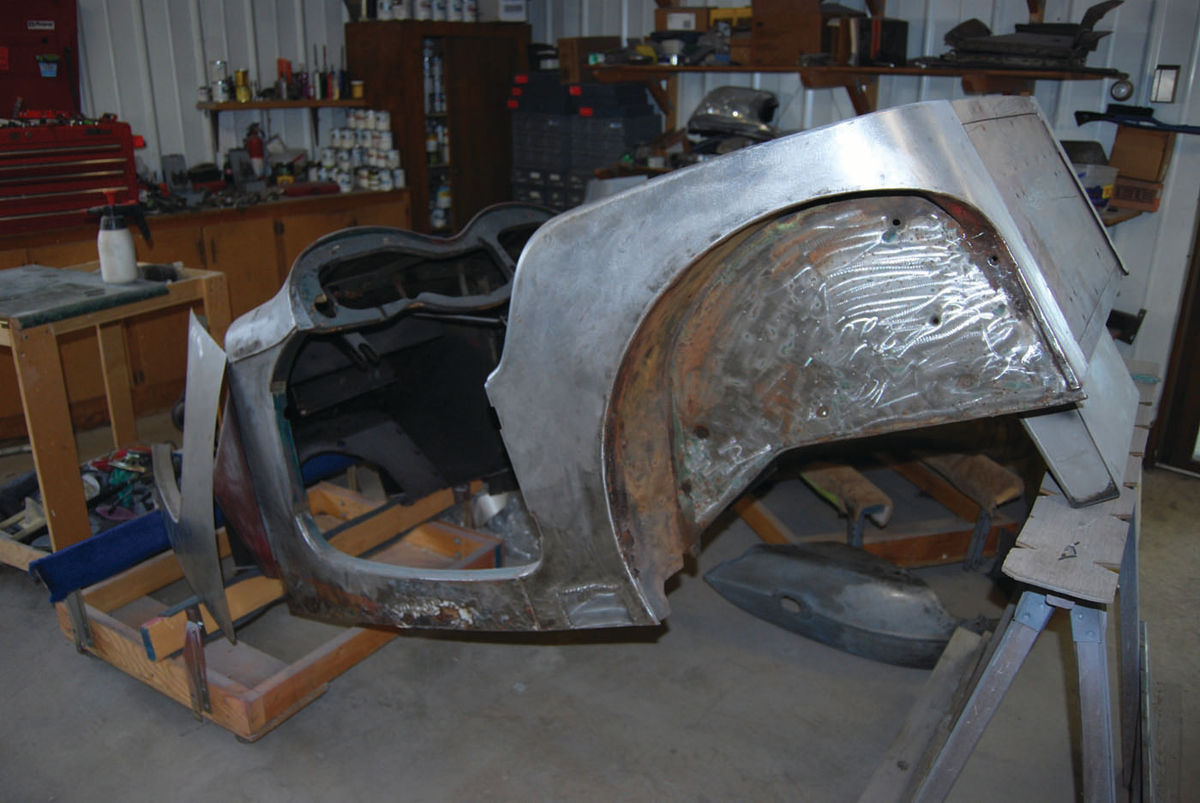
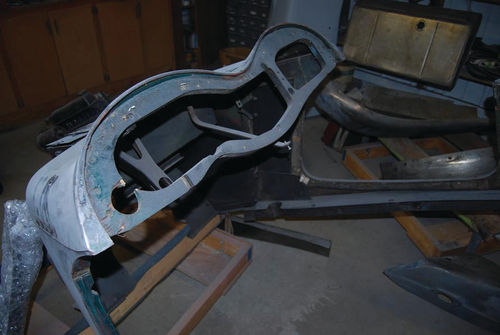
John Diermeier of John’s Custom Auto in Manawa, Wisconsin, has been handling the bodywork and paint on all three cars. John took many of the sheet metal body parts to Restoration Specialists, Inc., in Franklin, Wisconsin, a suburb of Milwaukee, to have the old paint chemically stripped. However, the car’s body tub could not be stripped using this process because the MG TD has a wood-framed body and the chemical stripping agent can harm the wood. So instead he sanded the old paint off of the body.
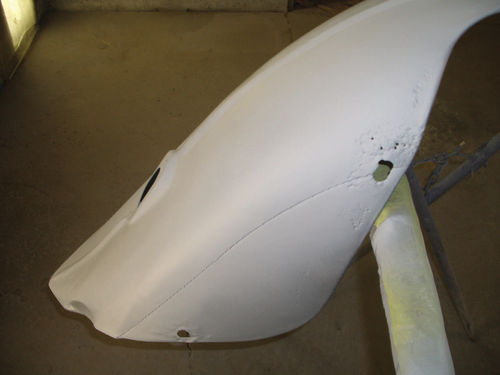
Like most T Series MGs this car had previously had restoration work done to it, probably in the ’60s or ’70s when refinishing products were much different and the quality standards for a restoration were different as well. There were many layers of old paint on the sheet metal and old body filler under the paint. Even though it came to rust belt Wisconsin from even snowier Buffalo, New York, the car wasn’t very rusty, but it did have a number of holes in the metal that should not have been there. Some of them were from corrosion and some had been drilled for who knows what reason.
Selecting the Paint
John Diermeier began the tedious process of restoring the sheet metal and repairing the aforementioned holes when necessary. Then he started the even more tedious job of prepping the body for paint. Hours upon hours were spent welding, patching, applying fillers, sanding things smooth, applying light gray primer and sanding things smooth again. The sanding seemed to go on forever, with John doing the panel contours over and over again until they were perfect.
When all of the parts were as smooth as they possibly could be, John painted them with a PPG finish called CONCEPT® (DCC). It’s a single-stage acrylic and according to Diermeier, it requires far less buffing than other finishes. He warned me that this paint is more expensive than other finishes, but said that the buffing time he’d be saving would more than offset the additional cost of the paint itself.
PPG’s CONCEPT® is an acrylic urethane paint that PPG calls “a premium quality, single-stage, twocomponent refinish product.” The company says it is designed to provide exceptional gloss and color match. It is available in conventional single-stage solid and metallic colors and can be used over all properly prepared OEM finishes, as well as cured air-dried finishes.
The paint is very versatile and helps to promote invisible repairs. It can be used in existing shop conditions, unlike some other modern refinishing systems that require extra shop equipment such as curtain walls or new types of spray equipment. Specific directions for use of this product are available at http://www.tcpglobal.com/
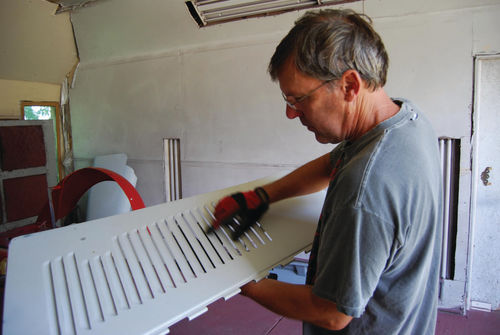
Painting the Louvers
One concern that John had was painting the sides of the hood which have large vertical louvers in them. Usually enough paint will get into the louvers just by spraying the outside, but if you want to you can wet sand all around the louvers one at a time. Be sure to keep your paper wet and move it diagonally, rather than back and forth. Avoid getting sand lines in front of the openings of each louver. You can spot sanding lines by pouring hot water on the part and waiting a few seconds. The area you wet with the water should look the same as if you had just painted it and you want to see no sanding lines.
Paint the backside of the panel first. Then wet sand to remove overspray that came through the louver onto the outside of the panel. Next paint the outside. If you want the backside to have a glossy look, mask it off before you shoot the outside. Be sure to keep the louver openings open so the spray blows through and coats the edges. If you mask the openings shut, the paint might “bridge” from the edge of the opening to the tape and create a big mess when you remove the masking. Thicker modern urethanes can easily bridge that gap.
Another important thing to mention is that John attached braces to the body tub to keep it from flexing while it was detached from the frame. Flexing can damage the paint and a body that flexes too much will be hard to align to the frame when the body is re-mounted on the finished chassis.

Moving Forward
The next stage of this project will involve installing the rebuilt engine, rebuilt gearbox and drive shaft into the chassis. The engine and transmission are ready to go. The drive shaft was one of those things we didn’t think of while working on the larger components.
The drive shaft needs to be blasted in the center and cleaned at each end (degreasing and paint removal). We did not want to get blasting media into the universal joints, so we stuck the joints at each end into plastic bags and taped up the open end of the bags to keep the media out. After the center section was blasted, we took the bags off both ends and dipped each end in the parts washing fluid. A couple of coats of primer and black paint were then applied.
After John “squirts” the few pieces that are left to paint, it will be time to start assembling the pieces of this car. That should be fun. After six years, just finding all the parts is going to be a challenge.
Beyond that, there’s a lot still left to do, including the upholstery, wiring, folding top, panel alignment, tuning… I’m getting tired already.
On the other hand, with most of the paint applied, there’s a real sense that we’re making progress and getting closer to finishing at least this segment of the project.
Resources
John’s Custom Auto N7615 Nollenberg Rd. Manawa, WI 54949-9572
PPG Automotive Refinish One PPG Place Pittsburgh, PA 15272 ppgrefinish.com
Restoration Specialists, Inc. 6846 S 112th St. Franklin, WI 53132 www.rsi-metal-cleaning.com


