
My 1964 Mercedes 230SL, Pt. 6
The Ongoing Saga of the Sports Car’s Restoration Continues…
Editor’s note: We first began to follow reader Brian Bauske’s Mercedes restoration project nearly three years ago. Readers who have been with us since then will recall that Brian bought the German sports car as a driver and used it for 15 years before he decided to sell it. A pre-sale inspection turned up hidden rust that threatened the car’s structural integrity and evidence of poorly executed body repairs that had been made prior to Brian’s purchase of the vehicle. At that point he decided to make the car right and he, with help from pros, has undertaken an extensive restoration project. The latest work involved fitting a replacement hood to the car. Here’s Brian’s report:
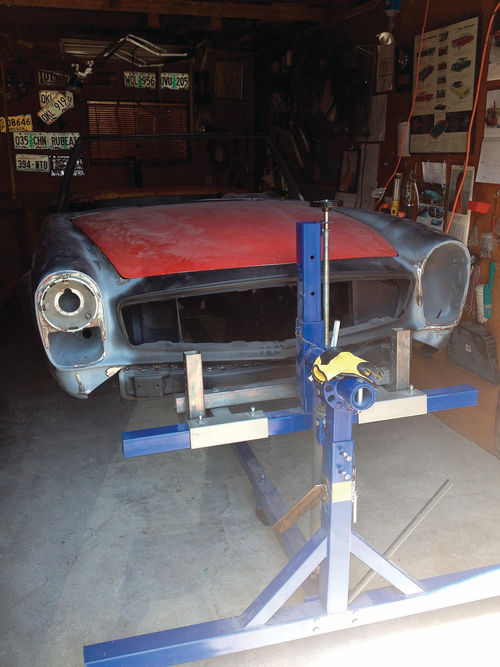
AFTER THREE YEARS of “rustoration,” my car came back to my little Portland garage. She was placed on a rotisserie, which after a bit of shortening fit with a few inches to spare (Photo 1).
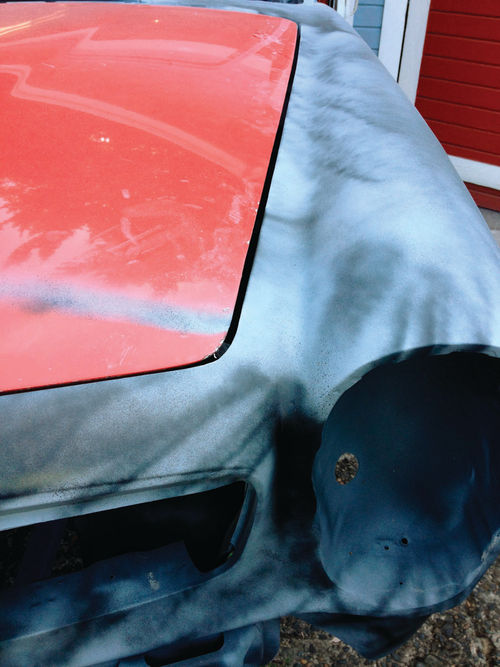
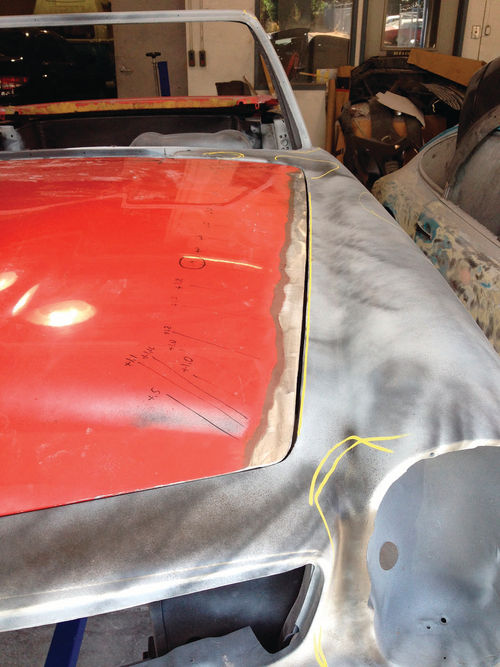
She was almost ready to go to the paint shop, but there remained one more metalworking task: work was needed on the hood (or bonnet for our friends in the UK). This is a replacement piece that just doesn’t fit right; it needed to be both trimmed in some places and made wider in others (Photo 2).
The work clearly had to be done on the aluminum of the hood rather than the steel of the body. After consultation with Johann Eiwen of Portland TIG Welding, I set out to mark up the hood to take into his shop for modification.
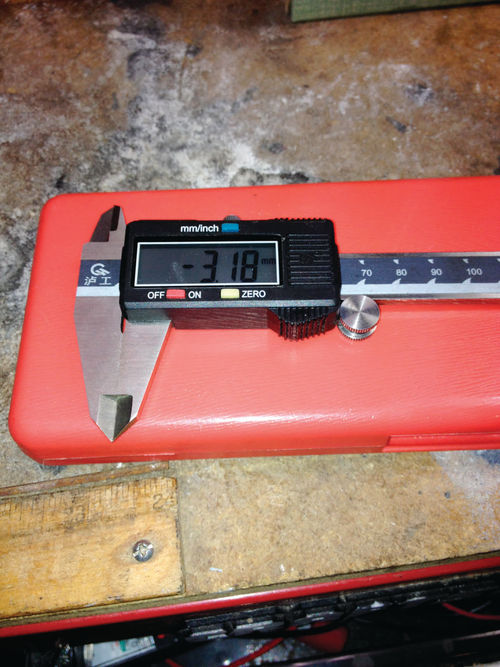
Although I normally prefer to use an analog caliper, I also own a digital unit (Photo 3) that has two very useful features: the abilities to switch instantly between inches and millimeters, and to “zero” at any opening. I reset it to zero when it was reading 3.18mm (1/8”). Then when it was fully closed it read—3.18mm. As I passed it along the gap around the hood, I wrote down the readings along the edge, which gave me the offset measurements. This spared my brain from constant arithmetic!
Hard Work At the Welding Shop
Then I took the hood to Johann’s shop where he laboriously welded a bead along the areas that needed to be built up. He reported that he found it to be difficult work because there were two layers of metal along the edge sandwiched together, with paint, body filler and dirt in between that he had to scrape out.
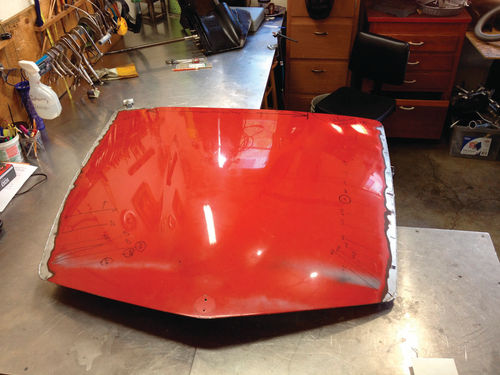
He added enough metal to make sure it would fit, knowing that it would still need additional fitting work. Photo 4 shows how it came out of the shop.
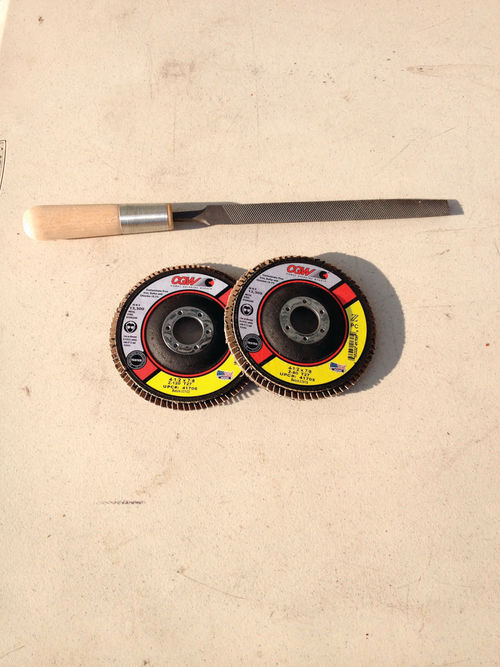
He gave me some 80- and 120-grit “flap wheels” for my cutoff tool, and I bought a special aluminum file at W.C. Winks Hardware in Portland (Photo 5), that is designed to cut smoothly and produce shavings instead of dust and grit.
Mike Burke from Mikey’s Welding and his assistant worked for several more hours cleaning it up. Photo 6 shows the result.
With that, off she went to Maaco for some paint (Photo 7).


