My 1964 Mercedes 230SL
The Engine’s Out of the Car and We’ll See If It Needs to Be Rebuilt. Meanwhile, the Body’s About to Be Painted. What? You Say There’s Been a Fire In the Paint Shop?
Editor’s note: You’ve probably noticed that we have two contributors by the name of Bauske—Brian and Carl—taking part in the magazine on a regular basis. The brothers have been involved with vintage vehicles for some time and while Brian currently is restoring his 1964 Mercedes 230SL as recounted here, Carl is working on his Volvo 245 and his latest article is on page 12.
Brian begins his latest report with a harrowing experience at an automotive paint shop:
Dear Ted—In the early morning hours of July 17 a raging fire swept through the Maaco paint & body shop in Portland, Oregon. My morning work was interrupted by a text from an alert friend and I dropped everything to dash over, with terrible thoughts racing through my head. I knew that after more than a year’s stay, my 1964 Mercedes 230SL, which I’ve written to you about before, was days away from being painted and returned to my garage.
“The shop consists of three sections, the front office and entry, the preparation area, and the painting area and rear exit.
“I can’t describe the horror with which I saw that the front of the shop was indeed gutted, with the flames extinguished but smoke and soot lingering everywhere. I knew that there were over a dozen cars inside at any one time, and that there were going to be some deeply affected owners. I just hoped that I wasn’t one of them!
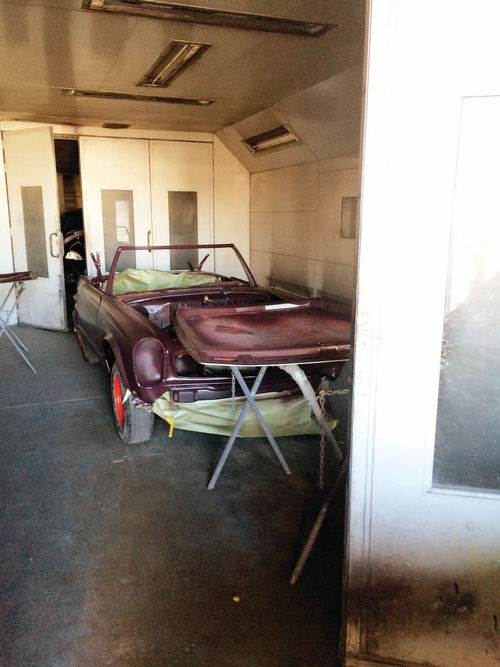
“I raced around to the back and ducked under the police tape where I saw the most wonderful sight of my life: my car safe and sound inside the paint booth (Photo A). I went back home to stay out of the way, experiencing relief that again is hard to describe. When I met the owner, Lew Woods, on my next visit, he explained that there were two sets of thermostatically-controlled fire doors that slammed shut and contained the fire to the front section. Only five cars were burnt, and of those several could still be painted.
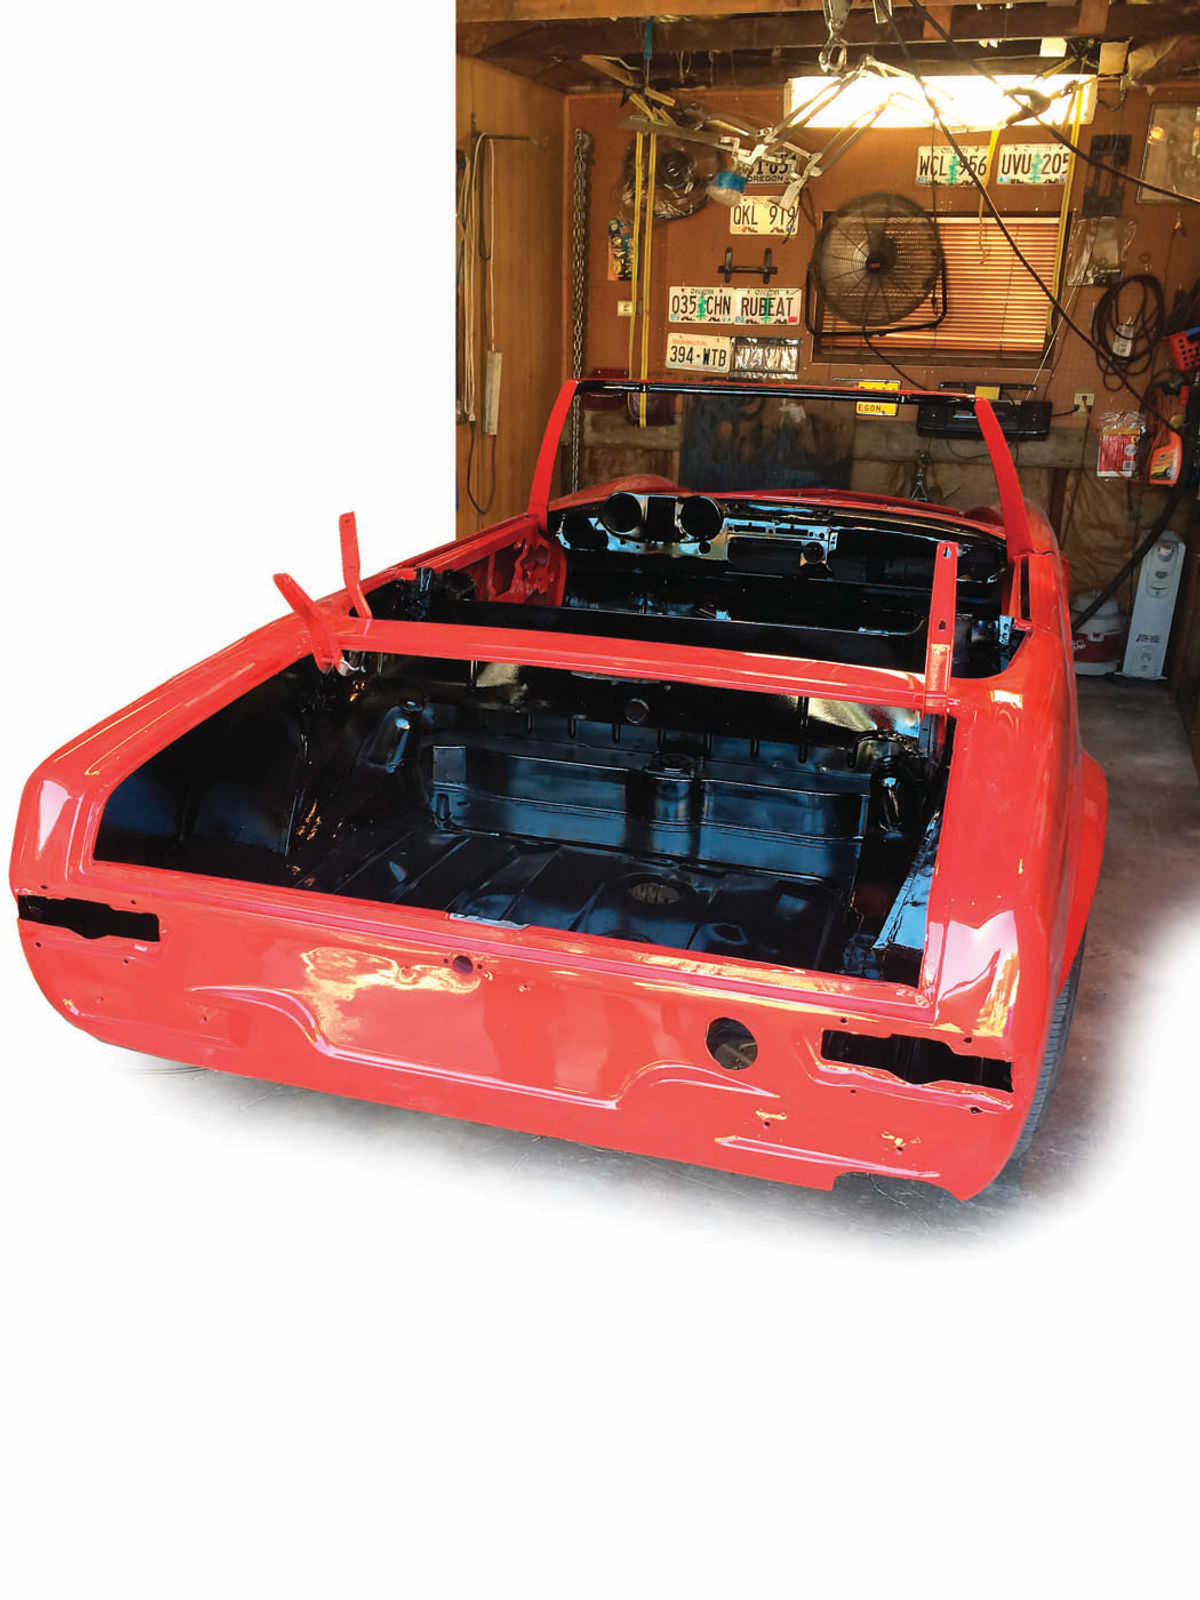
“The damage in front was still severe, however, in particular the roof supports, electrical system, computers and files were destroyed. But within a day Lew had set up business on a card table on the sidewalk, and within a week an industrial generator was procured and connected. In a few more weeks my car was painted in the original Mercedes Signal Red and back in my garage
(Photo B), where I’m now blissfully immersed in reassembly.
“It never hurts to have a little luck, does it? If you’re using a restoration shop, it also might be a good idea to see if it has fire doors.”
Now, let’s return to Brian’s project…
Does That Engine Run? Let’s Find Out!
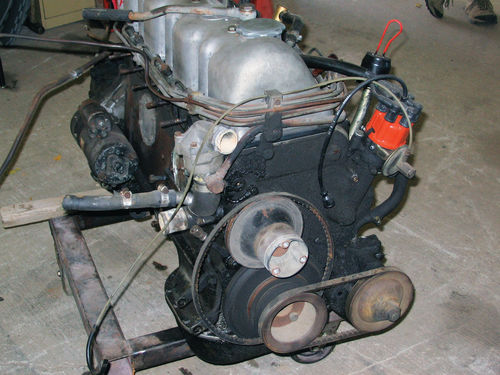
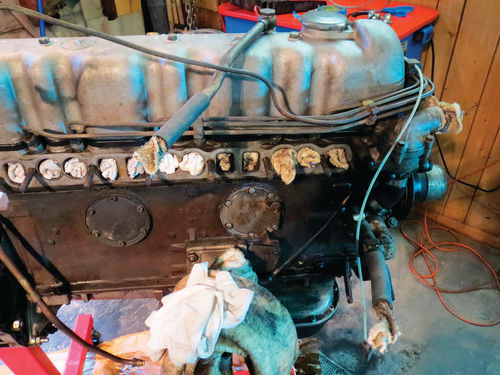
Have you ever looked at a motor that has been out of a car for some time and wondered if it needs to be rebuilt? That was my situation as I contemplated my Mercedes 230SL’s engine, an M127 2300cc straight six (Photo 1). It had not been run in four long years of restoration, and during the previous 15 years of carefree ownership it ran well enough that I never even performed a compression check.
Editor’s note, continued: Brian used his Mercedes as a driver for 15 years before he undertook this complete restoration project.
Now I wondered if I needed to drop five figures having the engine rebuilt, on top of all the metalcraft I’ve documented in previous articles, which has amounted to virtually rebuilding the car’s body from scratch. As I write, that part of the project is still going on (more on that next time).
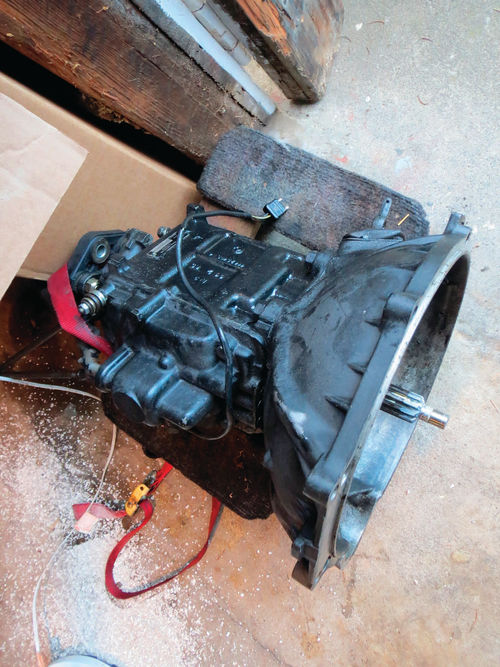
The transmission had been unbolted and put on its own dolly by the time I got it into my shop (Photo 2).
Working With Dual Stands
The procedure I used involved two stands…a machinist’s engine stand and an engine test stand. I started off by purchasing the engine stand from Harbor Freight, lifting up the engine (while the timbers in my old garage groaned and protested), and bolting it on. When finished, I could move it around my shop, and although it bounced up and down more than I liked, I could now work at a convenient height.
This procedure, utilizing both stands, will almost certainly lead to several trips to the hardware store to obtain bolts of the necessary length, size and thread. This seems unavoidable and you should a) stay cheerful and b) buy an assortment on every visit. In Portland, W.C. Winks Hardware is the place to go for these parts.
Undertaking an Engine Cleanup
Once on the stand, I found I could tilt the engine as desired and move the whole unit around at will. I embarked on a long process of unbolting, scraping, air blasting, spraying WD-40 and repeating (Photo 3).
At times I was spattered from head to foot with grease and grit. I tried to remember to use a respirator. I kept a tarp under it and periodically moved the engine to the side, wrapped up and threw away the old tarp, and laid down a new one (Photo 4).

I tried to enforce the discipline of wearing grease-resistant plastic clogs in the garage and changing to house shoes before going in to shower. This worked surprisingly well.
Gradually everything about the engine became cleaner, until I was able to simply put a small pile of cat litter on any drip or grease spot, and if I ground it with my heel and swept it up from time to time, the filth level stayed manageable. I no longer had to change into “grease clothes” to work.
Eventually I had it pretty well cleaned up. I then replaced the leaky front main seal that had caused so much mess over the years, as described in a previous article.
Let’s See What It Will Do…
At this point I had the choice of further detailing the engine, committing to a “just to be sure” rebuild or seeing if it would fire. Opting for the latter, I purchased an engine test stand kit on the Internet. It was missing wheels when it arrived, but the seller gave me a credit to buy a set, and I again turned to Harbor Freight.
I then engaged Mike Burke of Mikey’s Mobile Mechanic and Welder, and we assembled the basic kit (Photo 5).
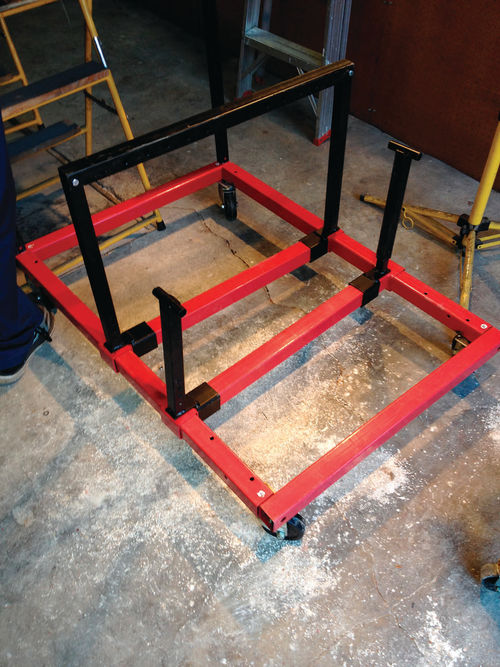
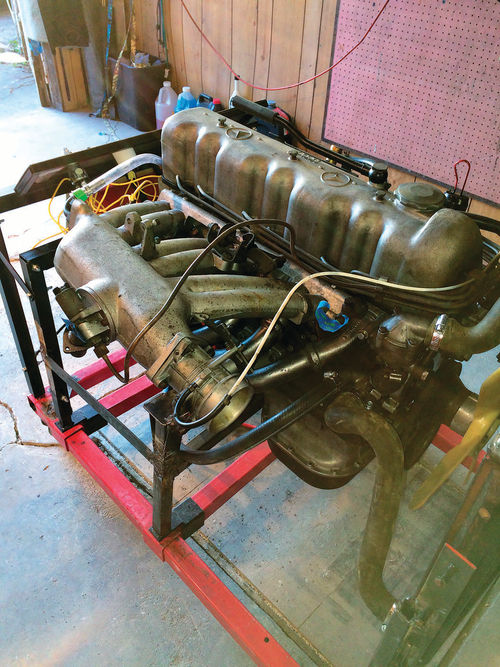
We found that the mounting brackets could be slid backward and forward to accommodate a wide range of engine sizes and shapes. It seemed pretty wobbly though, and I didn’t want it hopping around on the floor, so I had him weld on some reinforcements and add extra bracing. The instructions were skimpy so we improvised as we went along. We were able to use the hoist again to lift the engine off the first stand and onto the test stand.
I didn’t want to be concerned about potential overheating, so I asked Mike to add brackets to the front to mount the radiator (Photo 6).
A Few Setbacks at This Point
I then had to deal with a whole new series of messes as I added fuel, oil and coolant and addressed the numerous leaks that resulted. In particular, I would never again use the cheesy gas tank that came with the kit. Thanks goodness I realized—just in time—that it was full of rust and had it cleaned and sealed. I should have used a better-quality small engine fuel tank from the get-go.
We all know that when we remove an engine we must label every connection, take lots of pictures, and document every step copiously, right? Well I didn’t, and now I was struggling to get things back together properly, poring over every image of an M127 I could find to figure out what connects where.
The test stand came with a dashboard of sorts (Photo 7). I spent a lot of time wiring up the gauges, only to give up when I couldn’t get most of them to work. I had a lot of trouble with crimpon connectors slipping off, even when I used a Vise-Grip to attach them. I suppose they need to be soldered. I ended up using my own vacuum gauge and dwell meter.

Now…Will the Engine Start?
I pampered the engine with new tune-up parts. Because the Hilborntype injectors had been dry, it took quite a lot of cranking to get fuel back into the cylinders, and I found that it helped to shoot starter fluid into the manifold. I live in the city and have cranky neighbors, so I’ve not been able to operate it much un-muffled. It’s about as loud as three Harleys!
However, the good news is it did fire up eventually, and the compression was 125 lbs. in all cylinders.
As the oil pressure came up I had the “opportunity” to address additional leaks that would have been much harder to fix with the engine in the car. So I ended up feeling good about the whole “sub-project”, and recommend it to anyone waiting for the body work to be done and wondering if they need a new engine.
Resources
Harbor Freight harborfreight.com
Mikey’s Mobile Mechanics & Welding, LLC Mike Burke Vancouver, Washington
W.C. Winks Hardware winkshardware.com
Hilborn Fuel Injection 22892 Glenwood Drive Aliso Viejo, CA 92656 hilborninjection.com


