
My 1964 Mercedes 230SL PART 10
It’s Time for the Suspension to Go In So the Car Can be Placed On the Ground for the First Time In Four Years. But Wait a Minute… Something’s Wrong Up Front.
Editor’s note: Brian Bauske bought the Mercedes seen on these pages as a driver, used it for 15 years and then decided to put it up for sale. But then a pre-sale inspection turned up some rust that threatened the car’s structural integrity along with some poorly done repairs that had been made prior to Brian’s purchase of the vehicle. He then launched a major restoration project that we’ve been following for several years. There’s been a lot of activity with the car, including a paint shop fire that threatened to incinerate the Mercedes (December 2016). Now, after a lot of work and investment and some harrowing experiences along the way, Brian and his sports car are about ready to head back onto the road again.
Back On Its Wheels
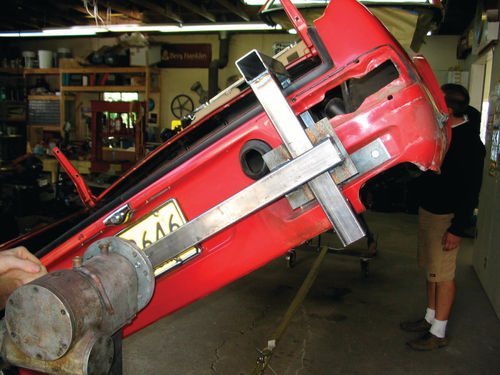
For the past four years, Rosey, my 1964 Mercedes 230SL, has been undergoing a herculean restoration to repair severe structural rust and botched previous body repairs. Most of this time, the body has been off its suspension and mounted on an auto rotisserie. Because this allows the car to be rotated, it provides a) access—to every part of the bottom, top and sides, and b) portability—because it’s on wheels it can easily be moved around the shop.
In fact, I used two different rotisseries. Repairs were started by Troy “V-12” Walker of Affinity Imports in Salem, Oregon, who used a homemade unit built around a WWII bomb handling crank which allowed very precise rotational positioning in either direction. (Troy’s nickname comes from a longterm personal project; the rodding of a 1949 Ford pickup with a Jaguar V-12 engine.)
Unfortunately, Troy lost his best metal craftsman and became preoccupied with the weekly flow of repair that tends to leave restoration work at the end of the line in priority. When I decided to move the car closer to home I asked him to remount it on a Tuxedo CR-3000 rotisserie, and he did. Unfortunately that model didn’t allow the same degree of precision.
During her stay at Affinity, they skillfully completed the extensive replacement of all the rusted metal, and Troy remains a good friend.
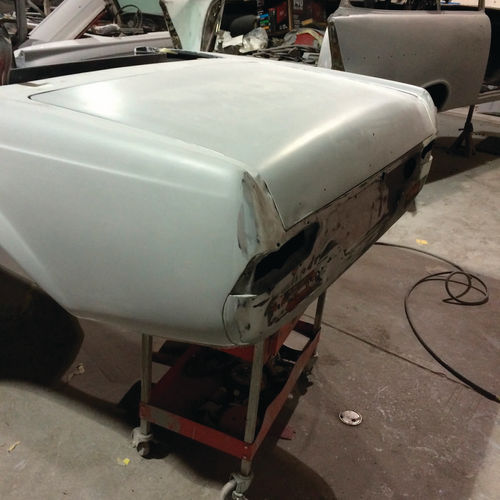
I want to emphasize as well that the car has now been essentially rebuilt from scratch, probably for the second time. Its history is a mystery, and the aluminum hood, trunk and doors were obvious replacements that never fit the steel body correctly.
On to Another Shop
I had always thought of Maaco as being strictly a collision repair and paint shop; however the franchise in Portland also does high-quality restoration work.
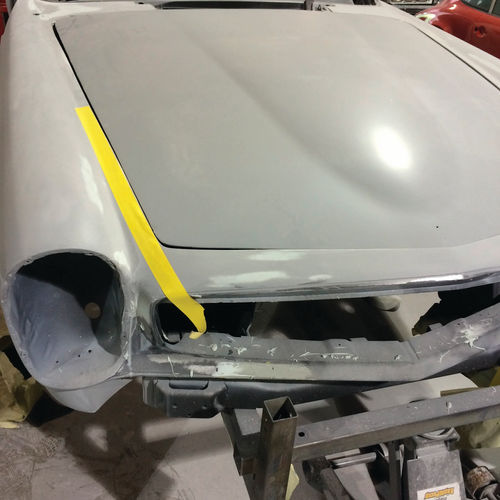
I asked them to complete the body work by fitting the aluminum components, and prepping and painting the body in the original SignalRot (Signal Red) Mercedes red color. The technicians at Maaco went as far as they could straightening the body lines and aligning the hood and trunk (they also sprayed the underside of the body black on top of the coat of POR-15 applied by V-12).
Again, progress has been too slow; the quick turnaround high-priority collision work always gets done first.
I had hoped to keep her on the rotisserie throughout the painting process so that I could install brake and exhaust systems on the underside myself more easily afterward. However, I became convinced that she really needed to go back on her wheels. The front and rear attachments were in the way of the body work, and because the rotation wasn’t precise enough it was of limited value.
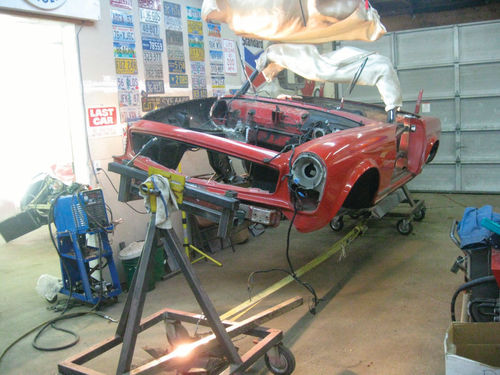
Since the rotisserie had hydraulic pistons at each end, it was theoretically possible to raise the body to the maximum height, set it down on tall jack stands, unbolt the front and rear supports, pull out the rotisserie, and somehow slide in the front and rear suspension units.
This was an intimidating prospect indeed, and in the end Maaco used the same procedure as Troy had: lifting the car with a forklift under the frame rails. This resulted in the rotisserie being removed, the car balanced somewhat precariously on jacks and shop carts, and Maaco scratching their heads about just how to get the mechanical work with the suspension accomplished.
Time to Bring In My Own Specialist
I believe that when you have a problem, you talk about it and then talk about it some more. The problem was that this is not a mechanical shop, and although they have access to local “consulting” mechanics to reinstall the suspension, their schedule is full in the current Pacific Northwest economic boom.
So we “reasoned together” and they allowed me to bring my mobile mechanic Mike “Mikey” Burke into their shop to do the suspension work. He is a born mechanic and fearless about tough jobs. I gratefully acknowledge this cooperation by my new friends at Maaco for acting outside the box. It was odd working in somebody else’s shop among the paint fumes and plastic filler dust, but there was always a floor jack or helping hand available when needed.
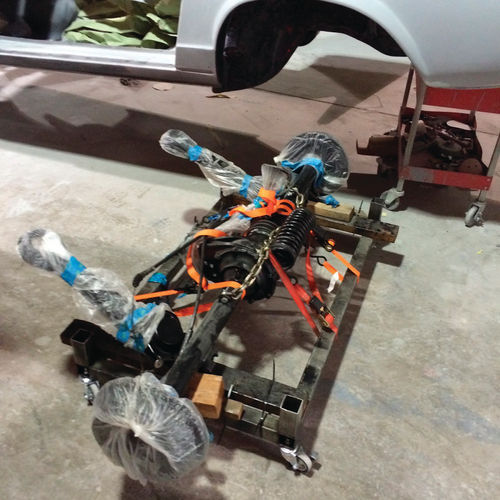
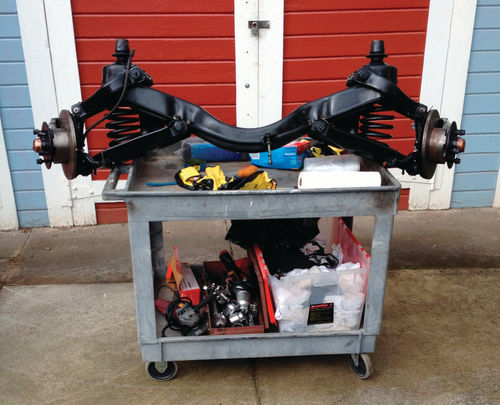
Installation of the Suspension
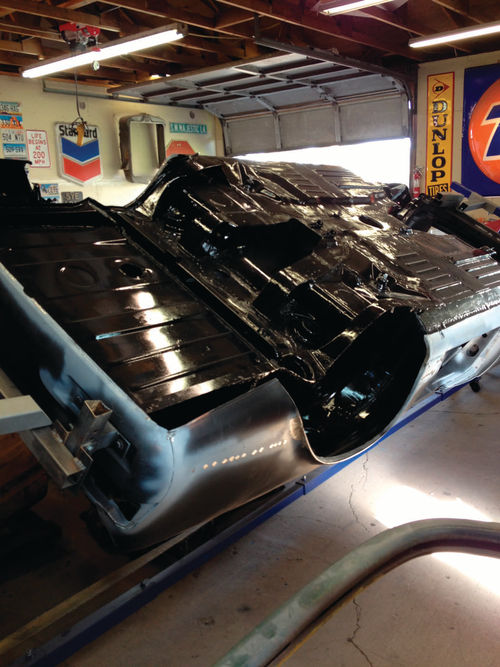
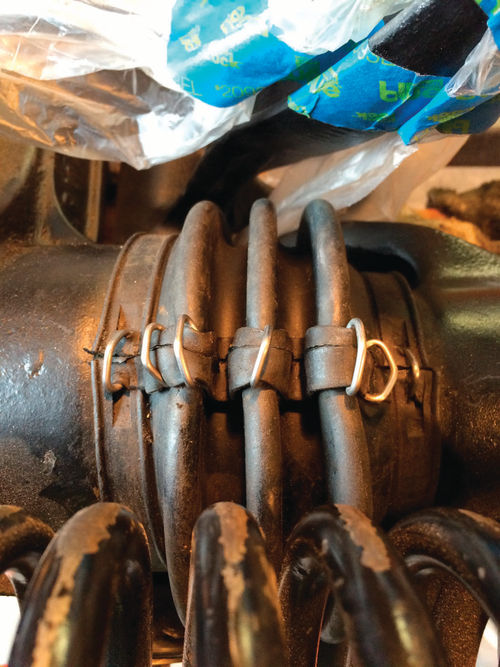
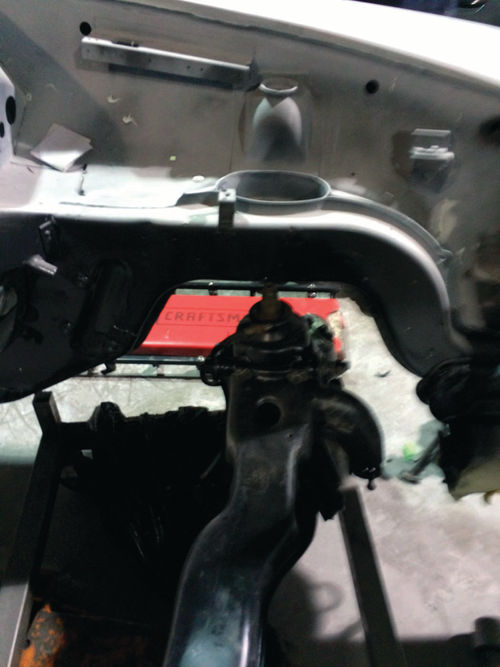
We installed the rear swing axle first. When attached to the body structure the limit of axle excursion is controlled, but it had to be kept strapped down during the process so as not to risk tearing the rubber boot at the swing joint. Without this control the compensator spring drives the axles to maximum angle. (This boot is a notorious failure point; my father suffered two boot failures in his Mercedes 219 sedan, and each time the oil drained out and the rear end began howling as the gears burned up. After the second failure he packed the rear end with bananas—which quiets the gears for a while—and he traded the car in on a new 1963 Rambler 660 Cross Country).
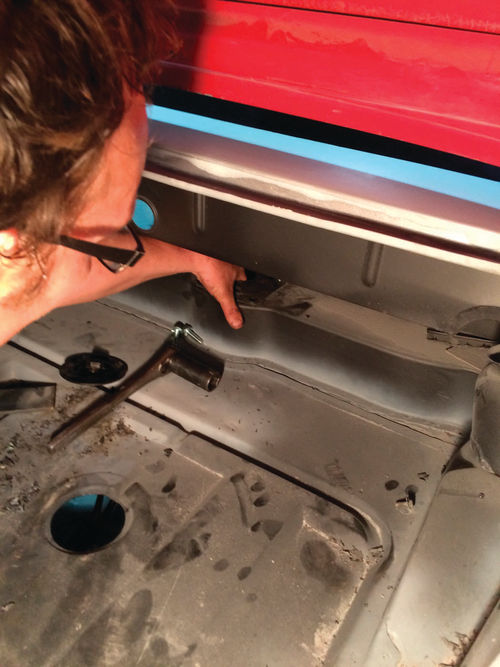
We were able to loosely bolt the trailing arms to their attachment point then place the springs on their pedestals for compression. The pivot arm is bolted to an attachment point in the trunk.
There were a few anxious moments as six people held up the car body with Mikey underneath.
But basically the rear end installation went smoothly and we were able to remove the straps, leaving the wheels drooping a bit but within limits.
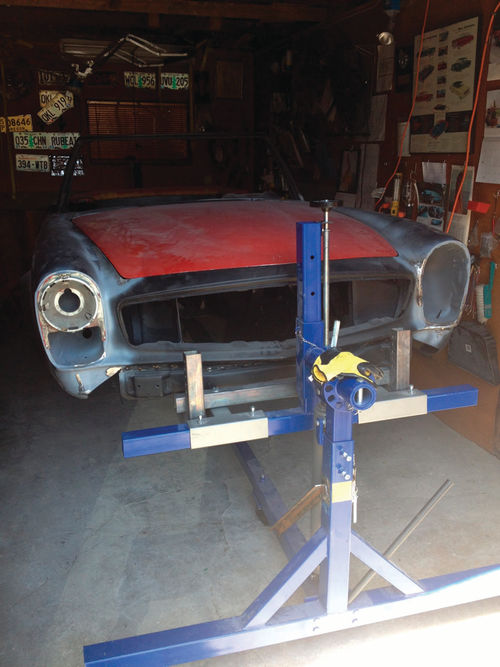
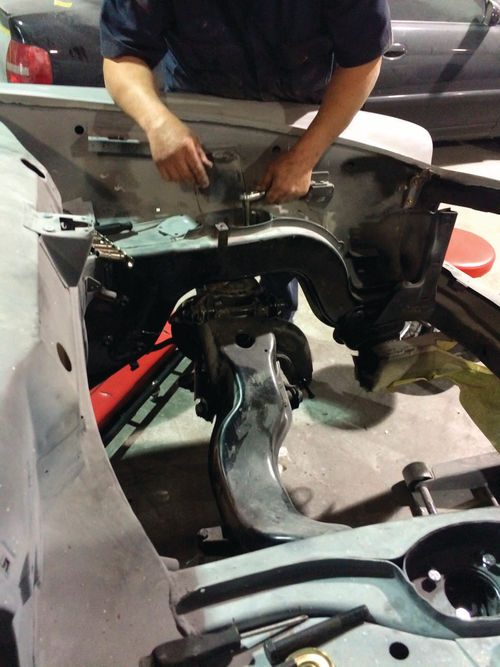
Trouble Up Front
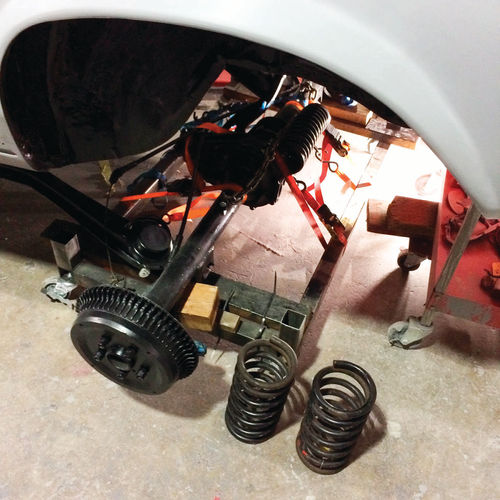
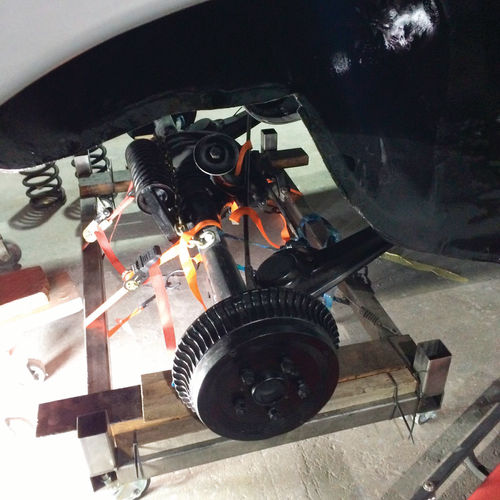
It was the front end suspension that turned out to be the more difficult task.
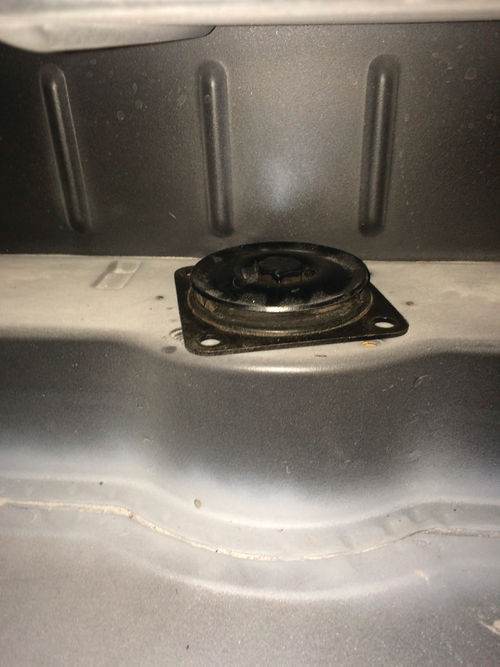
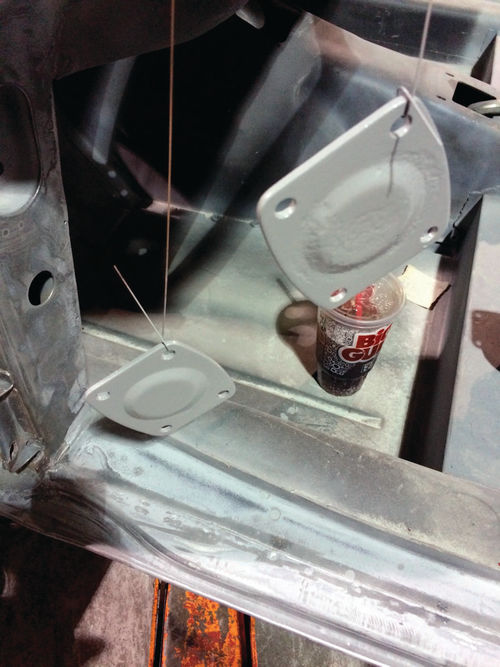
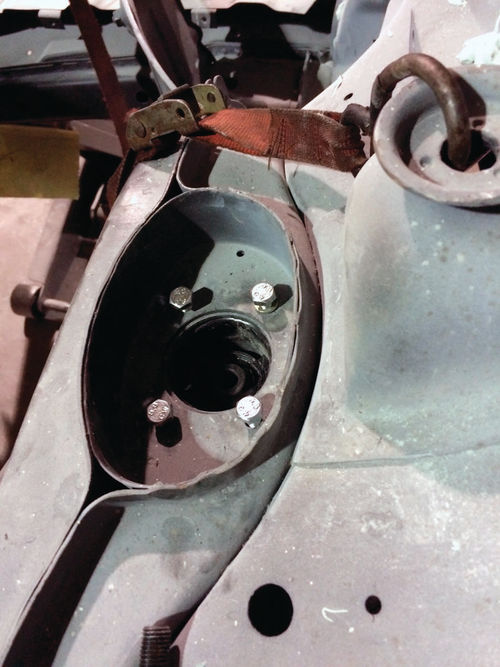
The front suspension subframe is attached to the frame with two large bolts on top of the “pillars.”
Similarly to the rear end axle pivot, there is also a cover plate on each side with four bolts, for a total of five on each side. The front suspension includes a sway bar in front of the cross member. This is important, as it turns out.
So far, so good, eh?
The first problem we encountered was lining up the bolts on the caps. It sounded simple, and it was relatively easy to start the large center bolts, but as we lowered the body the suspension tended to twist and squirm, and it was very difficult to start the four cap bolts on each side with every hole aligned through two layers of steel and into a threaded plate below.
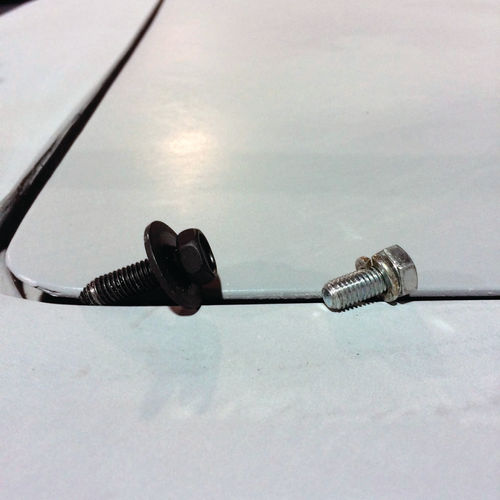
The key to success was to use “tapered” bolts instead of the “flat bottomed” bolts supplied with the mounting kit. NAPA sells them in the annoying quantity of seven but I was able to locate a few spares.
But when we completed the attachment procedure things didn’t look right. “Sorry Mikey,” I said, “we have it in backwards.” We unbolted, turned it 180 degrees, re-attached it, and it was still backwards!
After consultation with Maaco master technician Manuel Maravilla, we realized that the sway bar attachments have to be on the same side! We were forced to the sad conclusion that the lower control arms had been assembled reversed left to right.
If this seems obvious, I should point out that a photo of the front end, as incorrectly assembled, has previously appeared in our magazine, and no alert readers spotted it.
You’re forgiven, of course; it’s almost impossible to spot.
After a call to Burback Motors in Portland, the folks who assembled the front axle for me, that—believe me—was embarrassing for both sides, they cheerfully reassembled the front end in short order and we smoothly installed it for the third time, along with the sway bar.
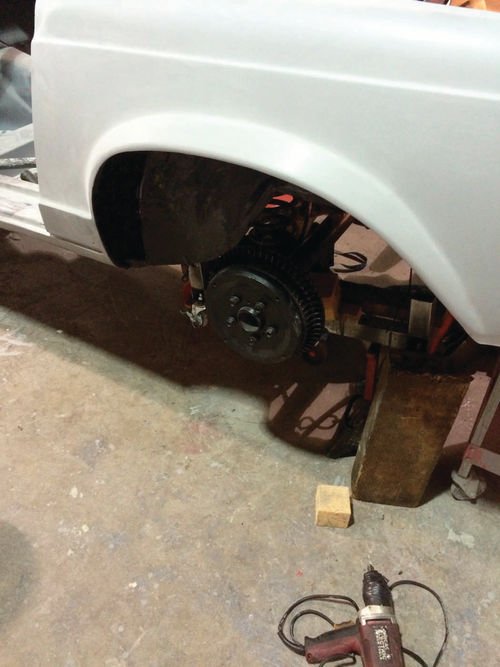
With the wheels bolted on and the jacks lowered, she was back on all fours for the first time in four years, and the body work was resumed!
The total shop time was about four half-days. In the next installment of this series Mikey and I will begin the final reassembly.
Resources
• Affinity Imports http://www.affinity-imports.com
• Tuxedo CR-3000 http://tuxedoautoequip.com/
•Maaco Collision Repair and Auto Painting http://www.maaco-portland. com/
• Subframe mount kits http://www.sl113.org/forums/index.php?topic=14056.0
• Mikey’s Mobile Mechanics & Welding LLC—Mike Burke 360-281- 8928 Vancouver, Washington
• Burback Motors http://www.burbackmotors.com/
• Mercedes-Benz Service Manual, Maintenance, Tuning, Unit Replacement, Passenger Cars starting August 1959, Daimler-Benz AG


