It’s time to re-upholster those seats
Question:
My 1966 Mustang Is not show-quality, but it looks good except for the driver’s side front seat. It is rump sprung and ripped and looks terrible. On top of that, I am tired of having to swat the little foam crumbs off of my backside when I get out of my car. I don’t have a lot of money, but I am pretty handy. Can I buy a kit someplace and re-cover the seats myself?
Answer:
You are in luck, Dan. In fact, you can rebuild the seats in a Mustang in a day using simple hand tools. Begin by ordering a seat kit. I recommend you do both front seats so they will look fresh. Even if your passenger seat is good, it will have aged from the sun and occasional wear, and will not match exactly. The same may be true for the back seat, which is even easier to remove and refurbish. Mustang Country International in Paramount, California, can supply everything you need. They sell quality reproductions, can supply the tools, and they ship anywhere. (Some restorers reuse the old foam biscuits when redoing their seats, but I don’t recommend it.)
What You’ll Need
Upholstery kit
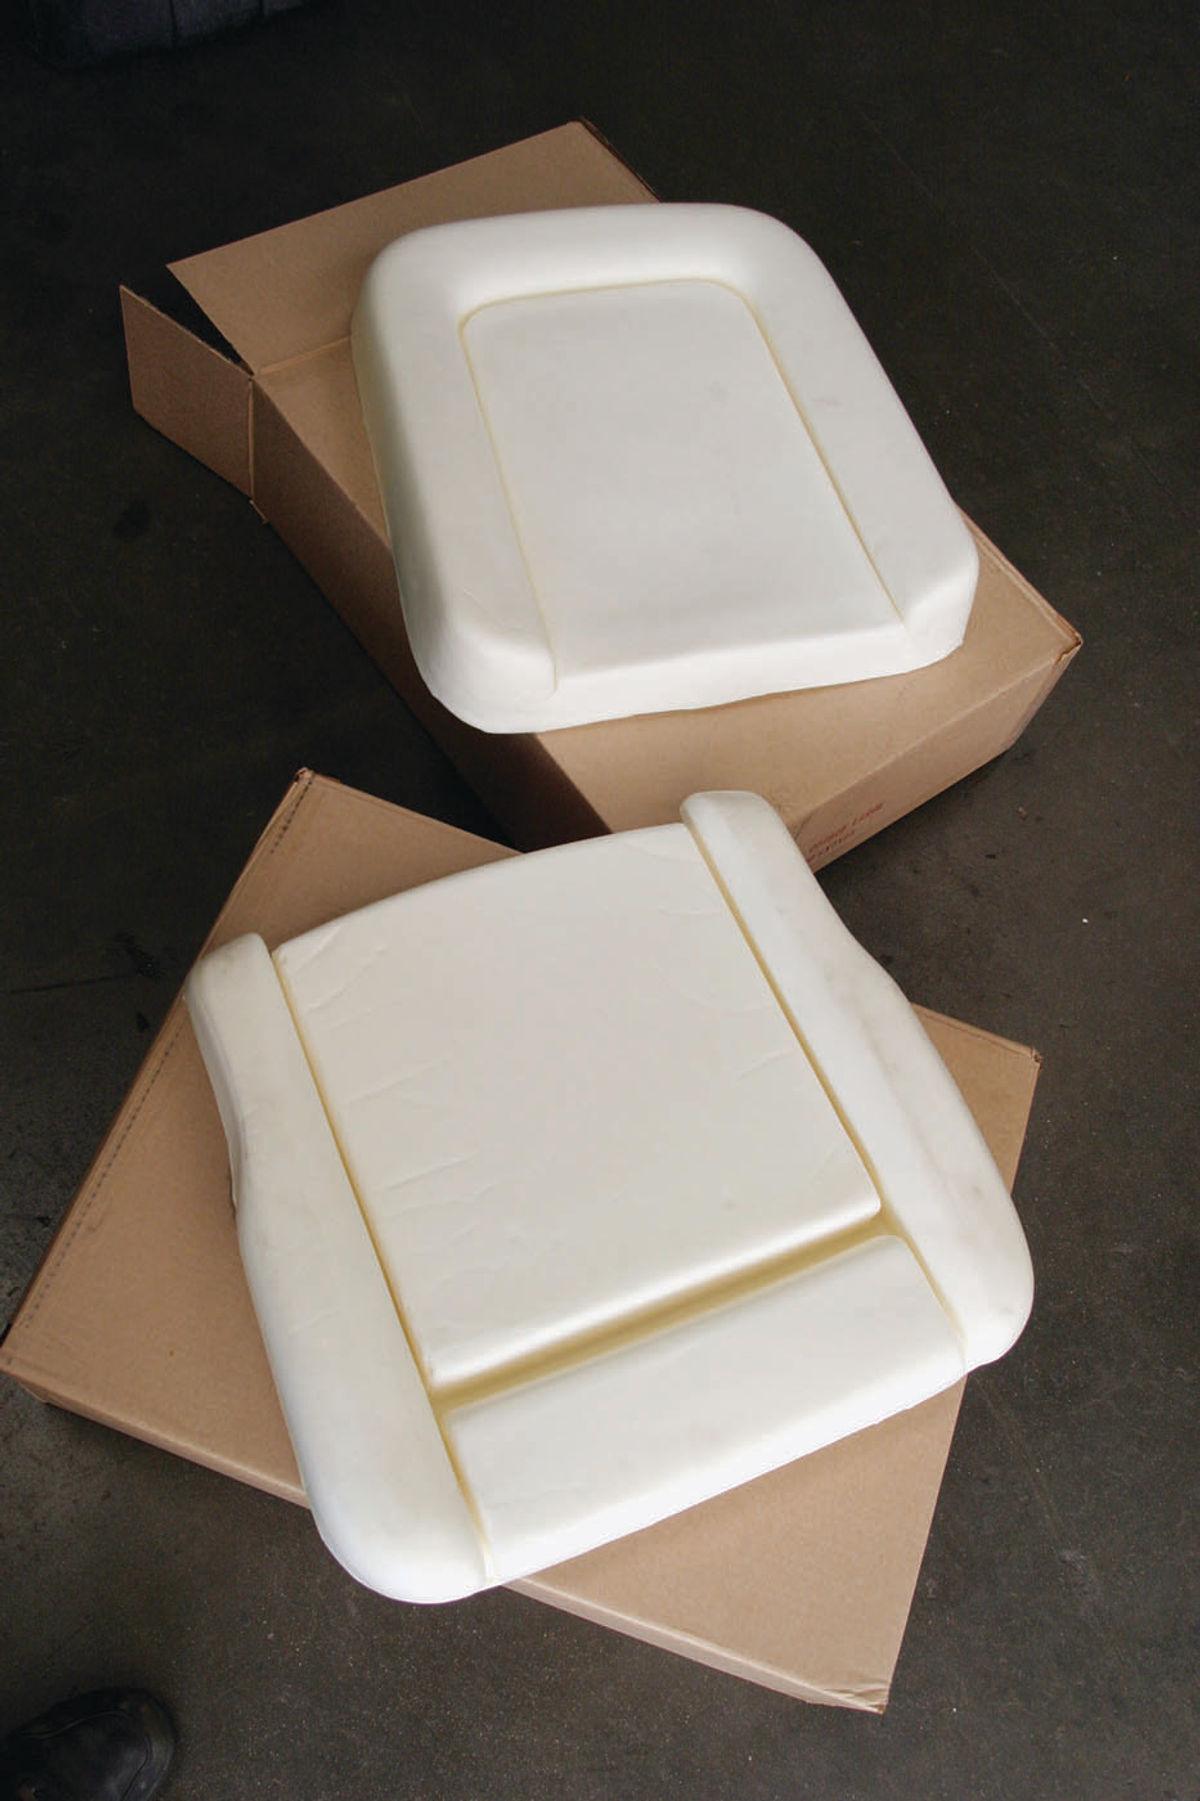
Foam biscuits
Sharp utility knife
Hog ring pliers and hog rings
Stretching pliers Masking tape
White grease in spray can

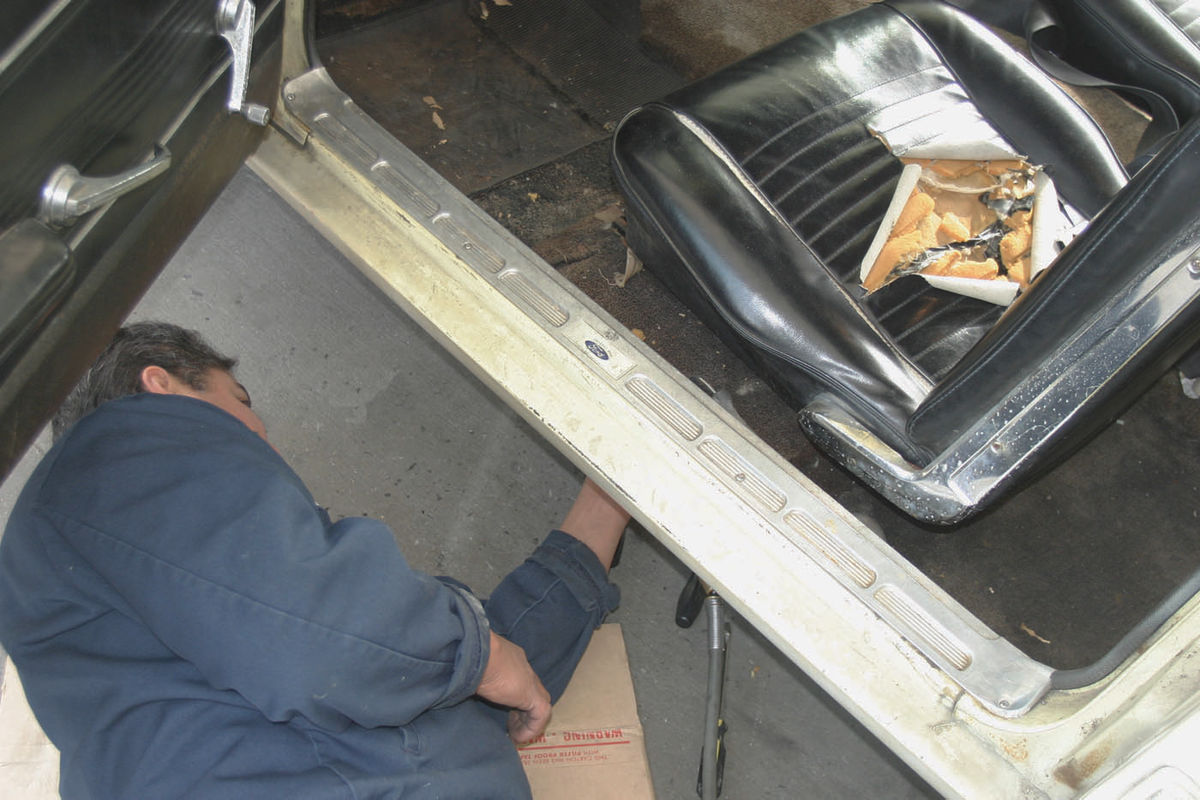
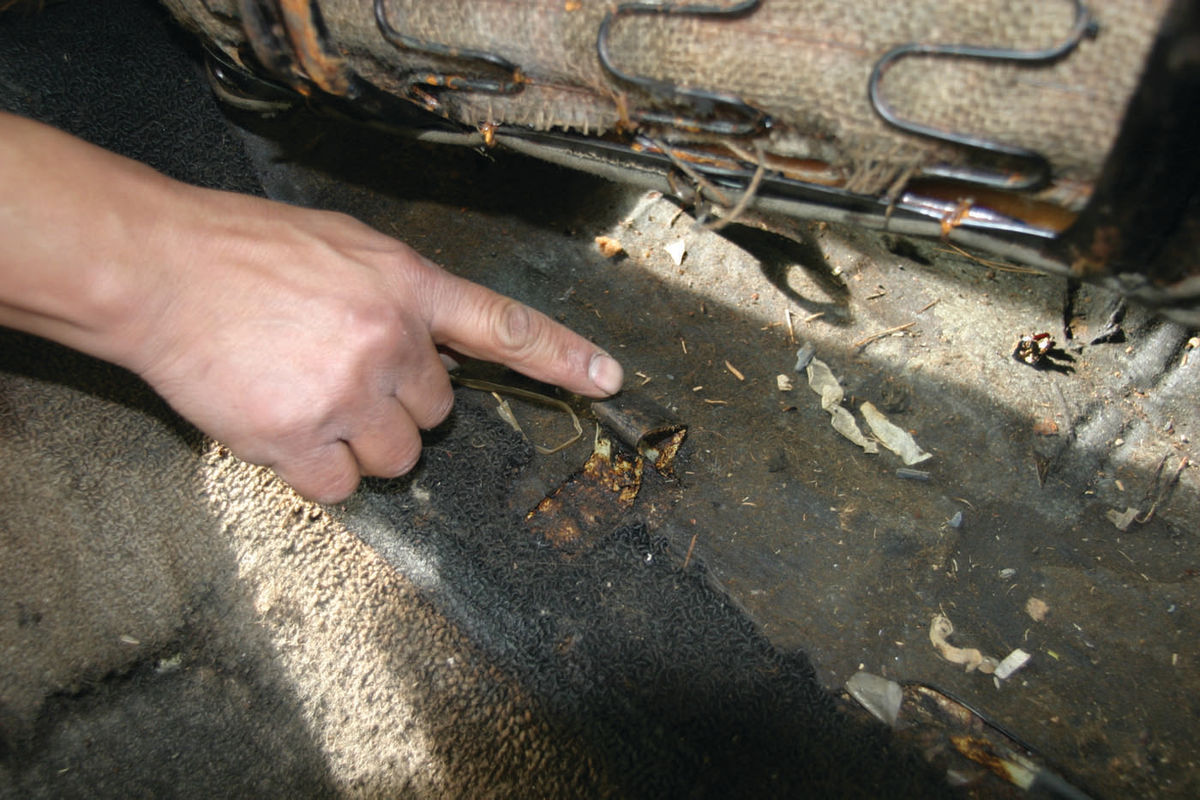
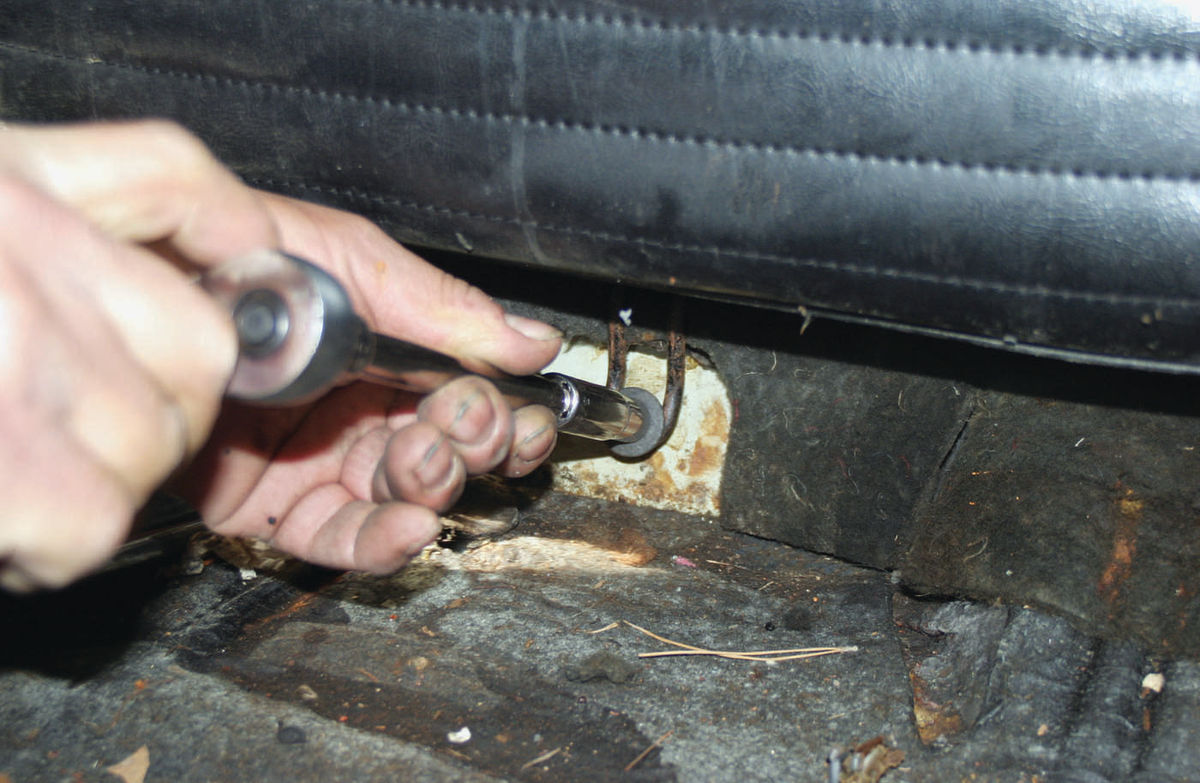
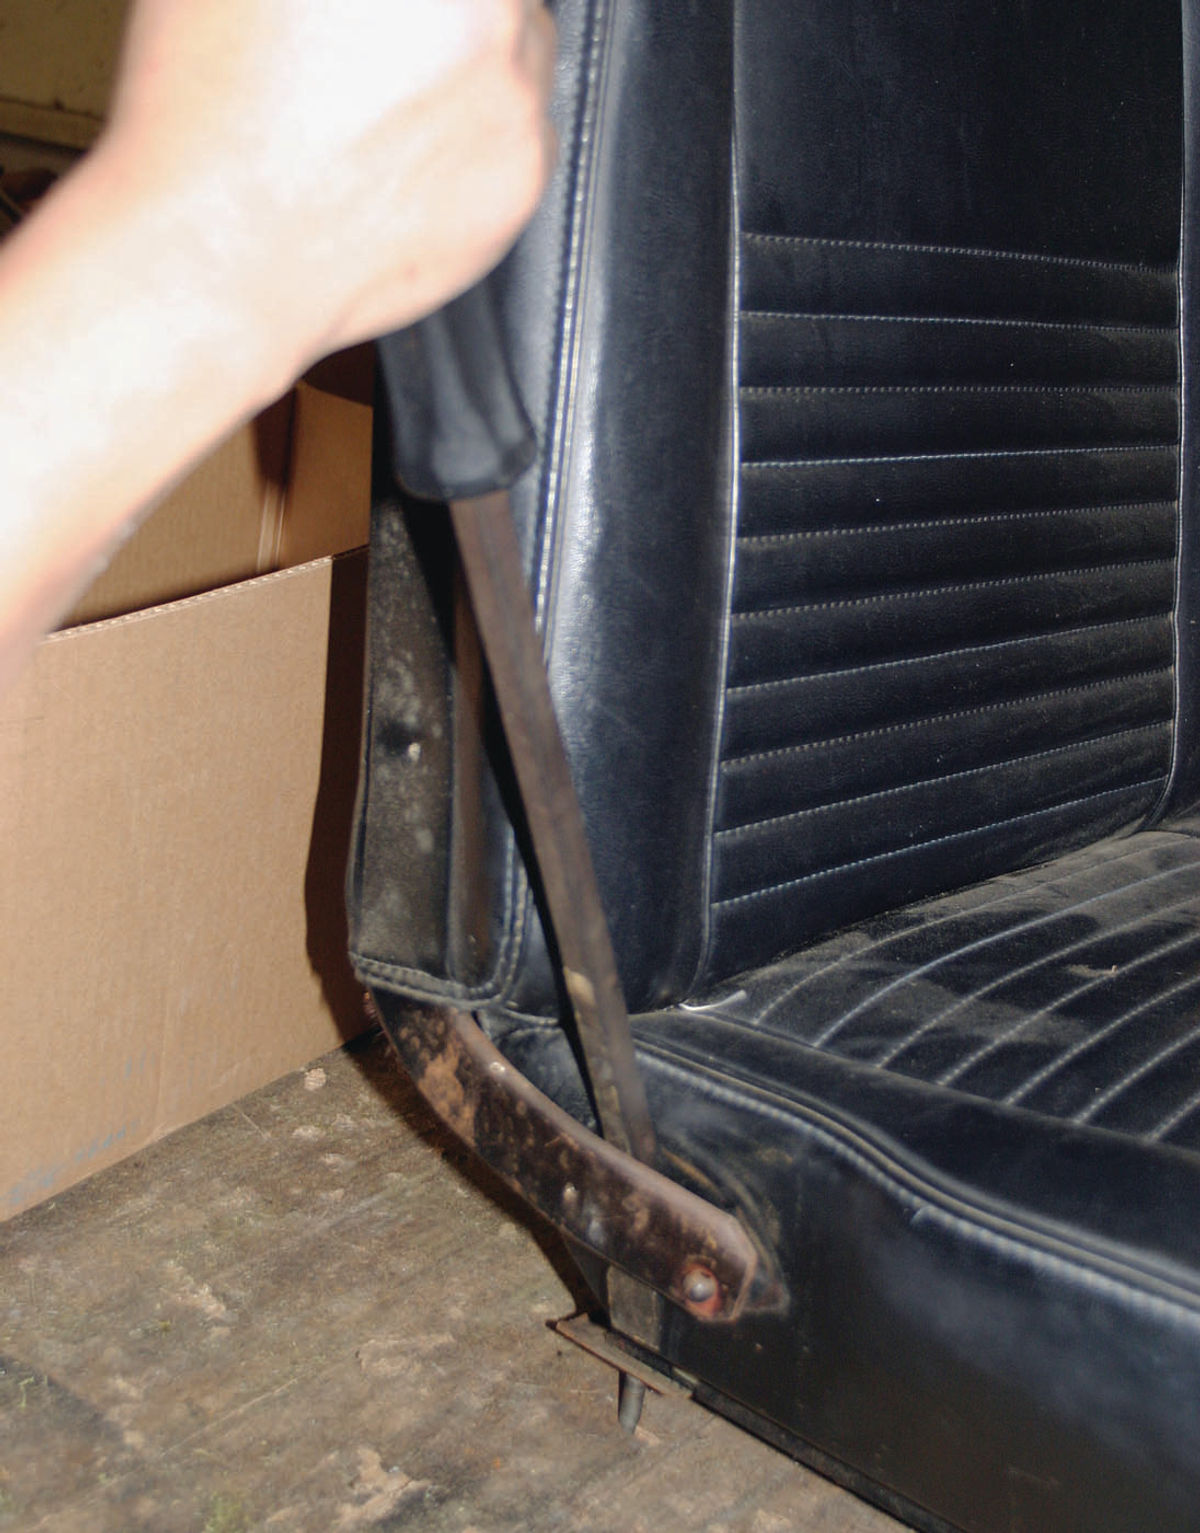
Remove the Seats Studs that attach to the seat rails go through the floor pan to secure the front seats. Grab your socket set, get underneath and take the nuts loose. Once that’s done you can lift the seats out without drama. Removing the back seat is even simpler. Just push in on the lower cushion and undo the front wire rail from the tab holding it in. Then take out the bolt holding in the backrest and lift up on it to remove it.
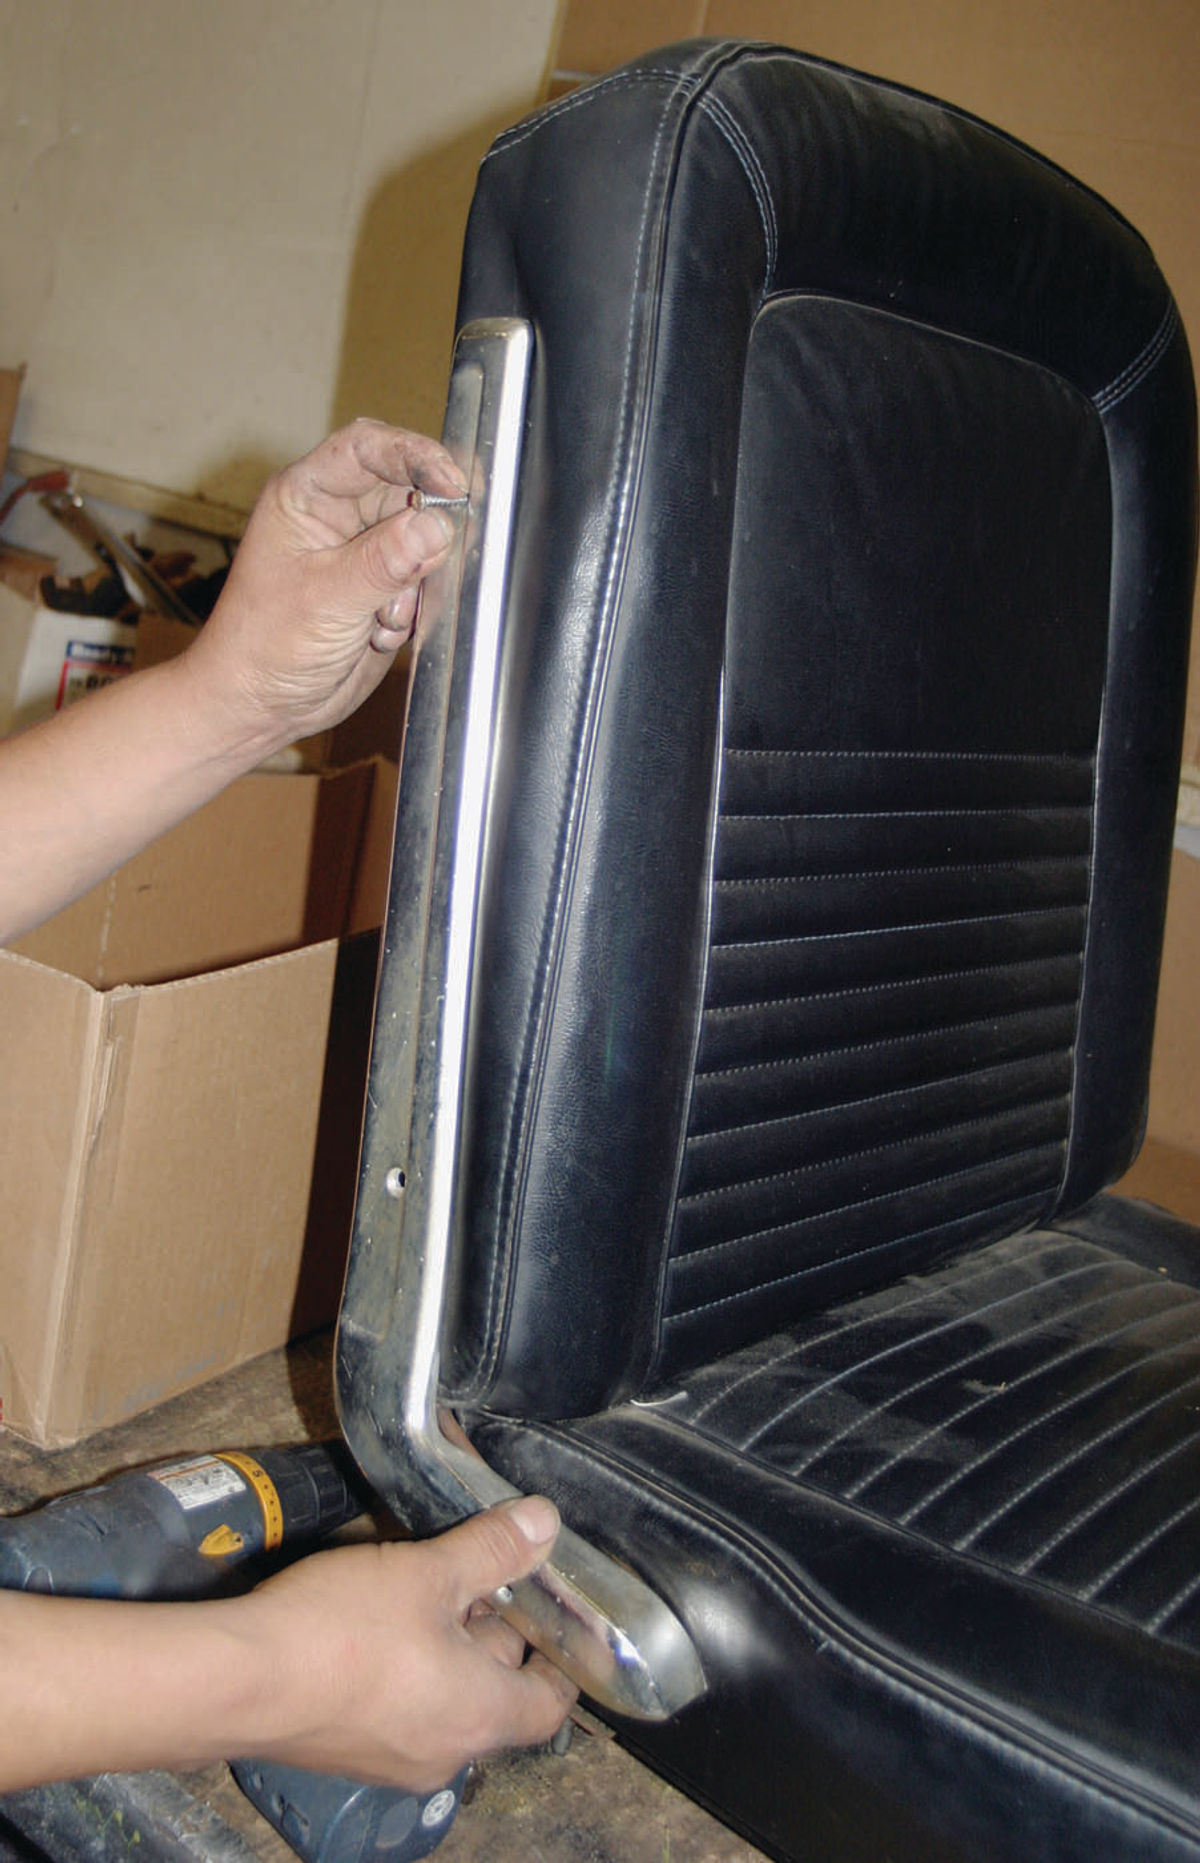
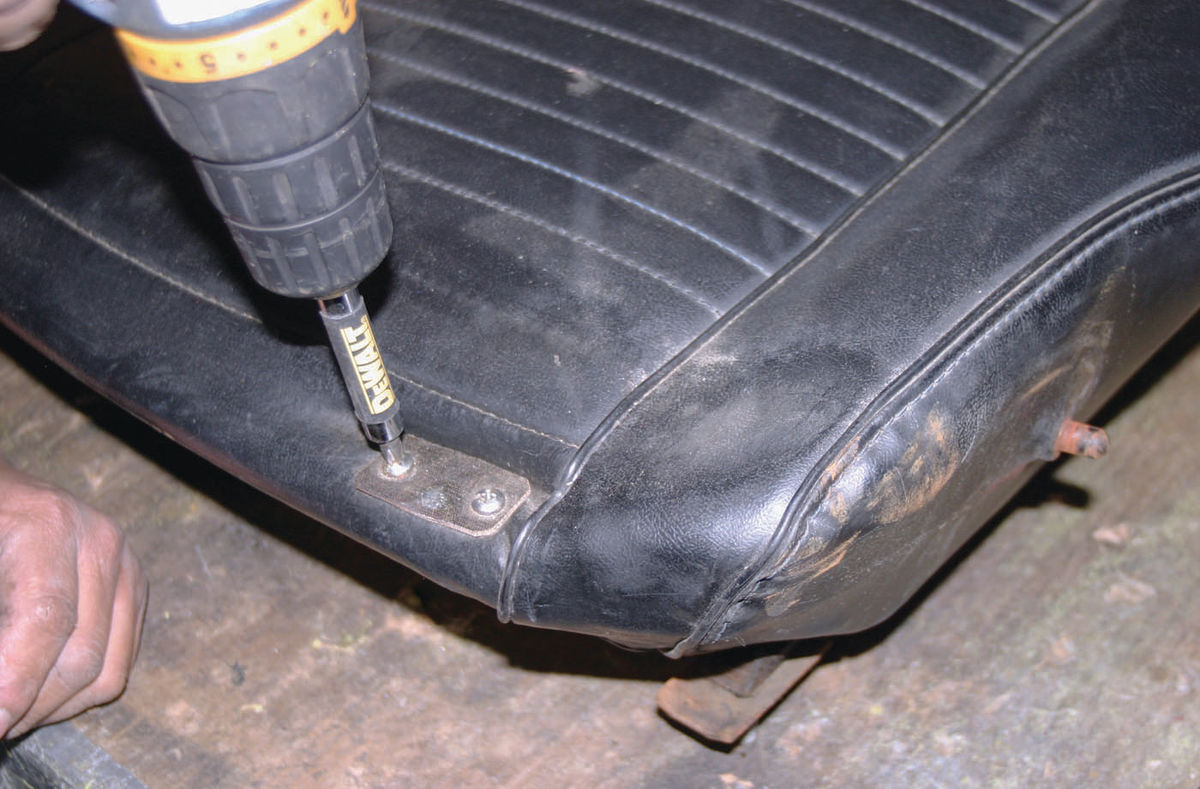
Next, unscrew the chrome covers for the backrest hinges on the sides of the front seats. Pull the cotter pins holding the hinge bars to the seat bottoms, and then pry the hinge bars loose using a big screwdriver in order to separate the backrest from the seat bottom. Unscrew the brackets at the rear of the seat cushions.
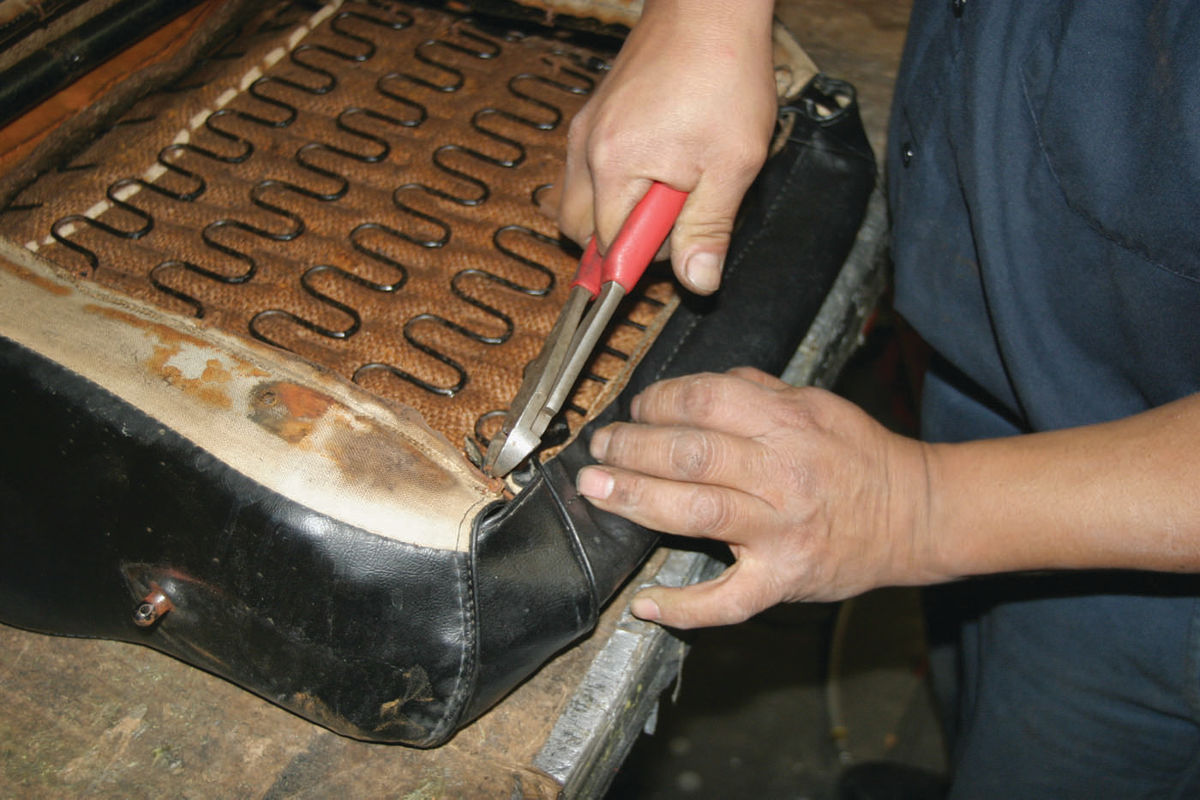
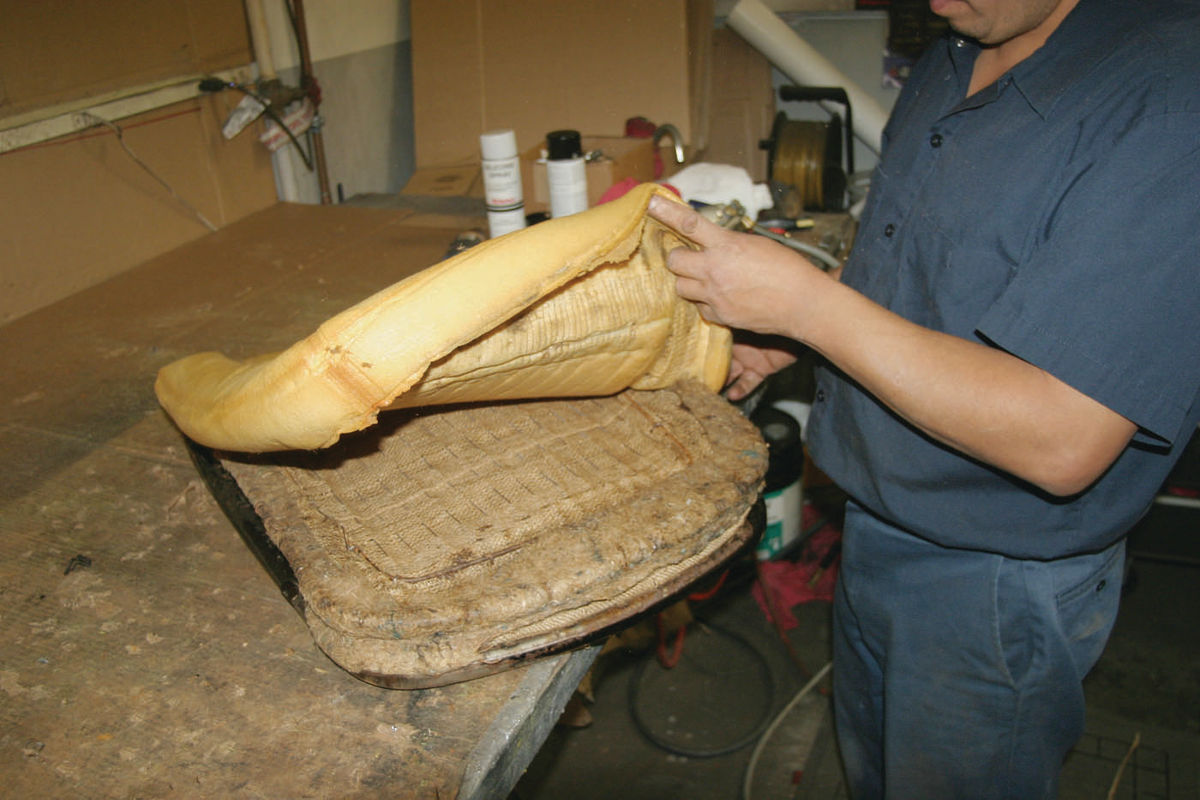
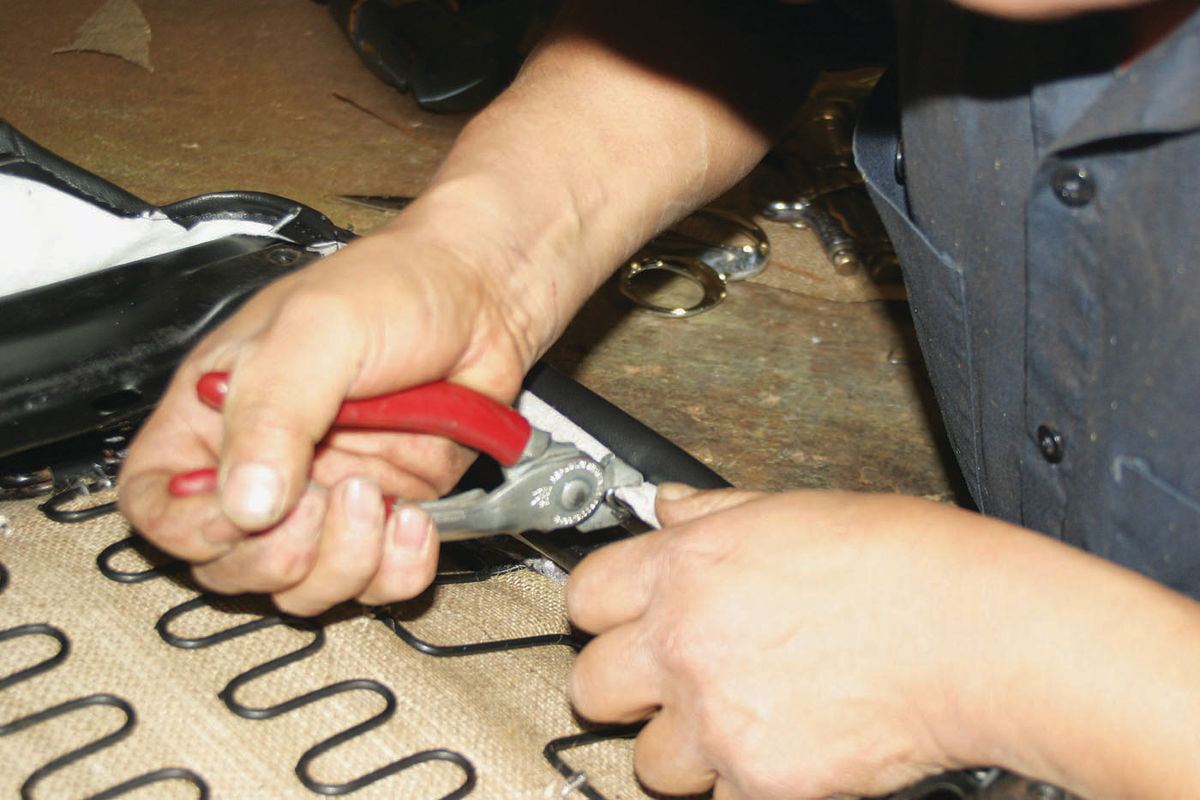
Removing the Covers Now, using wire cutters, split the hog rings holding the seat covers onto the cushions. Pull the covers off of the seat frames, working your way around each cushion. Don’t try to pull the seat cushion cover all the way off at this point though. Wire stiffeners hold the seat cover down on the seat at the seam where the pleating starts. Cut the pocket for the wires, and then pull the wires out. The seat covers will come off easily at this point.
Carefully pull the foam biscuits off of the seat frames. As we said before, it is possible to reuse your old foam if it is still intact, but new biscuits are preferable and will make the seat more durable and comfortable. Next, use your wire cutters to take out the hog rings holding the old burlap in place. Pull out the wire reinforcements and save the burlap remnant for a pattern from which to cut the new covering.
Restore the Frames Turn your attention to the seat frames. Sand off as much of the old paint and rust as possible, then shoot on semigloss black paint. Let the frames dry thoroughly before proceeding.
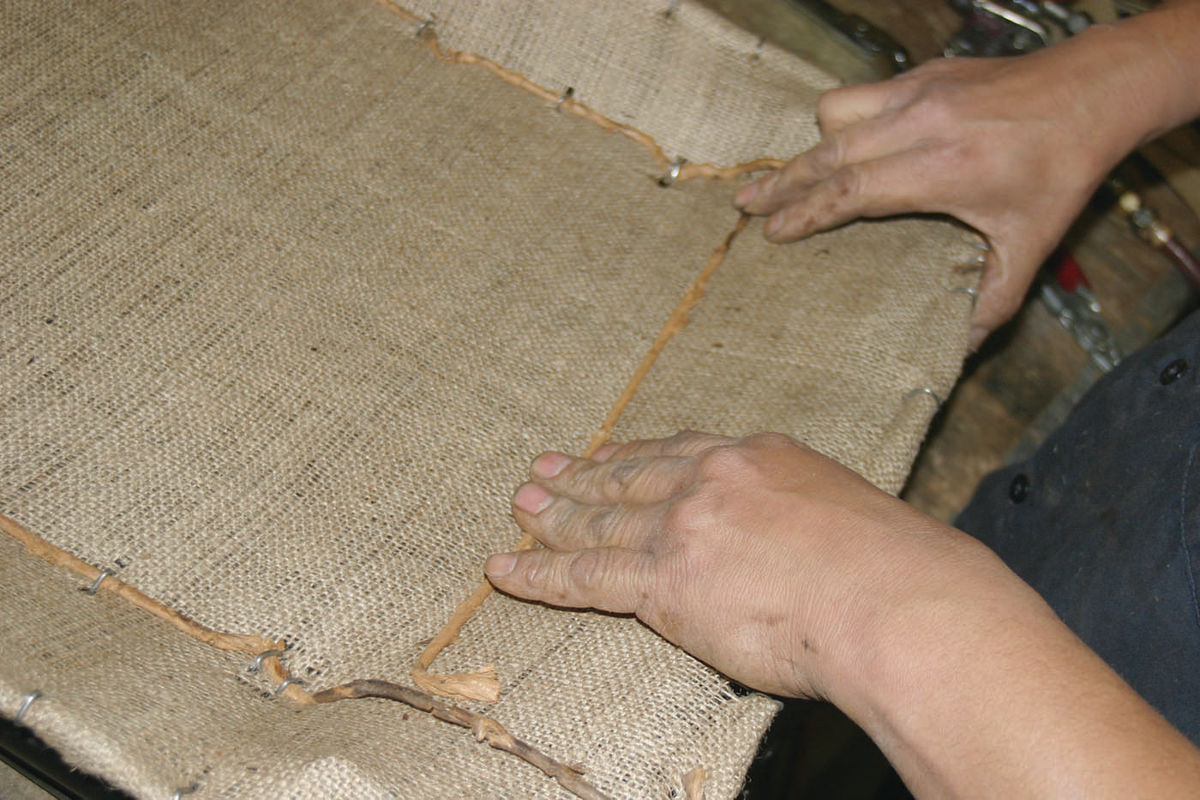
When you are ready to continue, shoot a little white grease on the pivot points and the adjustment rails of the seat frames. Mustang Country can provide new

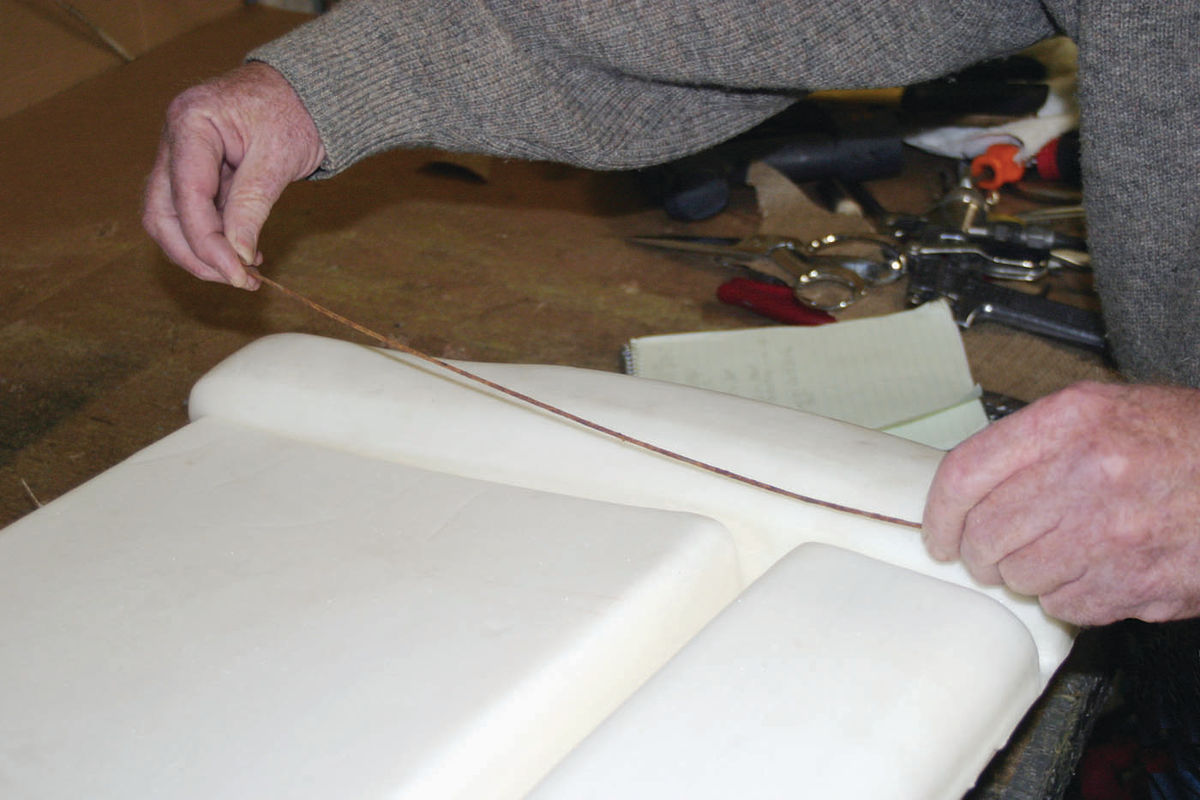
burlap at very little cost. Cut the new pieces roughly to fit and hog ring them into place using special hog ring pliers available for the task. Next, place the wire stiffeners and hog ring them to the seat frames. Trim off any excess fabric. Finally, run a strip of felt around the edges of the seat frames.
Prepping the Covers It is much easier to put vinyl seat covers on if they are warmed and softened. Work in a room that has a temperature of at least 70 degrees, and place the seat covers in the hot sun for half an hour if you have that luxury. Otherwise, you can place the covers on the hood of a car that has been running so as to make the vinyl more flexible. Don’t try to stretch vinyl into place in very cold weather though because it can shrink, become extremely stiff, and may tear.
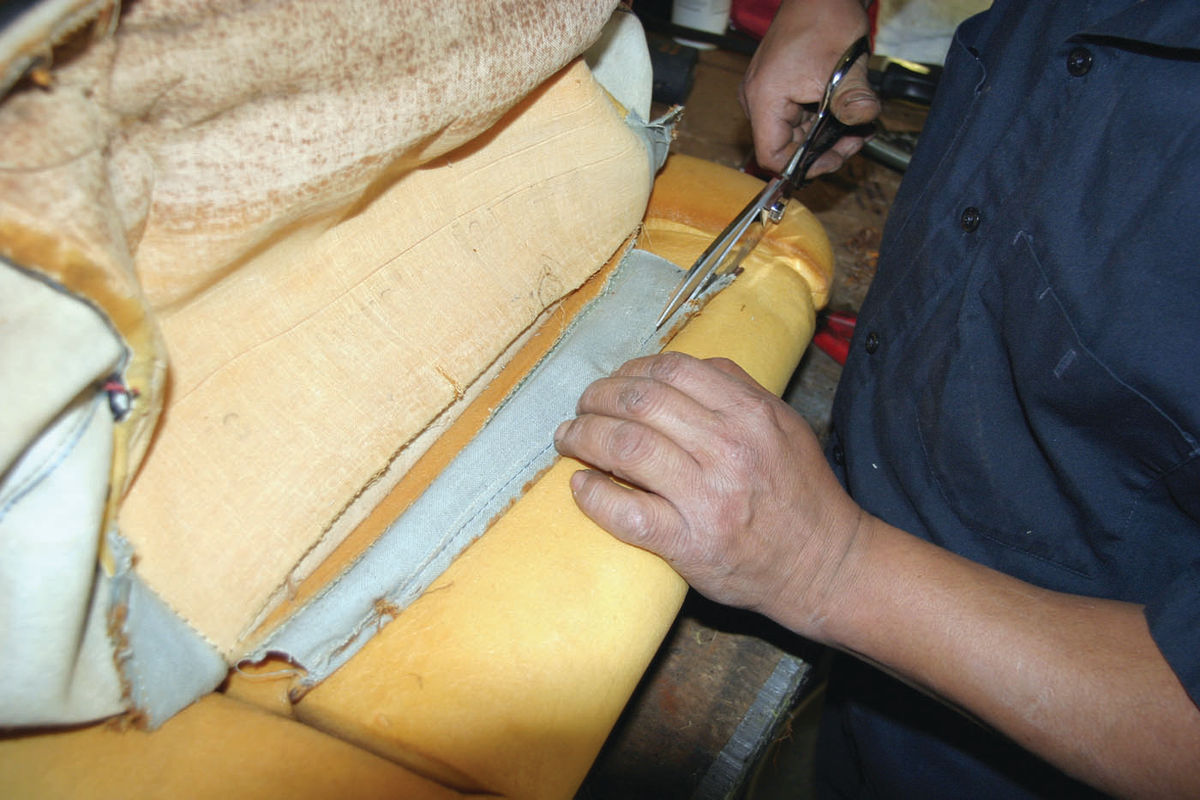
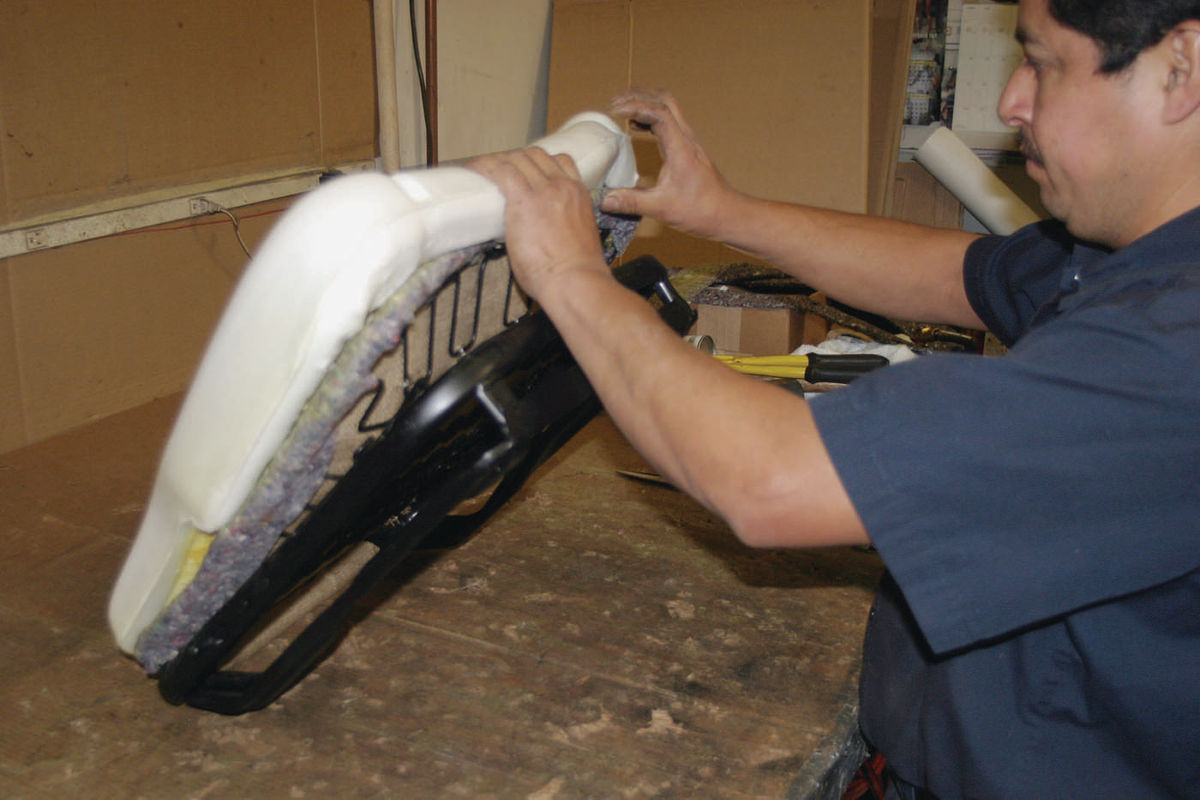
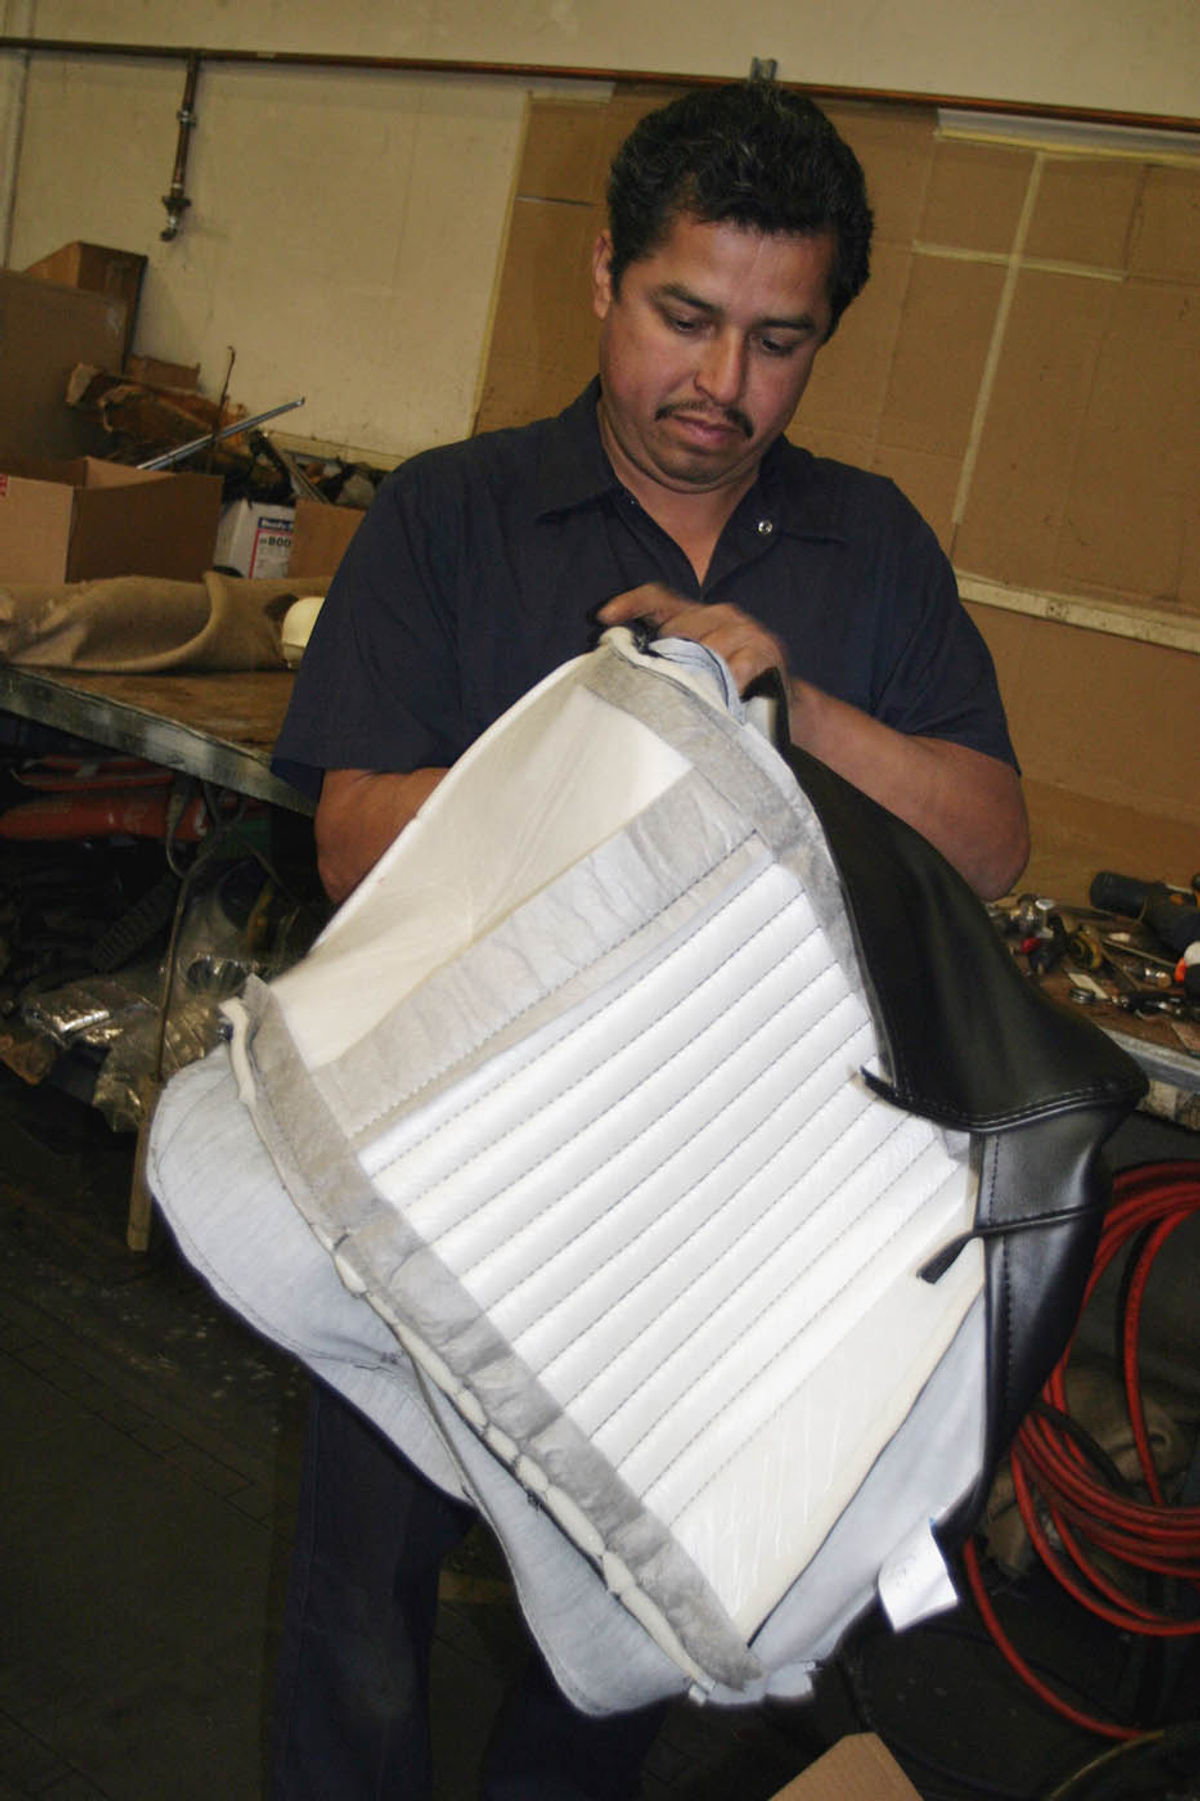
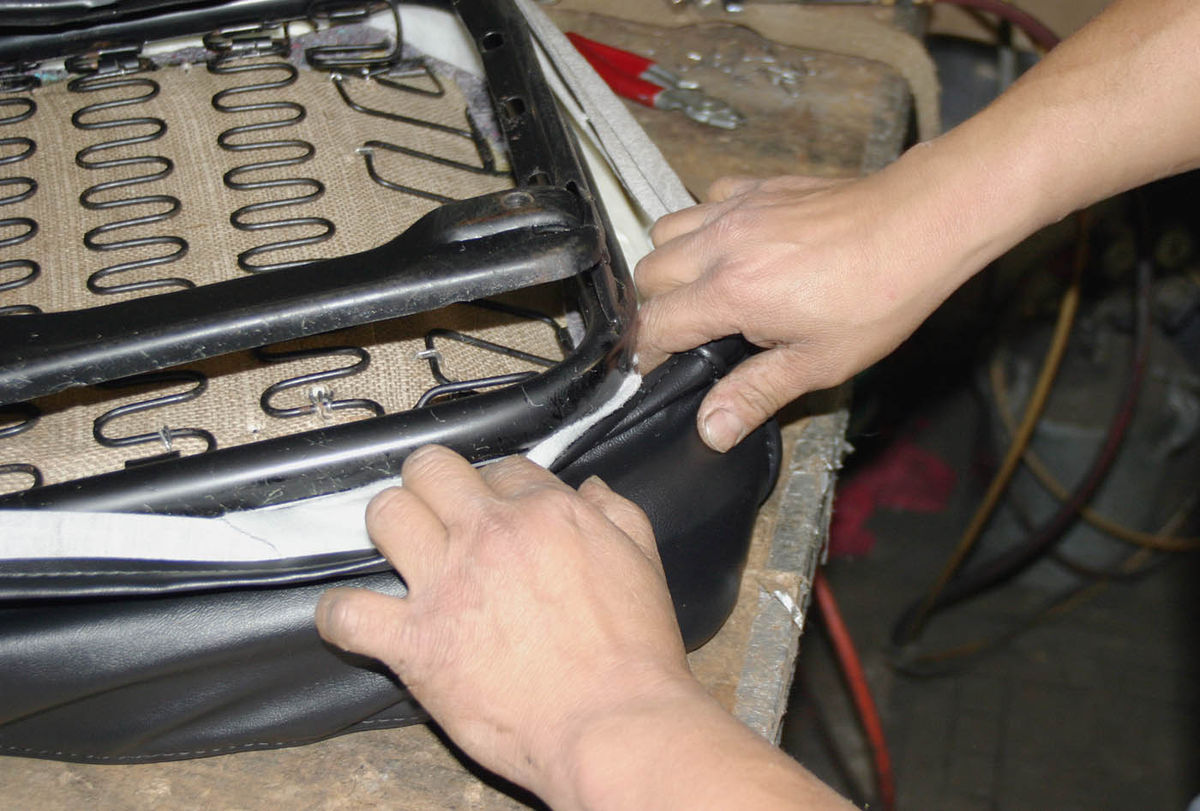
Placing the New Cushions and Covers Gently slip the new foam seat cushions down over the frame. Slip the wire stiffeners into the long, slotted pockets on either side of the pleated part of the cushions, and then hog ring the cushions into place on the seat frame through the cushions. Be very careful to arrange the pleated parts of the seats so they are straight and square before going on.
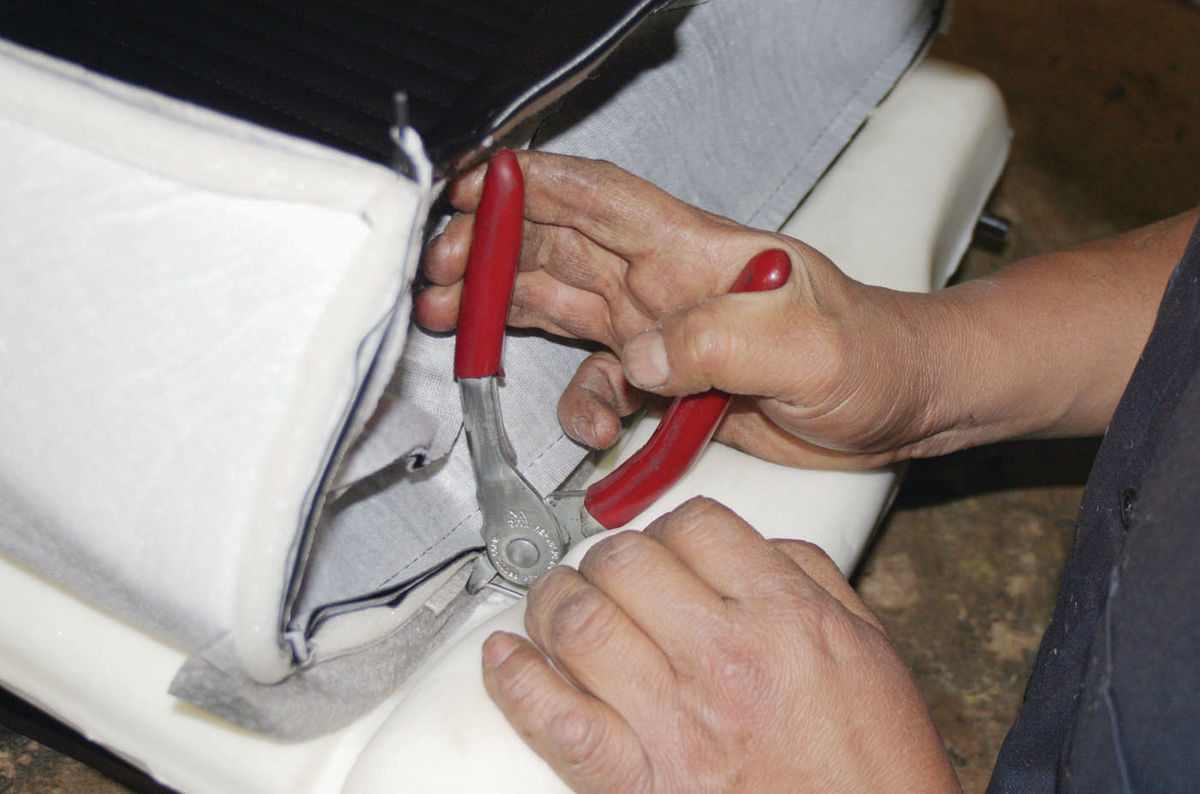
Pull the seat covers down over the frames, making sure the seams are straight all around. Working from the middle of each side, pull the seat covers into place. Hog ring the centers all around, check your seams again, then work your way out to the corners on each side with the pliers and hog rings.
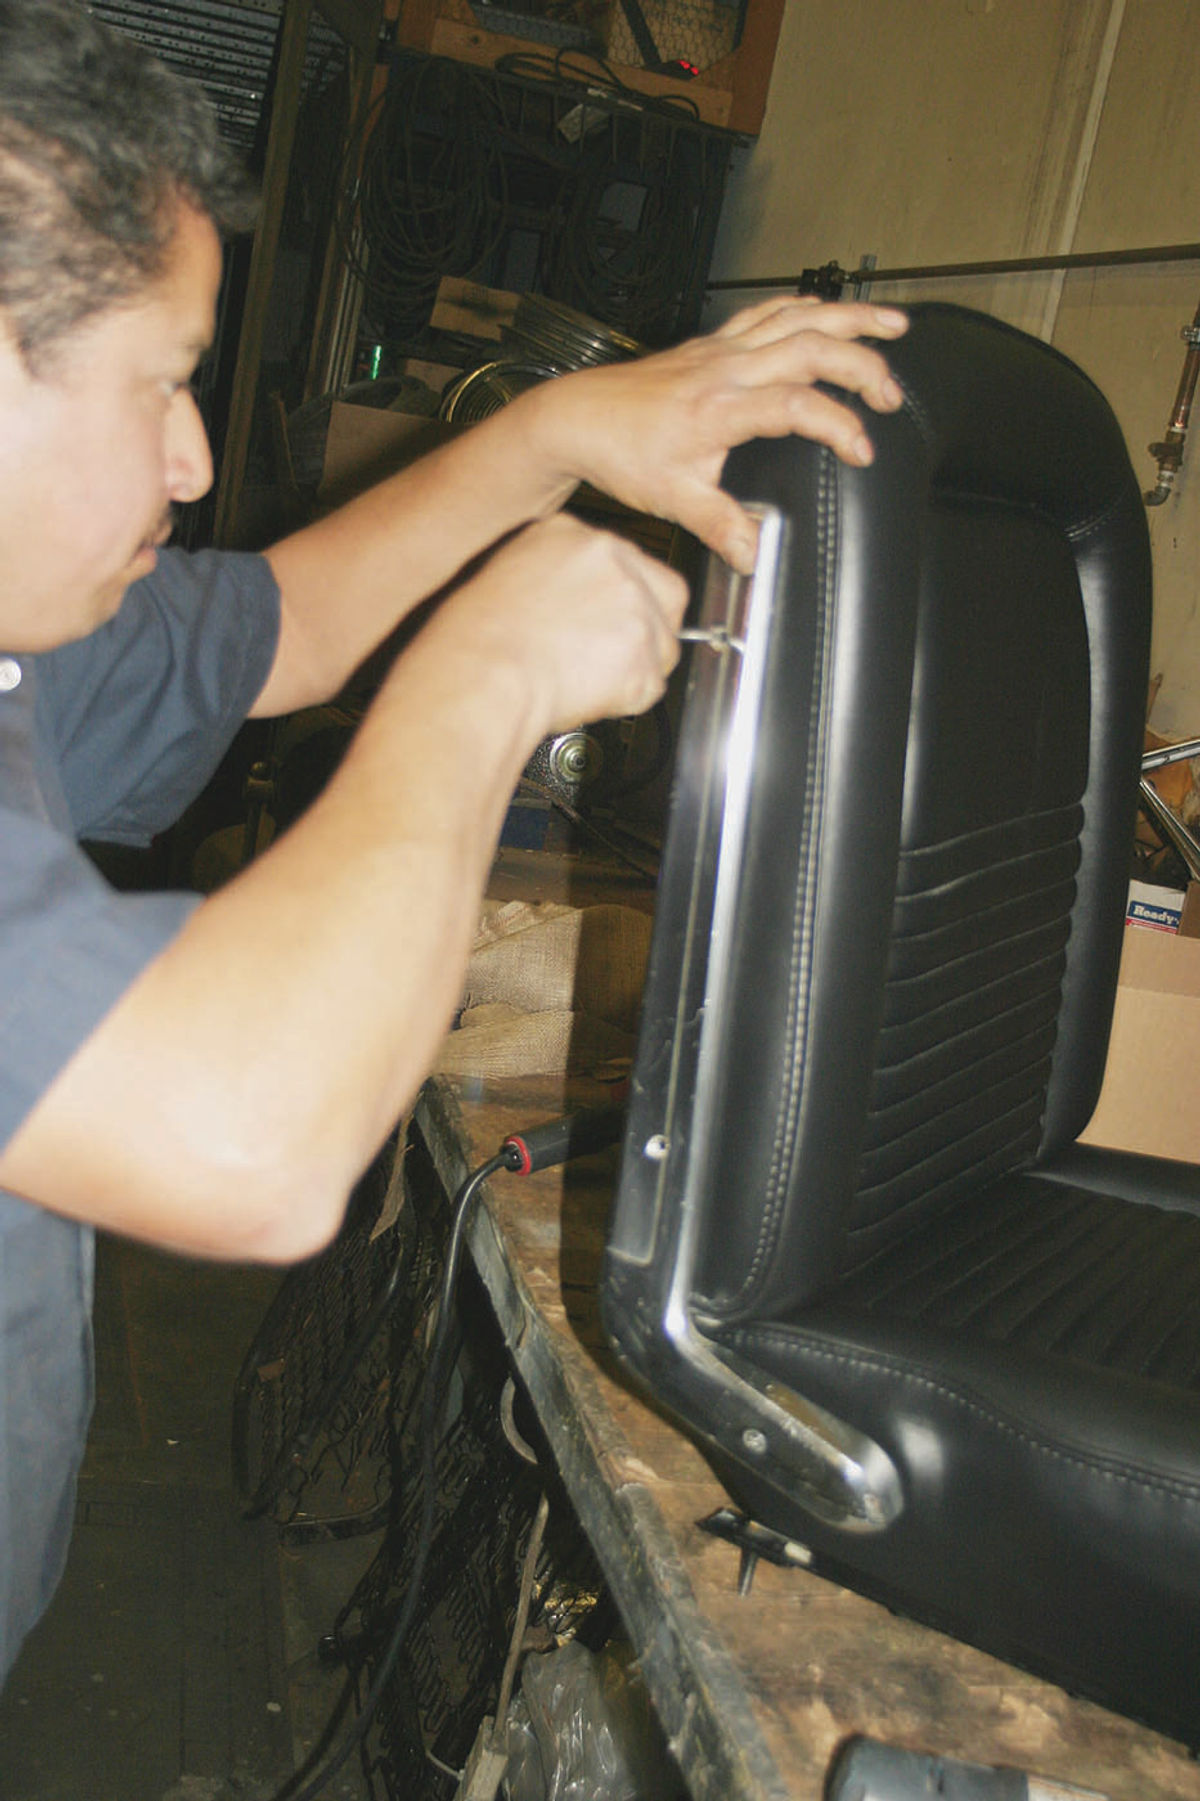
Reinstall the bright work side plates on the front seat hinges, and then bolt the seats back in the car. Make sure the carpeting is positioned correctly and not rumpled or wrinkled before installing the front seats.
Finally, get in the car and move the front seats up and back to make sure they move freely. Now your classic Mustang should look and feel as comfortable as it was designed to be when it came from the showroom.


Resource
Complete seat and upholstery kits are available from:
Mustang Country International 14833 Lakewood Blvd. Paramount, CA 90723 mustangcountryintl.com


