
Windshield replacement
Question:
My 1968 Volkswagen was restored a number of years ago, but we kept the original windshield. Since then it has become scratched by a bad windshield wiper and has become clouded. How hard is it to replace a windshield? I am fairly handy and do my own work whenever possible to save money.
Answer:
Pitted, scratched or cracked windshields are unsightly as well as dangerous. The glare off of pits can make it hard to see when driving into the sun, and scratches made by wornout wiper blades can be distracting as well as ugly. Also, any windshield that is cracked, even if it is only through one layer of glass, is dangerous because it could shatter in an accident and cause injury.
Luckily, installing a new windshield is easy on a Beetle, and requires only a few hand tools and a couple of hours of effort. In fact, once you know how to do it, the hardest part may be to push in the decorative brightwork molding embedded in many windshield gaskets.
Start by ordering the necessary glass and rubber gasket. Make sure you tell the supplier the exact year and model of your Dubby, and whether you want tinted glass or not. While you are waiting for your new windshield to arrive, you can remove the old one.
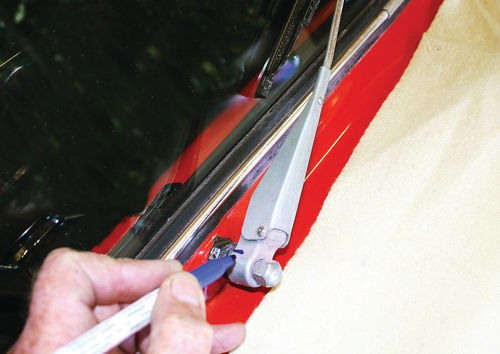
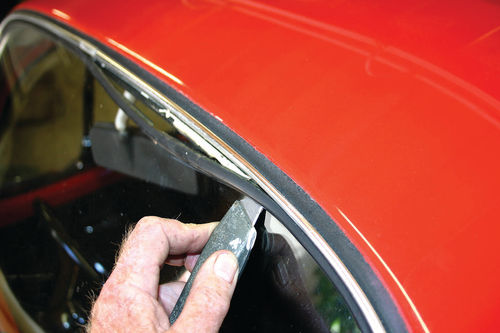
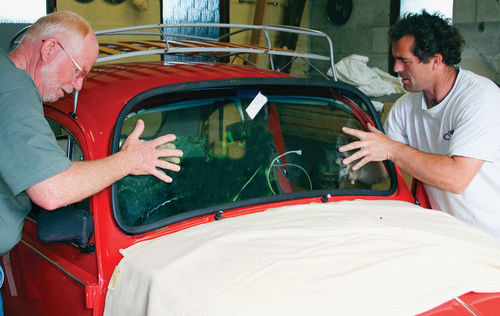
Place a blanket on the hood and cowl to protect the paint. Mark the windshield wiper arms in relation to their stanchions and then remove them. Next, using a utility knife with a sharp new blade, cut around the inside of any brightwork metal strip from the outside of the car. If there is no brightwork strip just insert the knife until you feel the outer edge of the glass, and then cut slowly around the whole windshield.
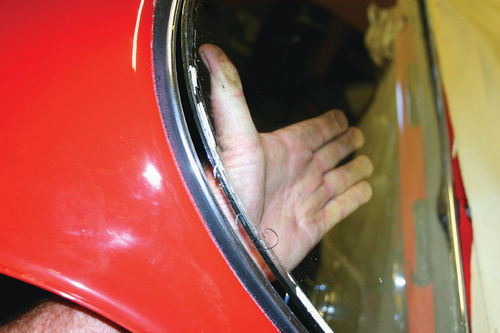
Once that is done the windshield should come out easily if you press on it from the inside. Be sure to wear heavy work gloves and eye protection while doing so, because it is possible for the glass to fracture. Have a friend help on the outside while you do this in order to prevent the glass from denting or chipping your paint.
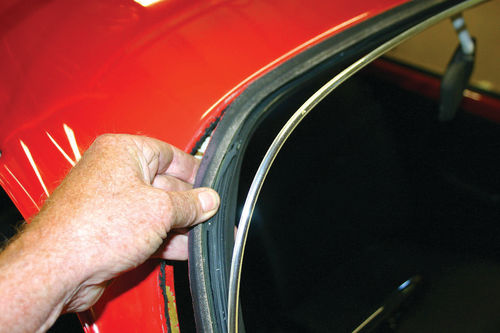
Once the glass is out, pull the rubber seal away from the pinch molding— brightwork strip and all— being careful not to bend or kink the metal strip. And then with the old seal off the car you can lay it out flat and gently pull out the metal strip.


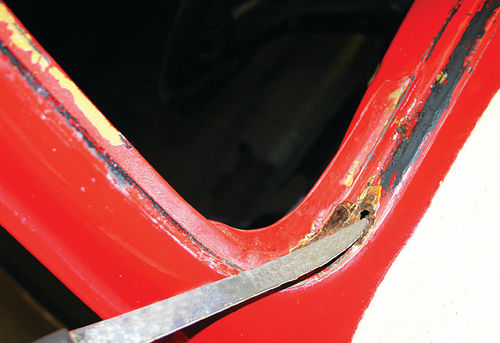


Remove all the old sealant on the pinch molding where the windshield goes using gasket and seal remover available at auto supply and hardware stores. If you live in a wet climate or your previous windshield was not entirely sealed properly, you may find rust along the pinch molding. Remove any rust down to clean metal, then prime and paint the areas using matching enamel. You can usually just brush the paint on because it won’t show once the new windshield gasket is in place.
Holes and rusted-out areas are more serious. The only correct way to fix them is to get rid of all the surrounding rust, then weld in patch sections. This will most likely mean that you will have to repaint your car’s cowl. Small holes might be fixable with plugs, but bigger ones will need to be welded.
On many cars from the era including your VW, the interior headliner is partially held in place at the front by the windshield gasket, and if it pulls away at all it will need to be re-glued using 3M Super Duty Trim Cement. Don’t use regular trim cement because it won’t hold.
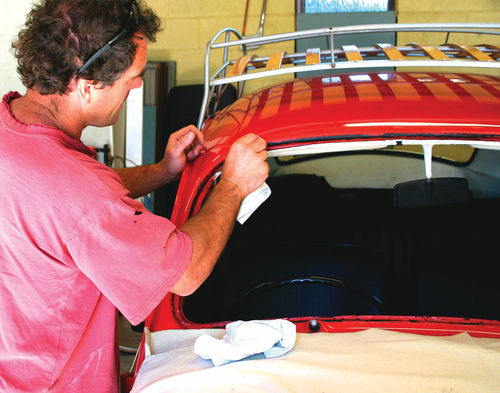
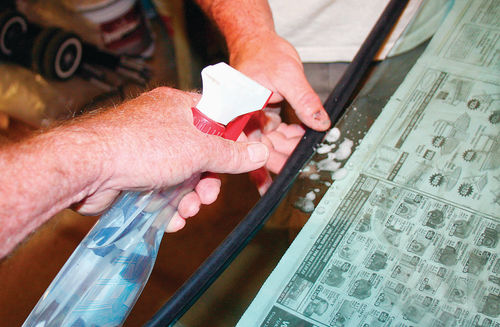
Once the pinch molding is prepared, you are ready to put the new rubber gasket onto the windshield glass. A little soapy water spritzed in the groove of the rubber will make this process easier. Slip the rubber seal onto the corners of the glass first, and then work it into place all around.
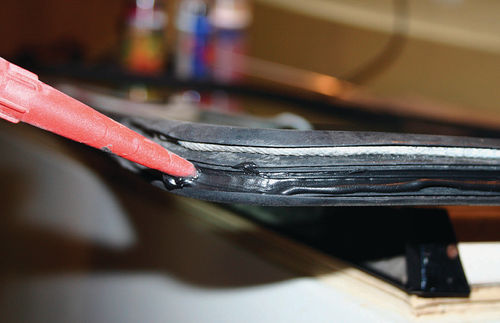
Next, run a bead of urethane caulking sealant made especially for installing windshields and available at glass shops in the lip for the pinch molding all around. Don’t be tempted to use ordinary silicone sealer because it will not do the job. Urethane caulk is especially designed so it never hardens. That way it will continue to seal for many years.
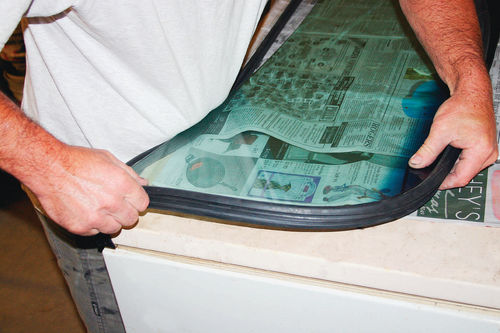
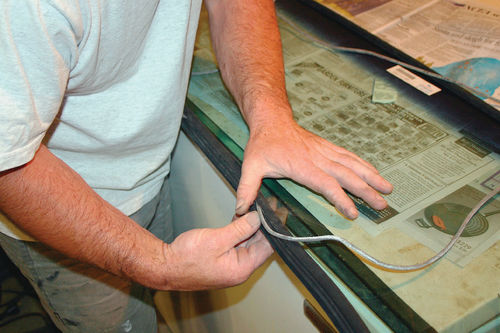
Now find a piece of stout smooth cord long enough to go completely around the windshield with about two feet to spare. Starting at the top of the windshield, work the cord down into the pinch-molding groove so that the two ends meet in the middle of the bottom of the windshield. Tape the two ends to the glass so you can access them easily inside the car.
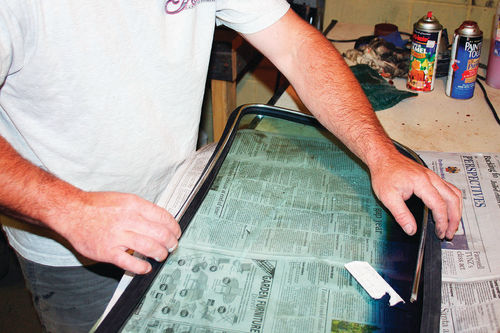
Place the windshield on the lower pinch molding and then have a friend push it in while you get inside the car and pull the string slowly so the rubber seal flops over the pinch molding. Take it easy, especially in the corners, and use a wooden stick or plastic filler spreader to help the rubber lip over the molding as needed. Have your helper push on corresponding areas as you pull out the string so as to force the gasket in place.
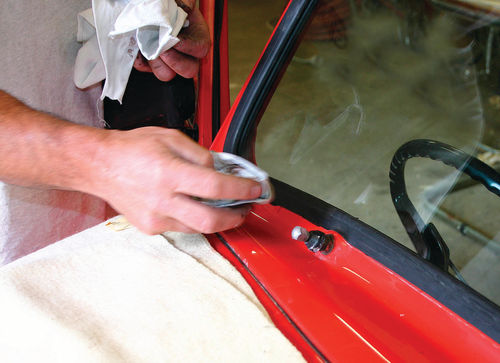
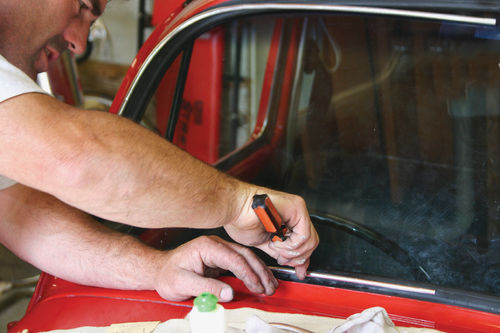
You may need to use a wooden tongue depressor or plastic body filler spreader to work the front of the seal into place on the outside as well. But don’t use a screwdriver for this, because you could crack the glass. When everything is in place the way you want it, shoot a bead of sealant into the windshield lip on the outside of the car to further seal the windshield. Clean off any excess sealer with seal and gasket remover. Don’t use lacquer thinner though, because it could ruin your car’s finish.
Finally, install the brightwork strip using a little soapy water and a flathead screwdriver or plastic filler spreader to help pop it in place. Be extra careful not to scratch or kink the molding or mess up your Dubby’s paint.


