How -to Before You Start Your Project…
Some Serious Planning Can Save You Time, Money and Grief. Consider These Lessons From a Novice Restorer.
AS A FIRST-TIME restorer, I learned many things while bringing back my old Willys M38 Army Jeep that was featured in the May 2010 issue. A lot of those lessons were learned the hard way.
While there is no substitute for experience, my missteps did cost me in terms of time, money and endured frustration. With that in mind, this article is intended to help others understand some of these issues up-front, so that their restoration experiences might go a bit more smoothly. This is a great hobby (profession for some), so hopefully some of the information here will help to keep it alive and well.
Buying vs. Building
First, each person must decide for themselves what they are really after. If one is primarily interested in simply owning an older car—either as something to take to shows or something that will give them a dose of nostalgia while they are driving it around—it might be best to look for a vehicle that has already undergone restoration. Only you can decide how much you’re likely to enjoy the actual “doing” of a restoration and whether you have the interest and ability to see it through. Restoring a vehicle is not for the faint of heart; with novices, especially, many restorations end up taking much longer and costing much more than they anticipate.
You also need to decide whether you’re out to do an actual restoration of a car to its original form, or to do a custom, hot rod or “resto-mod,” which can be a combination of restoration and updating of systems like the engine, drive train or brakes to more modern or higher-performance configurations.This approach can have advantages in allowing you more freedom in what you do, with the concurrent disadvantages of not always having all the wiring diagrams, assembly manuals and overall step-by step instructions to ensure it will all work, as a standard car would.
Either way, if you’ve decided you definitely want the finished product to include some of your own sweat equity, and enjoy the pride and satisfaction that comes with that, read on.
Buy as Much Car as You Can
It’s been written before, but it bears repeating here: Even if you want to do the restoration yourself, buy as much car as you can afford.
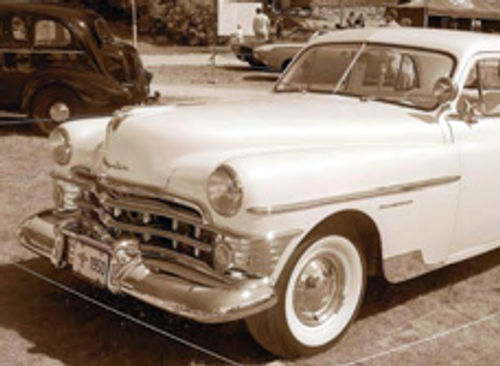
This means looking for the best quality in terms of completeness, functionality (i.e., is it running?) and condition.
Unless you’re restoring the vehicle purely for personal reasons, such as it’s been in the family since it was new, consideration should also be given to whether the finished product will be worth the effort and investment.
You may not be doing this to try to make money, but it’s sure nice to know that the vehicle you’re restoring is likely to appreciate in value or at least hold onto its worth.
Assess Your Capabilities (Realistically)
So, let’s assume you’ve decided you want to do a restoration and you’ve identified the type of car you want to do, or have even settled on a specific example. The next step is to assess the work required, along with your own personal capabilities for handling it.
There are very few hobbyist, or even professional, restorers who do every single part of the work themselves. It often just isn’t practical. For example, something as fundamental as media blasting of large components like the body shell and chassis are often handed off to specialists because the equipment to do this can be prohibitively expensive for the hobbyist. Thatsaid, the restorer may look to do the cleaning and blasting on many of the smaller components themselves, provided they have or can afford the necessary small-scale blasting cabinet and related equipment.
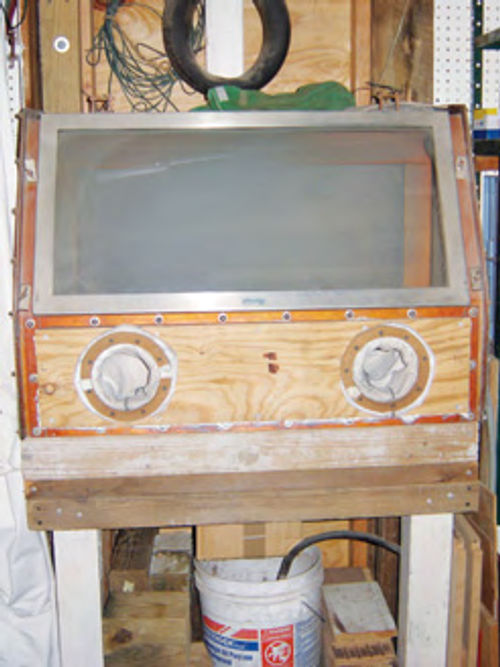
In my case, while I had a compressor, I didn’t have a blasting cabinet (or the money to buy one), so I made one. I came across a cabinet that a local school had discarded during renovations and modified it for blasting. (See photo on the previous page.)
I then spent many hours, even full days, blasting small parts, including nuts, bolts and washers. If the part was serviceable, I reused it. I was proud of my work and grateful for that little cabinet for all the parts it helped me clean myself rather than paying a shop for the work.
The quality repair of sheet metal, especially extensive rust on body panels, will often prove to be one of the most expensive aspects of the job, along with final prep and paint. Yet few home hobbyists will be able to do much of that work themselves. (This goes back to the earlier recommendation that you should start with a vehicle with as little rust damage as possible.)
However, with some basic welding skills and relatively inexpensive equipment, home restorers CAN handle basic metal repairs to mechanical components, saving multiple trips to the local machine shop. As always, anything that could compromise the safety of the finished vehicle should be left to a pro.
In the end, it comes down to balancing your abilities, budget, schedule and end goal.
If and when you do engage a professional, you may face repairs that can be handled for a flat rate as well as those where the professional will charge you for his time and materials. The second is to be expected where the extent of the repair can’t be ascertained up-front, making it impossible to give a good estimate. So consider a note of caution here: These types of repairs can become very expensive if you’re not careful or, worse, if you’re dealing with someone who’s unscrupulous.
But while there are some pros out there waiting to take advantage of their customers, many projects have gone afoul as a result of unrealistic owners getting in over their heads, giving the go ahead for work and then refusing to pay when the bill comes in higher than they anticipated. So, seek out pros that can provide references from people who’ve had positive first-hand experiences with them and inspect some of their finished projects. Then talk it through and get things in writing before the work begins.
Document Everything
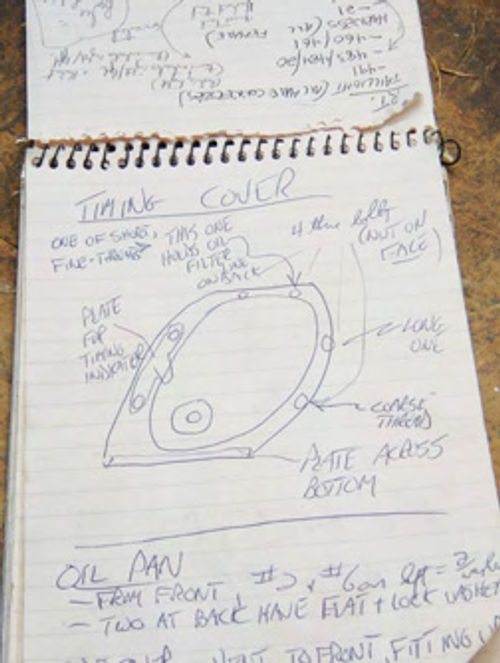
One of the things I found most important as I worked through my project was to document everything as I went. Unfortunately, as a novice, I learned this lesson a bit too late in the process.
Like a lot of anxious first-timers, once I decided to go full-bore on the restoration project, I quickly disassembled everything without taking as many notes as I should have to help me get it all back together later.
For example, Army Jeeps like mine have an extensive vent line system as part of a “fording kit” which allows critical components to be sealed off so the vehicle can be driven across streams several feet deep.
There is much debate among Jeep restorers to this day about particulars of this vent line system and I wish I had extensively diagramed and photographed mine before I tore it all down.
So, after those initial missteps, I kept a pad and pen handy to jot down notes, make quick diagrams and keep a “todo” list of reminders. I also took tons of photos to both document original configurations for later reference in reassembly, as well as to record the work I had done. This second part can prove very useful, not just as a nice complement to your vehicle display at shows, but to add to its value for any potential buyer down the road. This photo record, along with all the receipts for parts and work done, provides valuable evidence of the work done on the car.
On the subject of receipts, I saved everything—and I mean everything—not just those for parts and work done, but for the many incidental materials,such as paints, sandpaper, sealers and the like.
This brings me to the advice a couple of old restorers gave me: Save all your receipts, but never add them up! This tongue-in-cheek advice again refers to the likelihood that your costs may far exceed your original estimates if you’re a first-time restorer, and the experience will help you with your planning for future projects.
Break the Job Into Manageable Pieces
Once I started to get into my restoration, I began to feel overwhelmed.
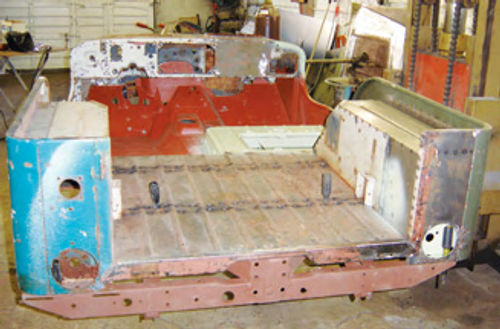
I looked at the garage full of old, rusty sheet metal and all the greasy components and realized that I had to go over literally hundreds, if not thousands, of parts and get it all back together again.
To put it mildly, it was daunting.
Like any big project, however, I quickly found that the best way to handle all the complexity was to break it into manageable pieces.
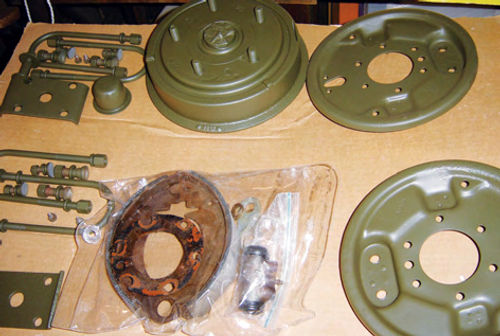
For instance, I took an individual subassembly, such as the front axle, and concentrated on that, breaking it down further into sub-sub-assemblies,such as the wheel hubs, the leaf springs and the brakes. I kept my focus on each of those until I had examined, repaired and prepared each for re-assembly.
That was where it really started to become enjoyable, harkening back to my childhood days in the 1960s when my buddy and I would spend hours assembling model car kits.
It was incredibly satisfying to sit at the bench with all the components cleaned, repaired and painted, put them back together into a working whole and then combine them with others to complete the full sub-assembly.
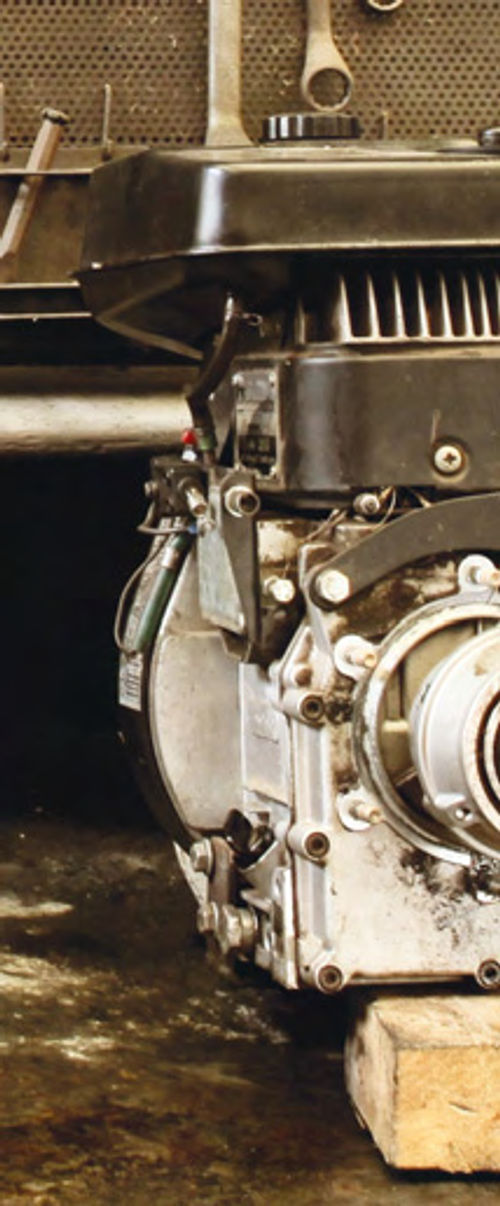
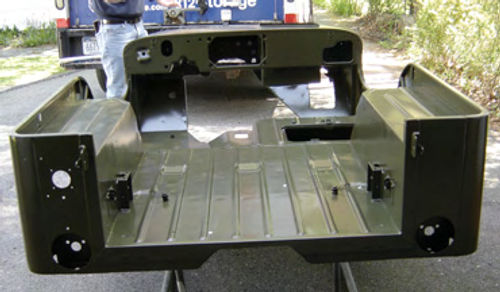
Getting that first sub-assembly completed was a real confidence-builder and made me look forward to the next one. Doing things in logical pieces also allowed me to farm out the work I needed done professionally in parallel (see photos at the top of this page), so those pieces would be ready when I needed them.
Deciding Whether to Reuse, Replace or Upgrade
In the restoration process, one of the most frequent decisions involves whether to reuse or replace a part.
In some cases, the answer will be obvious. For instance, the value of many vehicles will be best preserved if the “numbers match,” meaning the serial numbers of major components such as the engine and drive train can be tied back to this specific vehicle. In such a case, it’s often worth the effort to repair and preserve the original components if at all possible.
In other cases, the answer may not be so obvious. To decide, the restorer has to ask a number of questions,including:
Is The original part even salvageable? If so, what is the cost/effort/time to refurbish it? If It’s not salvageable, what are my options for replacing it and how will that impact the car’s value in terms of loss of originality?
Replacement parts generally fall into three categories: NOS (“new old stock”) are original, unused parts. They are sometimes still available from the vehicle manufacturer or from vendors who bought out the parts stock of dealerships or repair shops. If you can’t reuse the original through any reasonable efforts, NOS parts will ensure your vehicle remains original to specs.
Similarly, you may be able to find used original parts, either from dealers or at swap meets. Here again, care must be exercised to ensure you’re only dealing with reputable vendors as some vendors’ definitions of what constitutes a “good, usable part” may not agree with your own. It’s Frustrating to receive that long awaited used part in the mail, only to open it and find a rusty, worn mess that’s worse than the one you already have.
The third category is replacement or reproduction parts. Here, too, care must be exercised as vendors will sometimes tell you a part “will fit” your model, which it may, though it won’t be a true copy of the original—just something that will function.
Particular problems often arise with poor quality sheet metal components that end up not fitting properly, are cheaper quality steel or don’t have the right holes or other features in the right places. Necessary modifications to supposedly “direct replacement” parts to get them right can end up taking as much time and money as repairing the original.
Actually, there is a fourth category of parts. While limited, this might be the restorer’s own homemade components. Here again, the need fororiginality and therestorer’sfabricationabilitiesmay dictate another choice, but a little creativity and effort can save money and sometimes even improve on an original component that time has shown to have been deficient in its design.
For instance, my Jeep required a new rear passenger’s side quarter panel which has indentations to accommodate a shovel and axe that are strapped to the side. The handle of the axe fits into a steel loop bolted farther forward on the right side of the body. However, I found that the indentation for the axe on the repro body panel was slightly shallower than the original, preventing the axe handle from lining up with the standard loop. So I bought some steel stock at the hardware store and, with a little creative bending and use of a die to cut threads to bolt it on, I fabricated an exact replica that would protrude just a little farther to fit the axe.
Ultimately, however, the restorer will need to decide on a case-by-case basis which way to go in repairing or replacing components, based on the impact to originality and the degree of perfection desired in the final product.
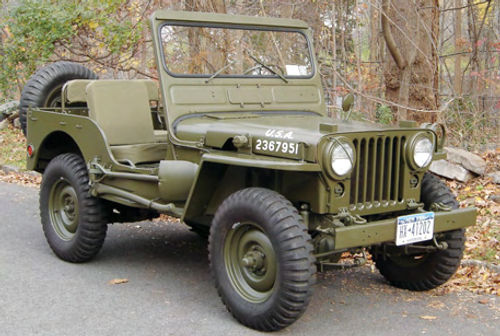
Personally, I found that one of the easy pitfalls in a restoration is to find a ready supply of replacement parts and simply start replacing everything. Aside from the potentially excessive cost, to me this starts to veer away from a restoration and more into the assembly of a kit.
When I look at a restored vehicle, I want to know I’m looking at the actual machine that rolled down the highways 50 or 60 years ago, not a replica assembled from a stack of new parts. I want to appreciate the workmanship the restorer put into the project to make it look this good again, not the stack of checks he wrote to simply replace everything.
While this may be my personal preference,I don’t think I’m Alone.Originality is often one of the prime factors in car show judging. So if you’re restoring the car to show it competitively, then you would be wise to understand the rules the judges follow to assess “concours quality” versus other levels and factor that in to your repair-or-replace decisions as you go along.
Finally, another factor to consider in the parts debate is that of safety and improving upon deficient designs.
If you plan to trailer your car to concours events and total originality is a must, then your decision is already made. But if you plan to actually use your vehicle, consideration should be given to safety upgrades such as converting front drum brakes to discs, substituting modern radial tires for the old bias-ply rubber and adding features such as seatbelts, mirrors and even turn signals.
The same goes for even non-safety related deficiencies, such as known trouble spots in the mechanicals or rust-prone areas of the body.
It’s no fun to get stuck by the side of the road on the way to the show because you opted to stick with your particular vehicle’s weak mechanical fuel pump, which may have been known to fail frequently, instead of upgrading to an available electric version.
Networking Is a Key to Success
Whichever way you choose to go with your restoration, one essential is to connect with as many experts for tips and advice as possible. Here, some of the parts and materials suppliers can often help, but just keep in mind that they may be trying to sell you something rather than necessarily steer you in the right direction. There are often clubs and owners associations you can join that will prove a treasure-trove of information, as well as access to parts, supplies and craftsmen who can help in the project.
Publications such as Auto Restorer, as well as the many forums and discussion groups on the Web, will help you save time, money and frustration in doing your project. Collecting literature on your vehicle, such as shop and owner’s manuals as well as photos and ads, will also prove invaluable.
As this article stated at the beginning, very few people are able or want to do the entire project alone. Tapping into a network of resources such as those listed above, as well as assembling a reliable, talented “team” of professionals to handle various aspects of the work, will make for a more enjoyable restoration project and a better outcome.
