Working With Water-Based Paints
They Make Less Pollution and Likely Will Grow In Use. But You’ll Have to Adjust Your Approach for Them.
AS WE MOVE ahead in the business of automotive restoration we are going to hear more and more about the environmental impact paint shops are having on the world we live in and the changes being brought about as a result of that impact. I might not like change, but I do like clean air and this change is going to help in that area.
What kind of change are we looking at?Legislative rules have dictated that in certain parts of California and in certain areas along the east coast, solvent-based automotive base color paints can no longer be used. What that means for the rest of us is that if such a rule is taking effect on both coasts,sooner or later it is going to spread and even the one-car, one-restoration shop out in the heartland is going to be affected.
Why the change? The EPA wants to reduce the amount of VOCs (Volatile Organic Compounds) that are emitted into the air by paint shops. Those VOCs primarily are the solvents present in the reducers used to spray base coat colors.
Why pick on base colors? Here’s an example. Let’s Say you are about to spray the old ride and you need one gallon of base color and one gallon of clear to do the job. Most clear coats are mixed at a 4:1:1 ratio. That would be four parts clear to one part hardener to one part reducer. In paint shop language that means you only need a quart of reducer to spray a gallon of clear. By contrast most base coat colors are mixed 1:1. That would be one part color to one part reducer, or inpaint shop language you need a gallon of reducer for every gallon of base color sprayed.
Getting the picture on where the major VOC contaminants are coming from? Base colors require the most reducer, therefore they use the most solvents and therefore they emit the most VOC pollution. To drastically lower that pollution the switch is on to water-based colors.
A New Image for Latex
As you may have already guessed, water-based paint means latex paint. If the word “latex” bothers you, as in it might not stick, or doesn’t lay flat, or doesn’t provide a good color match, you’d be thinking just like I did. And in the early days of automotive water-based paint those concerns were well-founded. Just ask GM. They had all kinds of problems with water-based paints a few years back.No,the peelers back in the ’80s don’t count. That was another issue altogether.
The good news is that paint companies like PPG have been working with latex-based color coat systems for quite some time now and from what I’ve seen I think they’ve pretty much got it down pat. This stuff sticks, it lays flat, and it actually matches.
But that’s not very scientific so here is PPG’s version of how their water-based colors stick and why they lay flat and smooth.
The latex particles making up the paint are cell-like structures that have a solid core. As the paint hits the surface those cell cores dissolve outwardly with threadlike fingers where they bond to an outer shell. These fingers continue to twine around each other and as they touch they create a gel-like state within the paint itself. That’s what makes this paint stick to any sanded surface.
This gel-like state also acts as a binder in that it holds the pigments in the paint in suspension. Doing so prevents the paint from separating and keeps the heavier pigments,such as metallic flakes, from settling to the bottom of the can. Sound familiar when working with solvent-based paints? If you don’t continuously stir solvent-based paints the metallics settle and that changes the hue of the color.
What this tendency to suspend the pigments means is that you don’t need to shake a can of water-based paint before using it.
In fact, PPG states that you must never vigorously shake water-based paints and that you only need to gently stir the container before spraying. You’ll never be able to say that about solvent based paints. If you don’t shake and stir these paints the metallics and solids just sit at the bottom of the can.
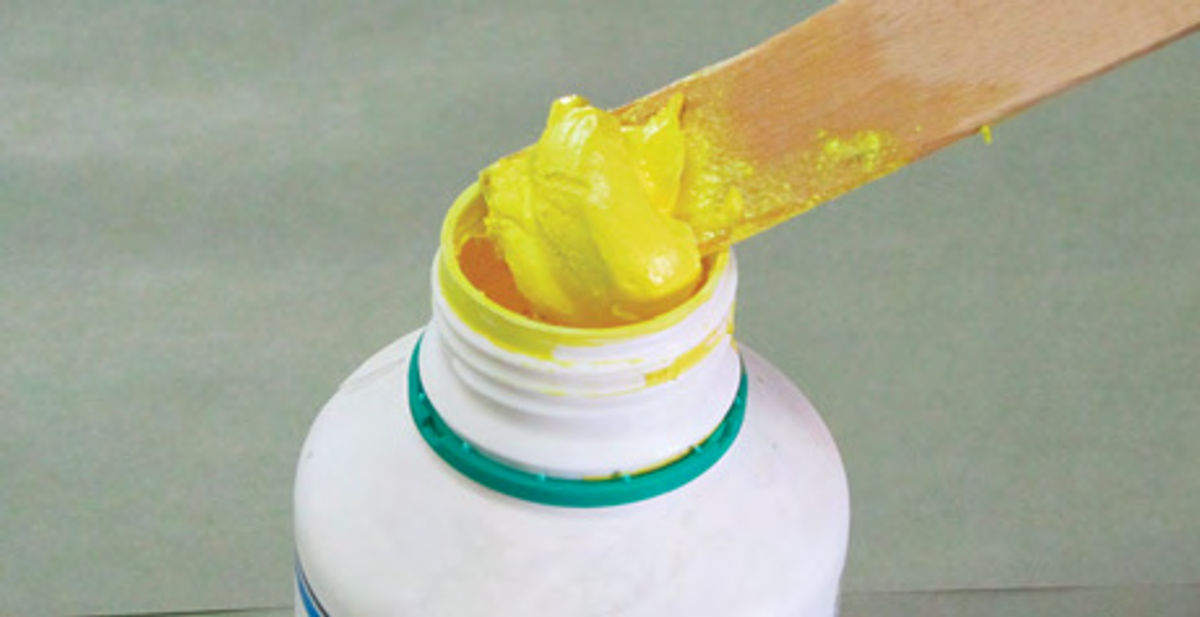
What happens if you shake a can of water-based paints? Take a look at Photo 1 for your answer. I picked this can up from my supplier after it had been well shaken. Notice how the paint is nothing but a glob of yellow. This can is ruined.
Shaking caused the latex to separate from the oils in the paint and no amount of stirring is going to recombine the two.
Making the switch from solvent-based paints to water-based paints also means you no longer need to be concerned about which reducer to use. For example, when using solvent-based colors in warm weather you need a slower drying reducer to allow the pigments in the color coat to properly align to prevent streaking. In cold weather you need a faster drying reducer to prevent the color coat from mottling.
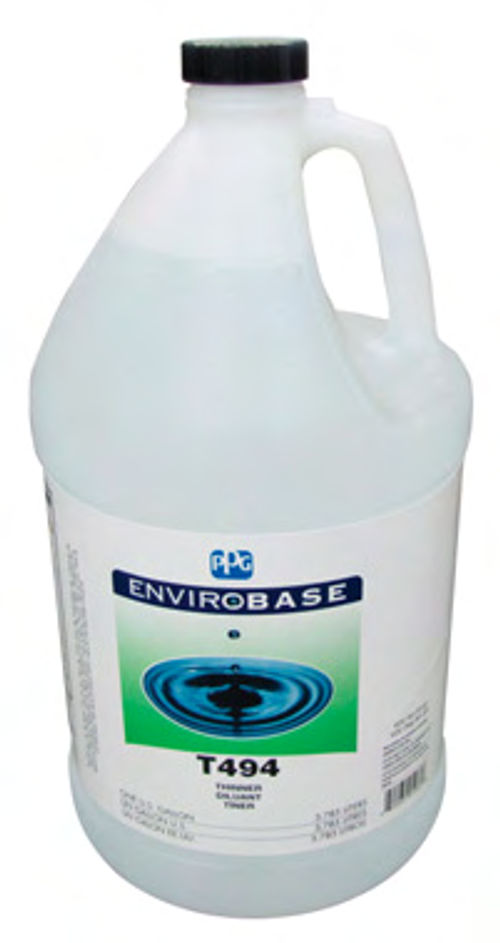
By contrast, water-based colors use a single water-based reducer no matter how hot or cool it is in the shop (Photo 2). That hot-and-cold range, by the way, is below 120° F because above that point it is just too hot to work and above 55° F because below 55° F it is just too cold to work.
All you need is air flow to get the coats to dry. Air moving over the surface being painted allows that surface to dry by evaporation, not solvent dissipation.
So, no matter whether the shop is a little on the warm side or a little on the coolside when you finish spraying water based paints you always end up with a smooth and even color; there’s no streaking or mottling.
Another aspect to be aware of is that the film thickness of water-based paints is about half that of solvent-based paints. A typical solvent-based paint layer consisting of three coatsis about 1.2 mils. A typical water-based paint layer consisting of three coats is about .05 mils.
What does that mean for you in the shop? For starters it means you can no longer finish sand your primer coats using 320-grit sandpaper. Because of their reduced thickness, water-based paints will not fill and smooth 320-grit sand scratches.
The remedy is to finish all of your sanding using 400-grit. That’s according to PPG. In the shop I found that if I sanded the primer with 400-grit then went back over the surface with 600-grit the result was an even smoother finish. I still advocate applying a seal coat, but the 600-grit left me with such a nice surface that I could have applied the water based color right over the sanded primer.
About Those “Coverage” and “Control” Coats
PPG states that you should apply a “coverage coat” followed by a “control coat.”Each coatis very different from the other, so each one warrants a thorough explanation here.
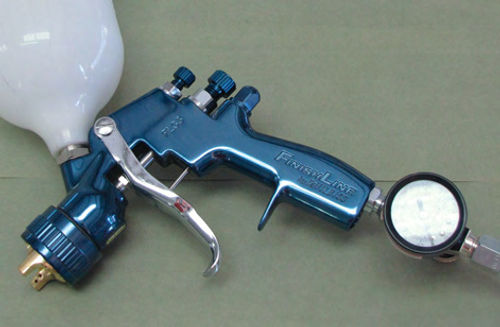
Did I mention that I think it’s a good idea to dedicate a spray gun to the purpose of spraying water-based colors? It isn’t that you can’t use a spray gun that has been spraying solvent-based paints to spray water-based paints, you indeed can. Any good-quality spray gun will handle water-based paints. It is more that the two systems are different and I personally like to fine-tune my spray guns so that I know exactly how each gun is going to work each and every time I pick one up. I don’t like the idea of having to change spray gun settings every time I switch from solvent-based paints to water-based paints. Having one gun for solvents and one for water gives me peace of mind. Can you buy a spray gun specifically made for spraying water based colors? You can. My preference for this test was the DeVilbiss Finishline 4, Eastwood #12826. This gun was designed and constructed with waterborne paints in mind (Photo 3).
Three things to be aware of when selecting a spray gun for use with PPG water-based paints is that you want a gun with a 1.2mm or 1.3mm spray tip, the gun must be set up with a gauged regulator, and per PPG’s recommendations, it should have either a plastic cup or a Teflon Coated cup to resist the water.
Why do you need a gauged regulator? The “coverage coat” requires a higher inlet PSI than does the “control coat” and you will need to adjust the inlet air pressure accordingly.
Spraying Water-Based Paints
At this point panel preparation isn’t much different from the methods used to prepare a panel for solvent-based paints. Each panel is cleaned with soap and water, I happen to prefer Dawn dishwashing liquid, then the repairs are made and the panel is primed and blocked. After that, things change. Recall I mentioned that water-based paints have a thinner coverage layer than solvent-based paints? As noted above, that means you can no longer finish sand primer using 320-grit sandpaper. When using water-based paints you must finish sand using 400-grit or finer. As I mentioned, I finish sanded my test panel using 400-grit then went back over it with 600-grit sandpaper. The 600-grit may have been overkill but with the water-based colors laying down so much thinner I thought it would be worth the effort to ensure that I don’t leave any sand scratches to show through once I’m ready for the clear coat.
Yes, you must finish with 400-grit even if you are applying a seal coat, which I highly recommend whether spraying water-based paints or solvent-based paints. Which sealer? At this time there are no water-based sealer products. PPG recommends using D8085 Chromatic Sealer from their Global Refinishing line of products.
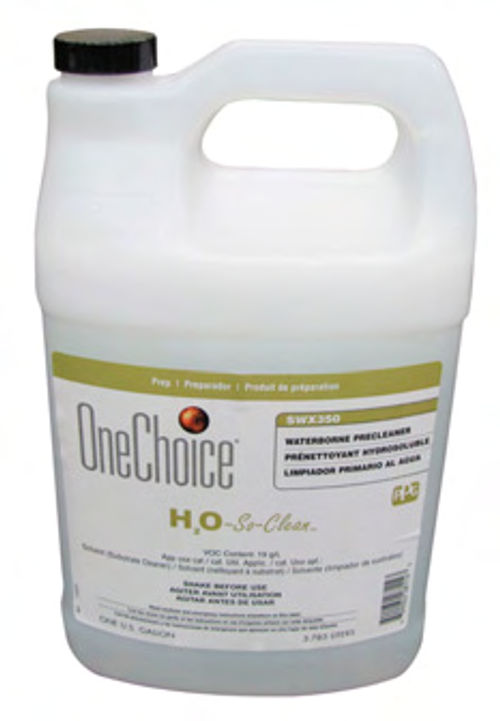
Finish up by cleaning the panel using PPG Waterborne Pre-Cleaner SWX 350 (Photo 4). Apply this product as you would any other wax and grease remover, by wiping the product over the panel using a clean lint-free cloth and follow that by wiping away the wet residue with a clean dry lint-free cloth. Use a tack cloth to do a final cleaning and you are ready to spray.
Adjusting to the “Coverage Coat”
To apply the “coverage coat,” set your spray gun inlet pressure to 24 psi (HVLP spray guns) and use either a 1.2mm or 1.3mm spray tip. The 24 psi at the inlet isn’t set in stone but it should be close enough to get you going.
With the paint mixed according to the P Sheets, in the case of PPG Envirobase colors that mix is one part reducer to 10 parts color for solid colors or two parts reducer to 10 parts color for metallic and pearl colors. Apply medium light coats while staying six to eight inches from the panel using a 75% overlap.
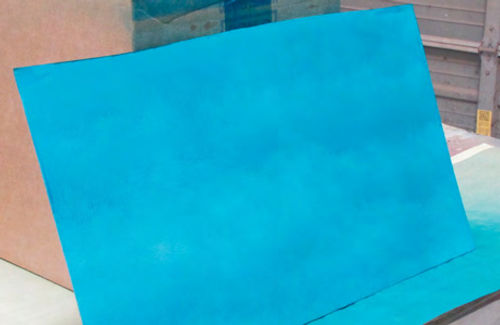
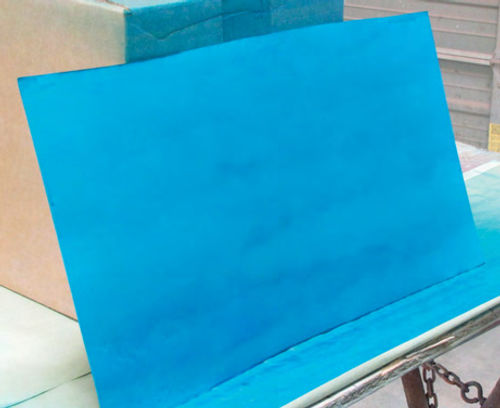
OK, you may not have expected that major a change in application. Solvent Based colors are applied at six to eight inches from the panel using 50% overlap. Stepping up to a 75% overlap should give you an idea of just how much thinner water-based colors are when compared to solvent-based colors. The 75% overlap is the only way to achieve good coverage with each coat. Allow each coat to dry to a dull luster before applying the next coat (Photo 5). Three coats should give you plenty of coverage (Photo 6).
If the spray seems a little rough, reduce the pressure a little. If the spray seems too wet, increase the pressure a little. You shouldn’t have to reduce the pressure below 20 psi or increase it above 28 psi. If the 20-28 psi range isn’t working for you, please check your mix. It might not be correct.
I have good air flow through the shop and the coats dried fairly quickly, within three to five minutes. If you are experiencing slow drying try positioning a fan a few feet from the panel so that you have good air flow over the fresh paint to help it dry. You’ll know the coat is dry enough to recoat when the surface achieves the dull flat look seen in Photos 5 and 6.
Applying the “Control Coat”
So, what’s the difference between the “coverage coat” and the “control coat?” Simply put, the “coverage coat” does one thing. It takes the panel being sprayed from the color of the seal coat and transforms it to the required color. The “control coat” takes that applied color and gives it an even appearance over the entire panel.
If you have ever sprayed a metallic acrylic enamel you know the last coat is a mist coat and that coat serves one purpose, to even out the appearance of the previous coats. The “control coat” does basically the same thing.
The first step to applying the “control coat” is to reduce the inlet air pressure on your spray gun by eight to 10 psi. In the case of the DeVilbiss Finishline 4 gun I used to apply the “coverage coat” I reduced the inlet air pressure down to 16 psi.
Believe me,I wasn’t the least bit comfortable reducing the air pressure by that much. However, once I increased the distance from the panel from six to eight inches out to 10 inches and laid down the first pass I could see the mist coat was going to lay down just fine.
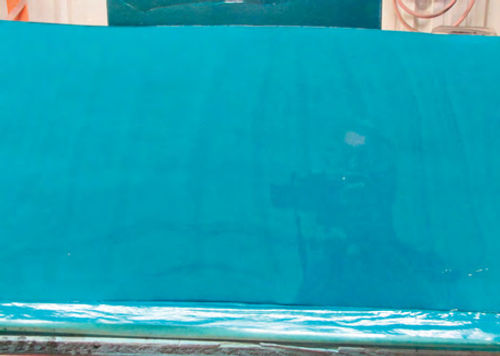
For the second pass I increased the overlap up to 90%. Yep, almost completely overlapping the first pass, and continued to lay down a very light mist coat. I put down two coats, allowing the first coat to air dry completely, about five minutes, before applying the final coat. In the end I achieved a very nice finish (Photo 7).
If there is a trick to this it has to be in laying down the “control coat” as light mist coats with a 90% overlap and achieving a matt appearance as you spray with no indications of any of the coats being laid down wet. That might be worth repeating. The “control coat” must go on as a light mist coat. You are no longer trying to build color. That step was accomplished in the “coverage coat.” Pay attention to the difference between the “coverage coat” and the “control coat.” As you can see in Photos 5-8, the look of each one is very different.
Once the color coats are sprayed you have 24 hours to apply the clear coats. After 24 hours you must apply one additional coat of base color before applying the clear coats. After 48 hours the color coats must be sanded with 600-grit sandpaper before applying another “control coat” and the clear coats.
So, how does the final result compare to solvent-based painting? Check it out in Photo 8.
Now for the Rest of the News
There is a learning curve associated with spraying water-based colors. You’ll notice I used a test panel. Test panels can be washed clean to allow you to start over if necessary. Get one and use it.
Also, be aware that you need to use paint strainers specifically designed for water-based colors. These strainers have a finer mesh than the strainers used for solvent-based colors.
PPG calls their water-based strainer the “Plus” strainer. They are free if you ask for them.

Furthermore, and this is a major point, none of the new water-based color systems currently cater to the vintage car market. Most have formulas for paint colors ranging from the latest model year to vehicles from the ’80s but not for anything older. What that means is that if you want to paint your ’70 Charger B5 Blue, for example, you are out of luck. There is no formula, not yet.
Finally, you must wear the same personal protection to spray water-based colors that you wear when spraying solvent-based paints: a painter’s suit, latex gloves and a respirator.Just because it is water-based latex doesn’t mean it can’t hurt you.
Got a question about anything paint and body related? Send it along.
Products supplied by:
English Color and Supply
419 S. Fannin
Amarillo, TX 79102
Automotive refinishing products
LPL Body Works, LLC
5815 Contented Lane, Amarillo, TX 79109
lplbodyworks.com Body and paint repair DVDs


