
STILL LEARNING FROM MY DAD’S FORKLIFTS
One of the Homebuilt 4-Wheel-Drive Forklifts Needs a Number of New Parts. Unfortunately, the Replacements Don’t Always Work Out.
his is the second installment of the restoration of Big and Little Jim, two homemade 4-wheel-drive and 4-wheelsteer forklifts. These two lifts were named after my grandfather and father and were some of the first field forklifts designed to haul fruit from the field in the standard 4x4x2- foot fruit bins. Made in 1955 with two military Dodge ¾-ton frontends facing each other, they helped haul thousands of tons of oranges and pears to market. (The first installment, “I’ve Learned a Lot From Dad’s Forklifts,” was in the May 2018 issue.)
A Slow-Moving Project
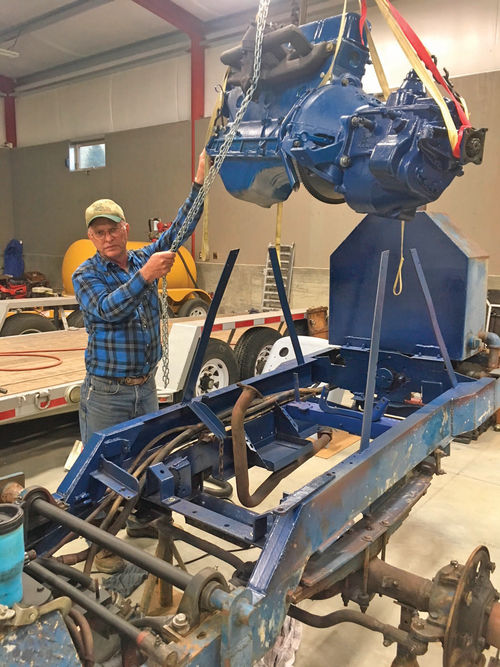
Progress on Big Jim has been slow as he is a “when I have time on the weekend type project.” As mentioned in the first article, the engine came out fairly easily once the hood assembly and radiator were removed. Engine bay cleanup proceeded next with 60 years of dirt and oil reluctant to give up their space. Power tools, mostly a wire wheel on a 4-inch grinder, and elbow grease prevailed and the inside frame rails were primed and painted with the original dark Airdrome Orchards blue.
Adapting An Auto Engine to a Forklift
A deal was made at RPM Machine Shop in Tulare, California (559-686- 7567), for a machined .030-over Ford 223 that had been sitting for 10 years but never assembled. This was an automotive 223 version put in the big Fords in the late 1950s. Our industrial version had a different bell housing and front engine mounts that fortunately easily fit the automotive version. They put the engine together for a completed price of $1400. One additional expense at this time was that the front harmonic balancer needed to be repaired as new ones are not available. RPM sent the damper off to a place in Anderson, California, called Damperdudes ( ) that rebuilds them. It took them three attempts to mount the new rubber so that the damper and pulleys ran true. Both RPM Machine Shop and Damperdudes stood by their word and corrected the initial repair that showed a wobble when installed.
New Parts Were Needed… But Not All of Them Worked
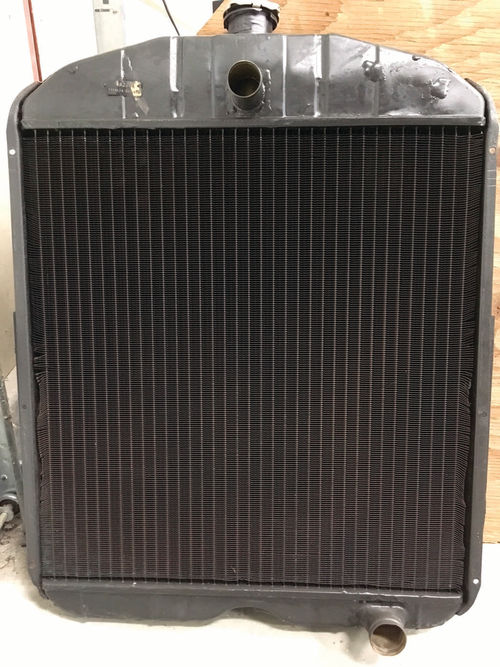
Every system on Big Jim needs attention, including the radiator. Being an industrial engine the radiator is a large 4-row 22.5 x 24-inch unit. Re-cored it was an $800 expense. A new over-the-counter carburetor replacement was purchased along with a new distributor and fuel pump.
On initial startup both the carburetor and distributor were problematic. The engine would run for a few seconds and then quit. I put an inline test light on one cylinder and it showed good spark for a second or two then the spark became garbled with no individual pulses. I points and timing but still no luck. I then took the points out and noticed a metal clip attached to the hot wire that looked like it was crimped into the wire. Since I had the vacuum advance hooked up, my theory was that the rotating advance plate was contacting the clip and grounding out the points. In went a Pertronix pointless system and immediately the engine ran better but still not normal.
It was time now to troubleshoot the carburetor. I thought that buying a new carburetor was going to save me time and energy but at first it seemed like the carburetor was running out of gas. I checked the pressure of the new fuel pump. Book value for pressure for this engine is 6 lbs. My gauge showed 8 lbs. so it seemed to be in the ballpark. I played with the needle and seat and different float levels. Then it seemed like it was getting too much gas. I took it apart for about the sixth time and blew every passage I could find with highpressure air. Finally, it started to work correctly and the engine started and ran like it should.
About That Hydraulic Driveshaft…
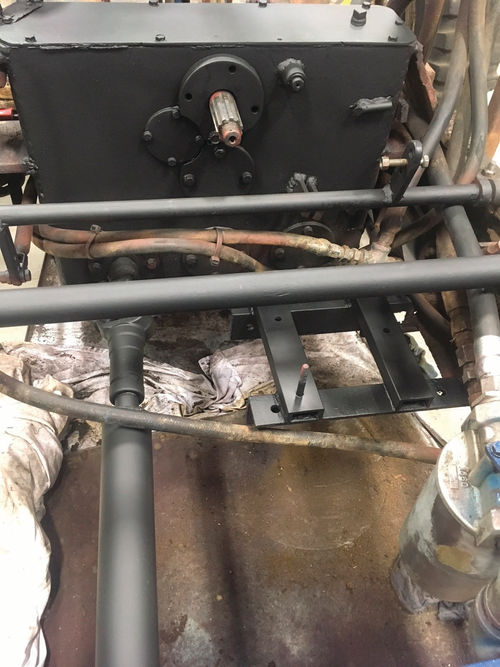
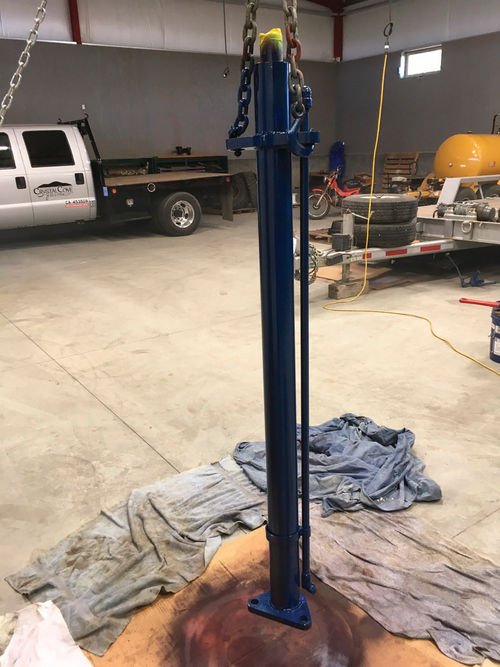
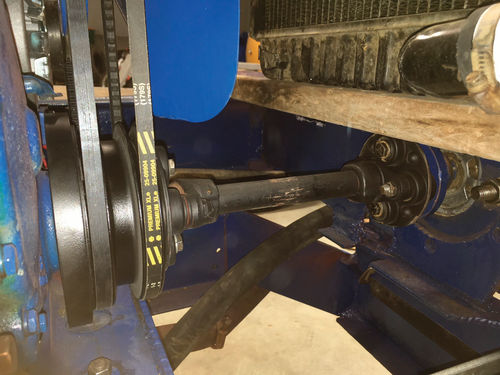
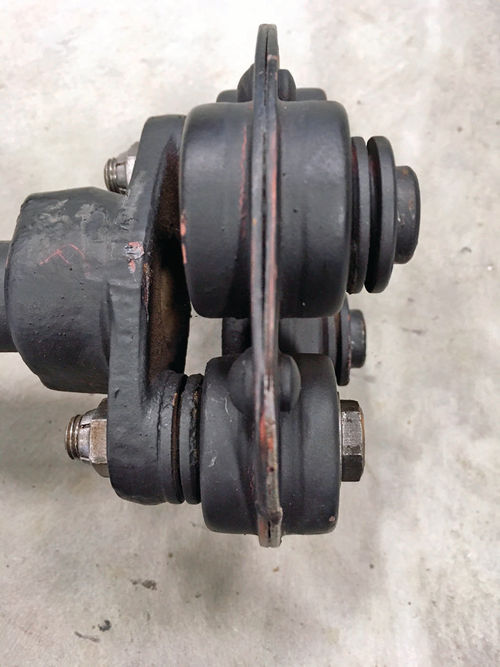
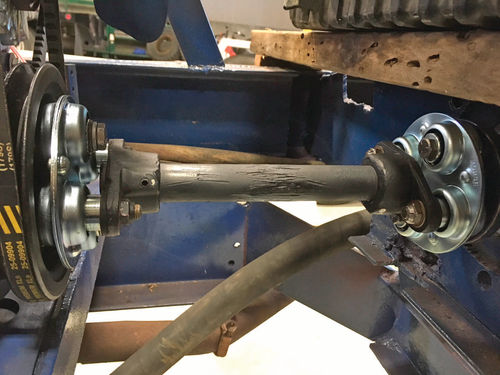
I hooked up the hydraulic pump and a couple of new hoses. I got two surprises here: The main lift cylinder had a large leak at the seal on the shaft and the pump had a significant vibration that shook the mounting framing. The cylinder went off to the hydraulic shop for a rebuild. I took the hydraulic driveshaft off that mounts to the front of the engine. The Morflex rubber inserts were old and stiff and some were not centered evenly in their location. I figured this was a no brainer and for $350 got two new middle sections of the Morflex couplers. Imagine my surprise when reinstalled the vibration was still there. Hmmm… I took the driveshaft out again, turned it 180 degrees and reinstalled it. I still had the vibration but when I was doing the installation it seemed like the driveshaft was about ¼-inch too long and when I bolted the pump to its mounting, it was compressing the rubber inserts and keeping them from flexing. I was able to move one of the flanged ends on the driveshaft inward ¼-inch and now it seemed to be the correct length. A test run proved that to be true and it now runs smooth. I can only speculate that the crankshaft on the new motor was machined slightly longer than on the old motor.
More Component Cleaning and Painting
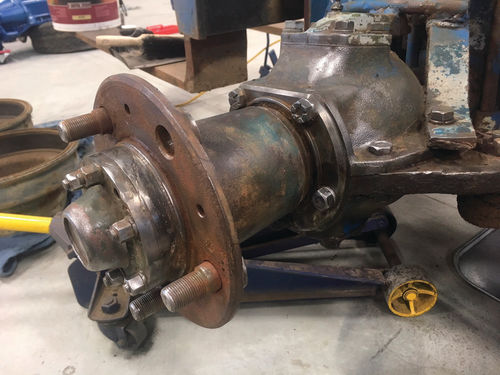
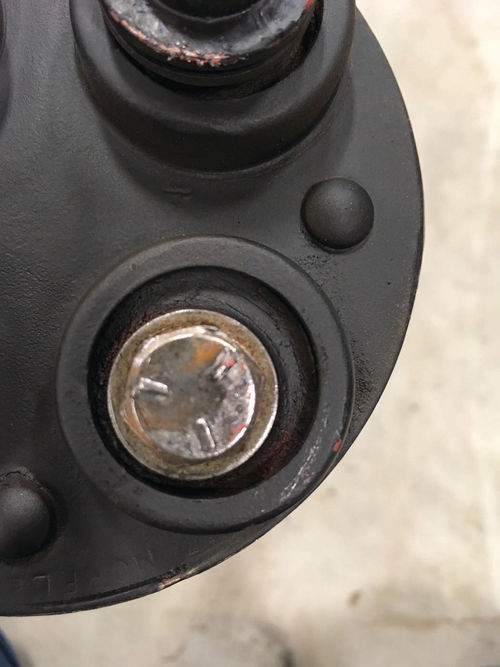
Clean-up continued in areas that will be hard to paint. The hubs and steering knuckles were cleaned to bare metal, washed with a POR-15 product called Cleaner Degreaser, then primed and painted.
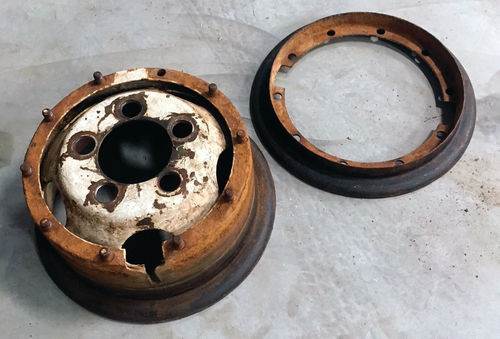
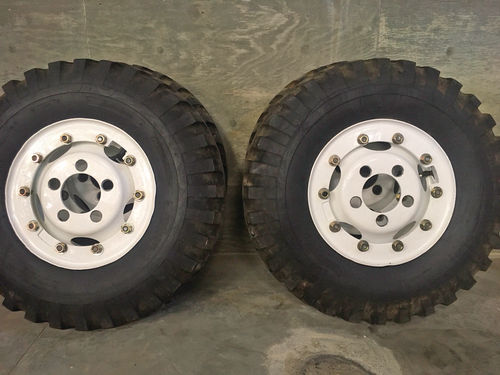
The two-piece wheels were structurally sound but cosmetically a mess. Multiple layers of paint, rust and grease convinced me to let a professional do the cleanup. I brought them to Visalia Powder Coat (559- 739-0771), where he sandblasted and painted all eight pieces for $250. It would have taken me at least two hours on each wheel cleanup, plus I would have had to replace the media in my blast cabinet and also buy the paint. I am very pleased how they turned out.
It’s a Slow Project, But Very Personal
This project has been one of those two steps forward and 1.75 steps back restorations. I am currently replacing the entire brake system including the master cylinder, brake lines and wheel cylinders. Fortunately it only has rear brakes.
I’m also sure there are more surprises ahead. The orbital steering seems jerky and the valve body may need replacing. I suspect that the right front axle or the internal steering knuckle is missing as spinning the wheel does not seem to engage the differential.
Big Jim still calls for a lot more clean-up and eventually there will be some more blue paint. But even with the many hours I’ve put into this project, I feel like I have been working alongside my dad. That has made this restoration a special one for me.


