SOME VINTAGE DRUM BRAKE BASICS
To Safely Stop Your Favorite Vintage Ride, the Drum Brakes Have to Be In Top Condition. These Insights Will Help You Keep Them That Way.
We all love our vintage cars and trucks, lavish attention on them and enjoy making them run even smoother than when they were new.
We certainly love driving them down the road…but sometimes we don’t love stopping them.
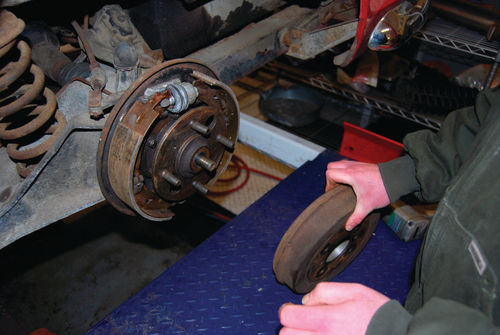
Most older vehicles are big and heavy; they have drum brakes and some only have brakes on the rear. So, one way to make a vintage vehicle stop better is to have brake drums that have been restored to work like new or replaced with new brake drums, which can be hard to find.
In any discussion of brake technology, it should be noted that the first crude braking systems for stopping horsedrawn vehicles trace back to the ancient Egyptians, but it wasn’t until the early 1890s that really significant changes for smaller vehicles came along, prompted by the invention of the automobile.
At that time cars were little more than motorized carriages that required only rudimentary, lever-operated brakes with cast iron bands, leather, elm or cotton used as a lining. As cars got bigger and heavier, these systems grew complicated and embodied a kind of “Rube Goldberg” technology. They worked for a while, but cars continued to grow heftier and speedier and better brakes were needed.
Drum Brakes Were the Way
To answer this need for reliable stopping performance, the automotive industry switched to more powerful internal expanding brakes of the shoe-to-drum design. And as time went on, these systems were improved by replacing mechanical linkages with an hydraulic system and putting brakes on all four corners of a car, instead of just the rear wheels. The first such systems used on regular production cars were seen in the early 1930s. This hydraulic four-wheel drum brake setup remained the standard of the industry until the early 1970s, when disc brakes rapidly began to replace drums.
During the drum brake era, the auto industry developed a vast array of styles and types of drum brake systems. The basic idea was to force brake shoes against a circular drum to create enough friction to stop the vehicle. The shoeto-drum application could either be accomplished by expanding the shoes against the drum or by contracting the shoes against the drum. The former was settled upon as the best option. This required a way to use hydraulic pressure to make the shoes move outward from center and press against the inside of the drum.
When hydraulic pressure is applied to a wheel cylinder attached to the brake backing plate, the brake shoes are pressed outward against the left and right insides of the drum. Different compression forces are then generated in the right and left shoes. The frictional force causes the shoe on the left to bite into the drum in the direction of rotation. The shoe on the right receives the repulsive force of the rotating drum, reducing the compression force. The action that increases the frictional force by biting into the drum is called the self-energizing action. The brake shoe applying the self-energizing action is called the leading shoe and the other brake shoe is called the trailing shoe.
Brake Drum Basics
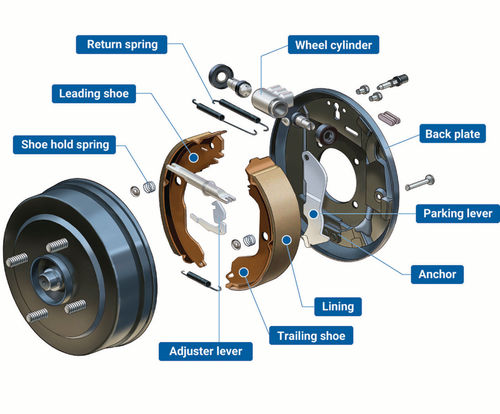
There are four different types of drum brakes, which are categorized by the design of the leading and trailing shoes. The proper type to use depends on factors such as the weight and size of a vehicle. The four types are: 1) The leading and trailing shoe type; 2) The two-leading type; 3) the Uni-servo type and 4) The Duo-servo type. The shop manual for your vehicle will tell you the type of system it uses. Another good source of information about how drum brakes function is the following Website: http://www.akebono-brake.com/english/ product_technology/product/automotive/ drum/. Our main topic here is the brake drums themselves and what modern restorers should know about them.
One of the key factors in the performance of different drum brake designs is the material used to make the drums themselves. Gray Pearlitic cast iron has been found to be the most practical brake drum material and was used on most vintage Americanbuilt cars. American cars have also used brake drums made of aluminum alloy and brake drums made of Type 304 stainless steel.
Cast iron is iron or a ferrous alloy that has been heated until it liquefies and is then poured into a mold to solidify. Carbon and silicon are the main alloying elements. Cast iron tends to be brittle, except in the case of malleable cast iron. With its relatively low melting point, good fluidity, cast ability, excellent machinability, resistance to deformation and wear resistance cast iron became an engineering material with a wide range of manufacturing applications including automobile brake drums.
Aluminum alloy is a lightweight panel material and a typical chemical composition of the aluminum alloy used for automotive brakes is Alumina 30 percent, Magnesium 1 percent, Aluminum 69 percent. Aluminum oxide or alumina is a chemical compound of aluminum and oxygen. It is a good electrical insulator but has a relatively high thermal conductivity for a ceramic. The aluminum oxide generated by anodizing is typically amorphous, but discharge assisted oxidation processes create a significant proportion of crystalline aluminum oxide in the coating that enhances its hardness.
Aluminum oxide is insoluble in water, but is an amphoteric that can react with both acids and bases, such as hydrochloric acid and sodium hydroxide.
Type 304 stainless steel has a minimum of 18 percent chromium and 8 percent nickel, combined with a maximum of 0.08 percent carbon. Grade 304 is the standard stainless used for pans and utensils. Stainless steel has excellent corrosion resistance, good resistance to intergranular corrosion, excellent hot and cold forming characteristics and good low-temperature performance. At 180°C, the 304’s condition, strength, elongation and area reduction rate are very good. It has good weld ability and the welding method can often be used before welding without heat treatment after the welding.
Modern aftermarket bi-metallic brake drums are also made by companies like TRW. These use spheroidal cast iron that requires less material than ordinary cast iron to withstand heavy braking loads. During the manufacturing of bi-metallic drums, there is a melting process in which graphite is treated with magnesium to form a sphere with high tensile, steel-like strength. This material also prevents “twist off” during heavy braking, providing added safety under very challenging braking conditions. The bi-metallic construction prevents expansion when high temperatures are generated during braking.
Whatever brake drum material is used, drum brake technology is actually enjoying something of a revival among automakers today. About 45 percent of new cars are still being fitted with drum brakes, at least in the rear. This is the case because drum brakes remain the most cost-effective solution for rear braking systems in most modern cars.
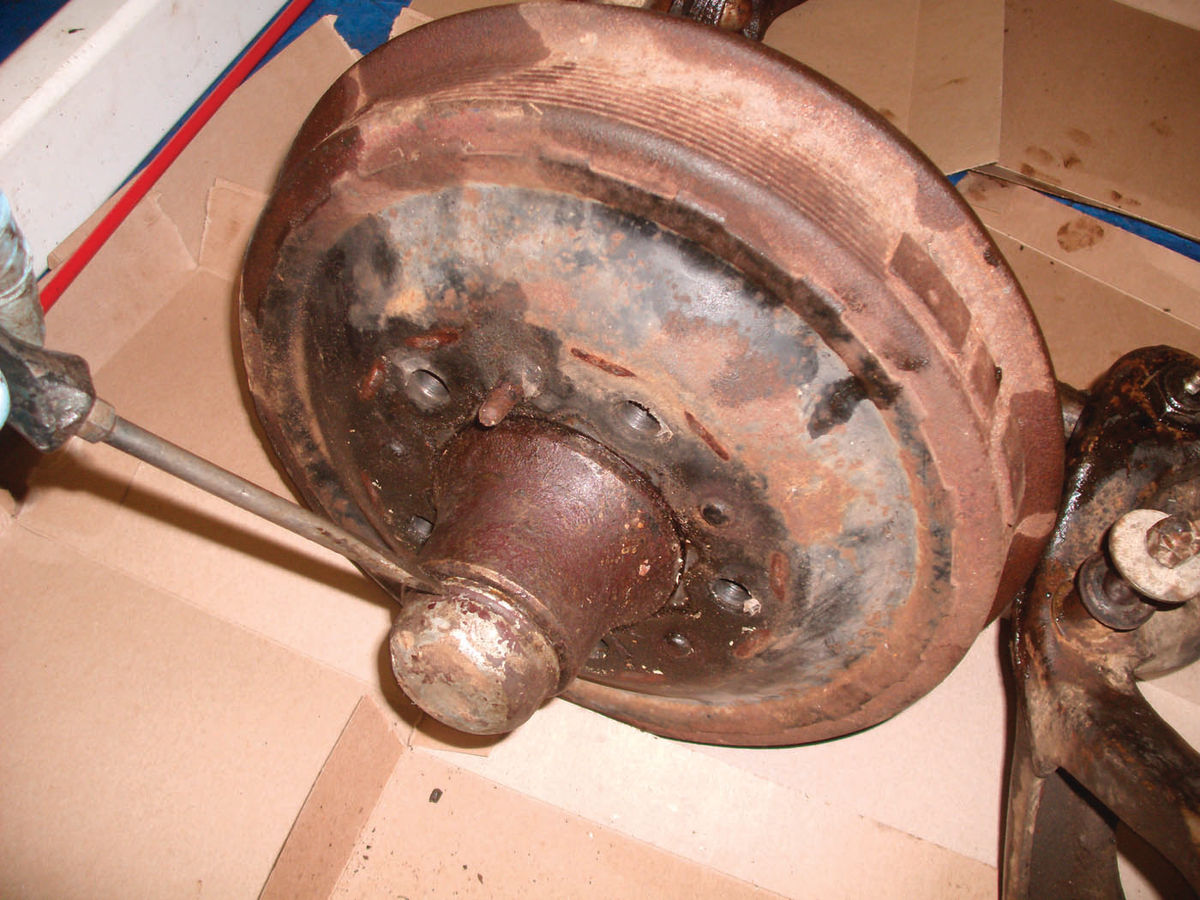
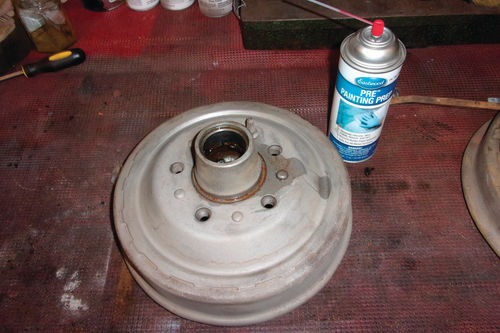
Restoring Brake Drums Starts With Parts
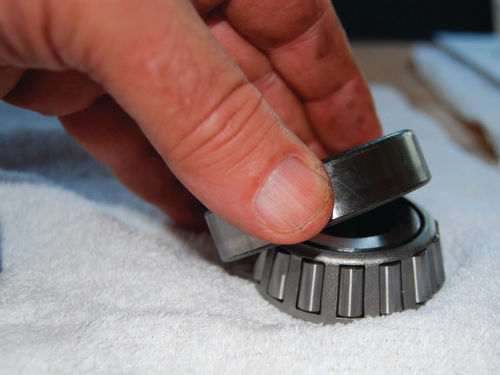
When old cars are taken apart for restoration, you can be almost certain you’ll find brake drums that are fluid stained, rusty, ugly and in need of repair or replacement. The hubs will hold seals and bearings that should at least be cleaned and probably replaced. Often it is impossible to remove the seals, using a seal puller tool, without damaging them. Sometimes you’ll find that you virtually have to destroy a seal to extract it from a hub it was forced into 50 to 100 years ago. If you get to the point of destruction, make sure that you don’t score or otherwise damage the area in the hub where the seal seats.
Generally speaking, suppliers who source seals also carry bearings.
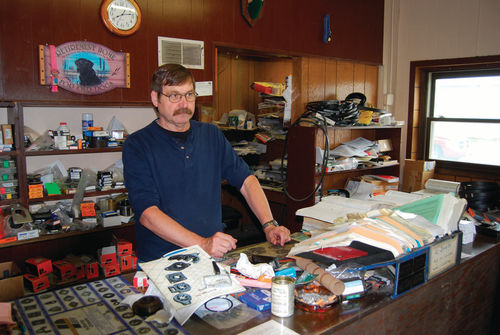
A good place to start looking for these parts is the Internet. However, no modern supplier will carry every seal or bearing needed for a vintage vehicle. One source you can try is Gene’s Bearings, Inc. (715- 627-7300), a family business in Antigo, Wisconsin, that’s been around for some 50 years and carries a large inventory of popular and not-so-popular bearings and seals, plus drive belts, U-joints and more.
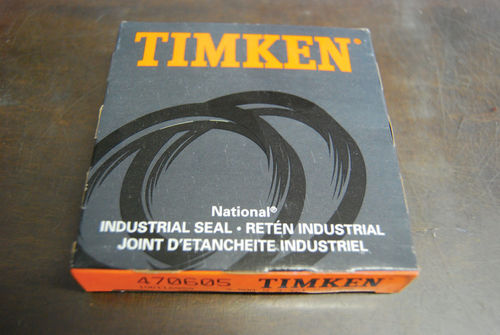
Most seals and bearings have part numbers stamped into their face or edge that can be used to find matching or similar parts. Sometimes you will have to get creative to find obsolete seals and bearings. For instance, while working on an early-’50s MG TD, we discovered the car can use the same bearings as some current snowmobiles. Part numbers given in an old shop manual or factory parts manuals may or may not help you find replacement seals or bearings. In some cases, a local parts store may not have the original part in their computer, but may be able to cross reference the old numbers.
Another great way to search for obsolete seals and bearings to put in your brake drum is to use the Rock Auto Parts Website (www.rockauto.com). This online-only parts supplier has worked outa lot of cross references between older parts and currently available parts. You can go to the website and get part numbers to search for locally or you can order the parts from Rock Auto. The company does not always stock the parts in a warehouse. They will usually be ordered and shipped to you from the manufacturer.
Thanks to expanded use of computers, hobby vendors who sell New Old Stock, New Old Replacement Stock or reproduction parts have been doing a pretty good job of providing seals and bearings for some cars. Some of these companies include Kanter Auto Parts, Northwestern Auto Supply, National Parts Depot, Classic Industries, Long Motor Co. (LMC Truck and British Victoria), Moss Motors (British) and Mid America Motorworks. These companies all have Websites that are easy to access online by their names.
Make Sure All Components Are Clean
Before inserting bearings, carefully clean up the hub where the bearing seats, getting out all of the old grease that you can. A spray-on brake cleaner will help get rid of any contaminants. Compressed air can be carefully blown in to remove old grease from crevices after you use the brake cleaner. Wear eye protection to avoid problems from grease splatters. If your old bearings were in great shape and can be reused, make sure you clean them up too. Don’t forget to liberally grease the clean bearings before you install them.
Seal Installation
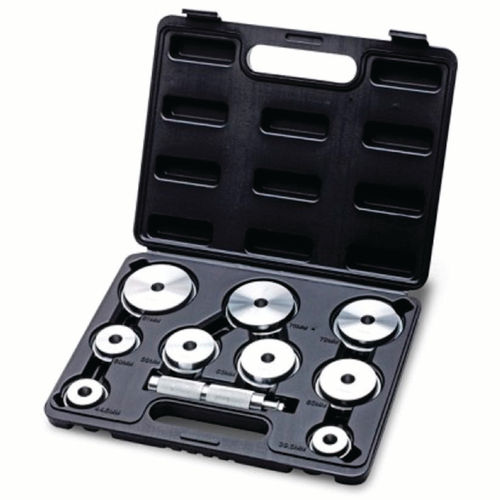
Installing new seals requires patience and an inexpensive Seal Driver kit that you can buy through Eastwood (eastwood.com) or at your nearest Harbor Freight store (harborfreight.com). These sell for as little as $30.
They include a driver handle with a screw on top and a number of different diameter driver discs. You pick the disc that fits the seal you want to install (a good fit is close to the same diameter as the seal) and you use the screw to hold the disc on the driver handle. Then you tap with a soft hammer to drive the seal into its seat, making sure the seal installs uniformly on each side.
Check Those Threads
Some vintage brake drums have holes in them that fit over wheel studs that are screwed tightly into the hubs. Other brake drums have the studs screwed tightly into them so that the wheel mounts to the drum rather than the hub. With either type, the threads on the studs can turn out to be pretty screwed up after 50-100 years. Most hobbyists don’t have tap and die sets with the large sizes needed to clean up wheel stud threads. In most cases, new studs can be purchased. Be sure to get the right ones. On some cars, the studs have left-hand threads on the left side and right-hand threads on the right side.
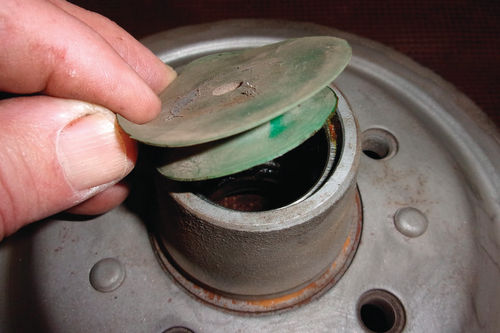
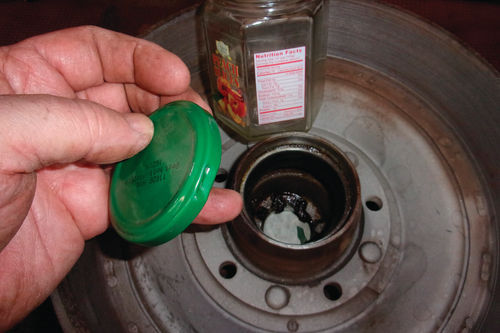
Take Precautions When Blasting Drums
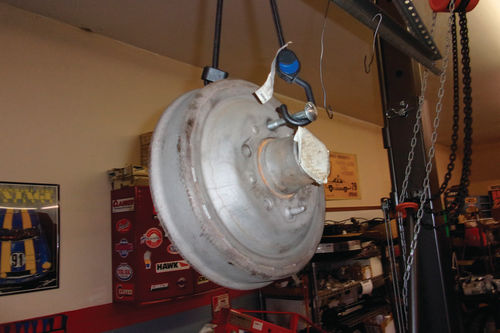
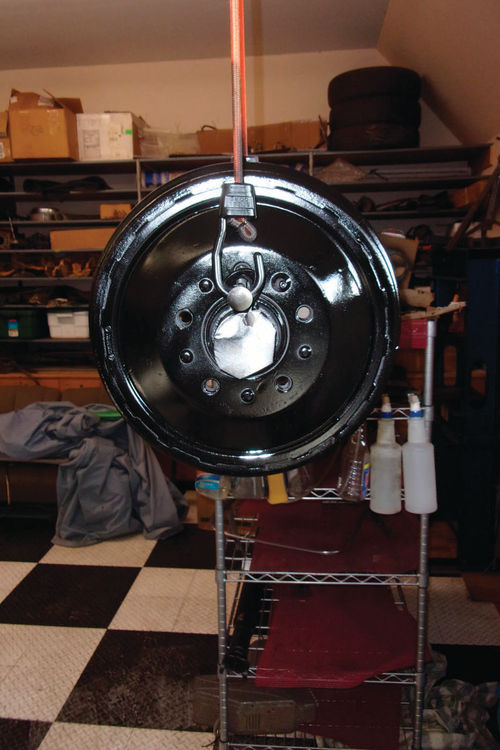
In our shop, we clean up old brake drums by blasting the outsides in a media cabinet, but avoid the urge to just blast away. You do not want to blast the surface of the hubs where the seals and bearings will be inserted or the metal will get rough and ruin the new parts. To keep the media out of the hubs we purchased a set of rubber discs that have magnets inside then taped the edges with silver duct tape. Eastwood sells these in a kit with different sizes. Then, we cut a cardboard strip to the width of the surface that the brake shoes press against and to a length slightly larger than that of the inner wheel diameter. We then taped the edges of the cardboard strip together so that it became a flat, round circle. We pushed this circular “blasting shield” into the drum and up against the inner surface that the brake shoes press against.
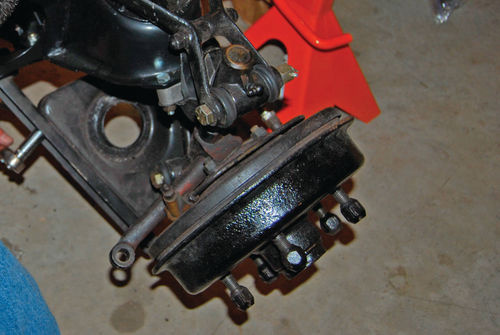
At this point, we blasted both the outside and inside of the brake drum to remove the stains and rust (and on rare occasions original paint). This takes a little doing, especially around the edges, but patience is always a virtue when restoring a car. After media blasting is done in a blast cabinet, the brake drums will be clean and have a gray color. The surface with be blasted just right for the application of special brake paints.
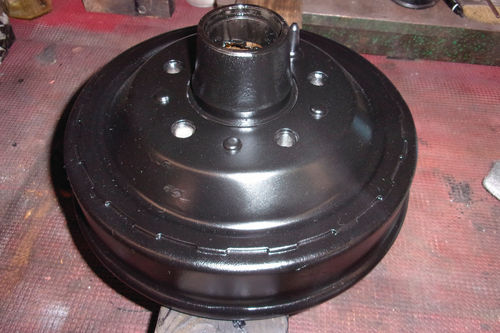
Machining & Painting Drums
As your brake drums wear down, they will actually become smaller. The drums on vintage vehicles should be measured with a micrometer to gauge whether or not they need to be replaced or if they can be turned (machined on a special brake lathe) instead. Technically speaking, if you replace the drum on one side of the car you should replace the drum on the other side. Having one new drum and one worn drum can cause performance issues. However, there are many old cars that have brake drums made of “unobtanium.” In other words, if you find one new one, consider yourself lucky.
Brake drums can be resurfaced by grinding or (as mentioned earlier) by turning them on a brake lathe. There must be 0.030 inch (0.762 mm) left for wear after turning the drums. Some states have laws about measuring the limits of a brake drum. You may also encounter the problem that some vintage brake drums can’t be turned in the brake lathes usually found in modern repair shops. They can’t be “chocked” into new lathes.
We encountered this problem with a set of brake drums for a 1953 Dodge B-4-B pickup truck. The drums were taken to a specialized machine shop where we were told they could grind them. After not hearing from the shop for several months, we went back to check and the drums were sitting in the same spot we left them in. We then took them to an old auto repair shop we knew of and had then done and back in a couple of days.
After you turn your old brake drums, you’ll want to make them look nice. We have successfully used Eastwood’s Ceramic Black Brake Caliper Paint to spray bomb brake drums and it has worked fine. Rust-Oleum also makes a brake caliper paint if you prefer buying locally. However, we assume both of these are probably called Brake Caliper Paint because they are made for disc brake calipers that may not get as hot as some (say Corvette rally car) brake drums. So, we searched and found that a company called Zoro (zoro. com; ( ), of Buffalo Grove, Illinois, sells an actual Brake drum Paint.
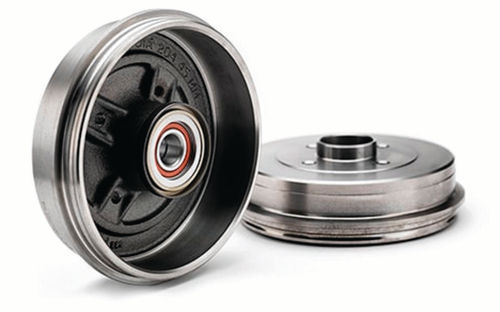
New Drums May Be An Option
Optimal braking performance is important if you’re driving a collector vehicle in modern traffic and for maximum stopping performance it’s important to have brake drums that are within original specs and have not been turned too much over the years. Often overlooked by hobbyists is the availability of brand-new reproduction drums.
Kanter Auto Products of Boonton, New Jersey (www.kanter.com), has reproduced a large number of new brake drums for collector cars. The applications start as early as 1936 in the case of GM, Ford and Mopar drums. Kanter says its reproduction drums meet or exceed OEM standards. They are backed with a lifetime limited warranty.


