Restoring Bucket Seats
Years of Use May Leave Your Vehicle Seats In a Flattened Way. Here’s How You Can Pick Yourself Up Again.
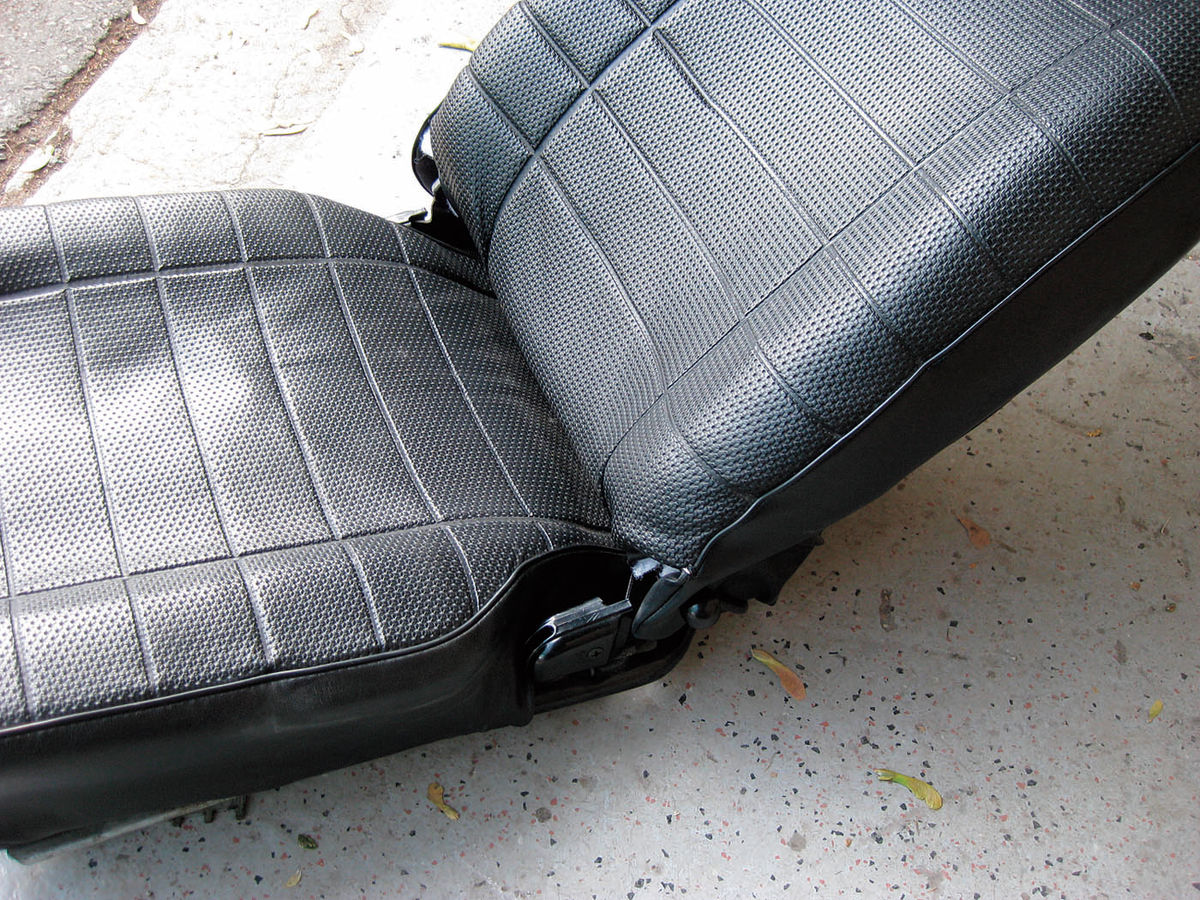
AFTER MANY YEARS of service and exposure to numerous temperature swings in the Northeast, the seats in the 1977 MGB had become worn out to say the least. They were so worn, in fact, that the owner likened it to sitting on the floor pan. While the foam and basket weave had seen better days, the actual seat covers were in great shape so by request I carefully removed the original covers for reuse and rebuilt the basket weave and foam.
Separate the Halves
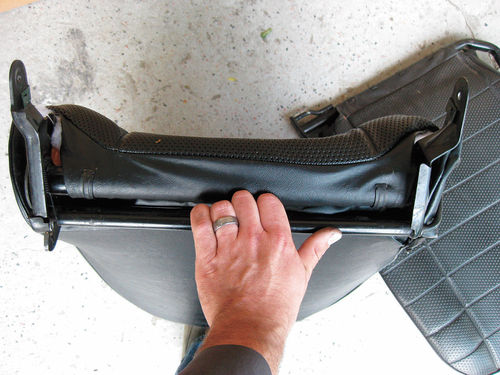
Once the seats were removed from the car the first step was to separate the top and bottom halves from each other.
Take out the Phillips head screws securing the plastic hinge covers in order to get those pieces out of your way and follow that up by removing the bolts on each side and separating the upper and lower portions.
Take Your Time With the Covers
Now I could focus my attention on carefully removing the factory seat covers. While they were still in good shape, great care had to be taken during disassembly. Often when removing seat covers I find that they like to tear right at the seams when pulling them off. But by slowly removing them a little bit at a time and being patient, they will come off. Sometimes you may need to pull them back on some to un-bunch the material and allow easier removal.
Confronting the C-Clips
The seats on the MGs are not held together with hog rings like most of the American cars you’ll encounter from the same time period. There are barbed clips that wrap around the seat cover and clip onto the bars that make up the seat frames. In order to remove them without damage you can’t just try to pry them off from the center like common sense would dictate. You need to carefully get under the ends with either a small screwdriver or ideally a plastic pry tool and lift the ends up and then out to release the barbs on the clips and prevent any tears in the seat vinyl.
Starting with the seat back portion I removed the c-clips from the bottom and was sure to pay attention to how the bottom of the seat cover wraps around the seat frame. Next there is a Phillips head screw on each side of the seat back that needed to be removed as well as the reclining handle. Flip the little cardboard wings at the bottom of each side and remove the cover over the top. This exposed the seat frame, backrest stiffener, and backrest foam. The original seat foam was glued to the seat frame and was peeled off. Try to remove as many of the little bits and pieces as you can to allow your new foam to fit properly when it’s installed. There also were two screws securing the bottom of the backrest stiffener to the seat frame that were removed. The top half was glued to the seat frame and was peeled off.
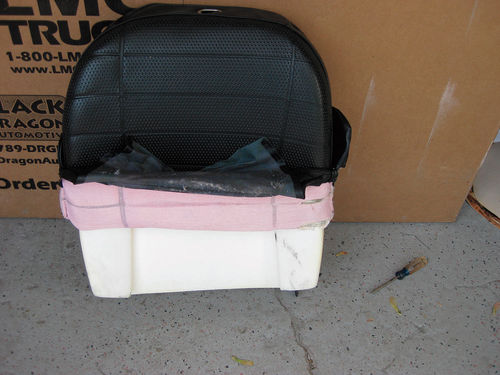
Restoring the Upper Part
Now I could begin rebuilding the upper portion of the seat starting with the new backrest stiffener. As stated, the original was held on with two screws on the bottom as well as with glue around the perimeter. Since the seat cover holds everything in place once it’s on, I decided to use the two screws and some duct tape wrapped around the seat frame to hold it during assembly. Next I used some 3M Super 77 spray adhesive to glue the new seat foam onto the seat back frame. It goes on easy and dries quickly so it’s ideal for a situation like this.
Once the adhesive had dried I carefully began to slide the factory seat cover back onto the new assembly. While these went back on easily sometimes they may become held up, even with new covers. If this occurs you can place some household dryer sheets on the top of the seat foam and they will aide in sliding the covers on. Finally I wrapped the bottom of the seat cover back around the bottom of the seat frame and reattached the barbed c-clips that were previously removed. Note that they may not fit back in exactly the same positions as before because the new seat foam could be slightly larger than the original. But you should be able to line everything up so as not to see the marks left behind from their original placement from the factory.
Turning to the Lower Half
Once the seat back half was completed I focused my attention on the lower portion which was the bigger problem and greatest cause of concern. Just by pressing down on the seat I could feel it sink almost completely through to the ground below.
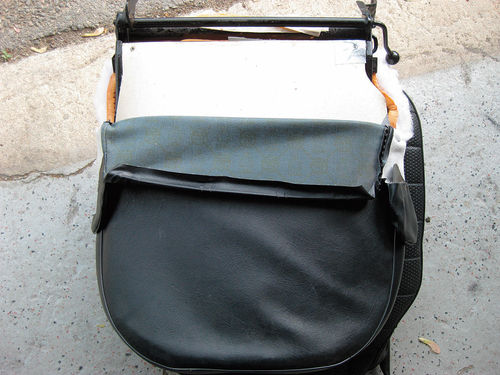

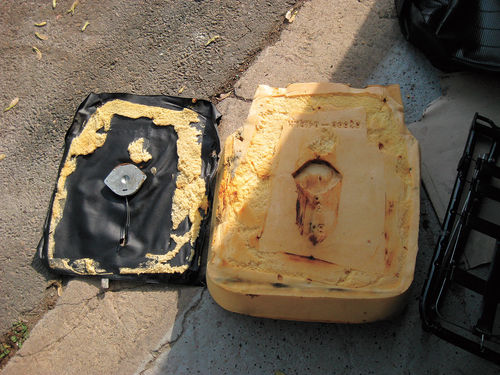
Disassembly was very similar to the top half as far as removing the c-clips, cover, etc. Before removing them it’s a good idea to remove the seat tracks so they are out of your way. You do that by backing out the Phillips head screws that secure the tracks to the frame. Be aware that the driver seat may have a safety switch in it for a seat belt warning mechanism. It’s basically just pressed into the seat foam and can easily be transferred onto the new foam.
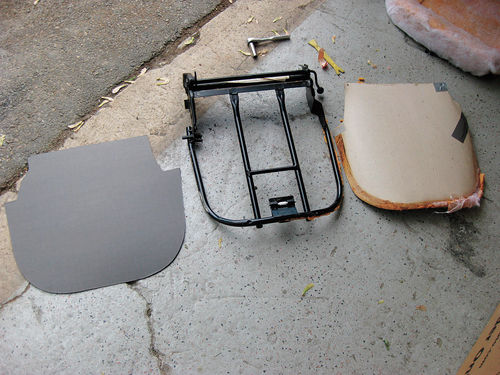
Working With the Basket Weave
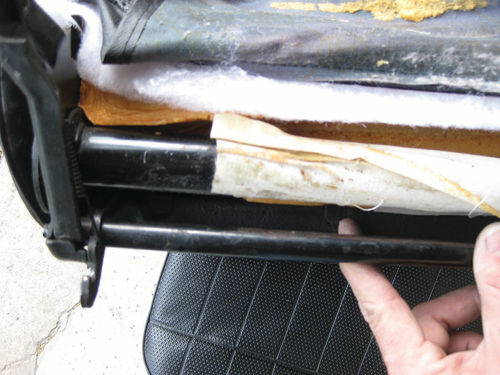
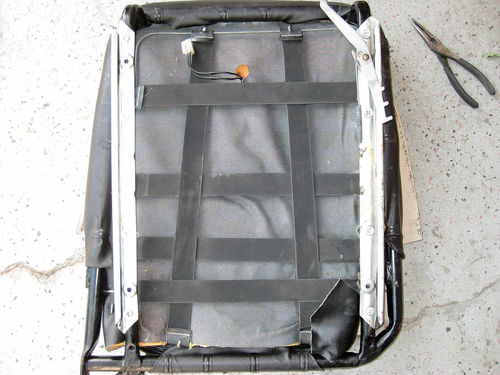
After the foam was removed from the seat frame on the lower half I was ready to address the elastic webbing that supports the weight of the driver. Over time this basket weave of rubber loses its elasticity and just sags.
Luckily the aftermarket has stepped up with a direct replacement and it’s a cinch to install. The webbing assembly is held to the frame with a series of hooks that insert into holes in the frame assembly. The old stuff came right out with no fight due to its sagging condition.
Be sure to take note of the weave pattern on the old webbing. The new parts should come to you in the same configuration but it’s always good to double check. Once I confirmed this I installed the new basket weave onto the seat frame. A pair of pliers and an extra set of hands from a buddy made stretching it into place a lot easier.
Wrapping Up the Lower Half
Now I placed the new seat foam over the frame making sure to reinstall the seat belt warning switch and route the wires properly. There was no real need to glue the bottom foam onto the frame as the seat cover holds everything in place. I placed the original seat cover back over the new foam and began to pull the ends into place, removing any wrinkles or bunching in the top half. Again as with the top half, I re-installed the c-clips in their original locations. I followed this up with the reinstallation of the seat tracks on the bottom and took the opportunity to put a little bit of fresh grease on them.
Now that I’d carefully replaced the foam and basket weave, as well as the original seat covers, I could finally reassemble the two seat halves.
Assembly is a snap. Just line up the holes for the hinges and reinstall the bolts that keep everything together, followed by the plastic finishing covers that go over them.
The seats are now ready to go back into the car and provide many more years of comfortable motoring—without that sitting-on-the-ground feeling.


