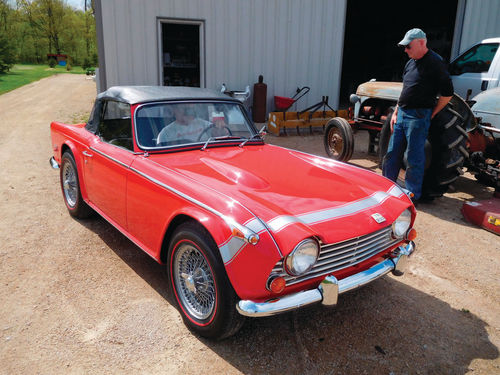
Restoring a 1968 Triumph TR250
Even Though the People Involved Are Restoration Veterans, This Project Has Proven to Be Quite a Learning Experience. Let’s See What This Car Taught Them.
A Unless you restore the same type of car—say a Corvette or Mustang— over and over again, each car you do is a learning experience. During the final 15 percent of our Triumph TR250 restoration project, we learned a lot. In fact, a few issues we dealt with will change our approach to all future restoration jobs.
Pick Your Vendors Very Carefully
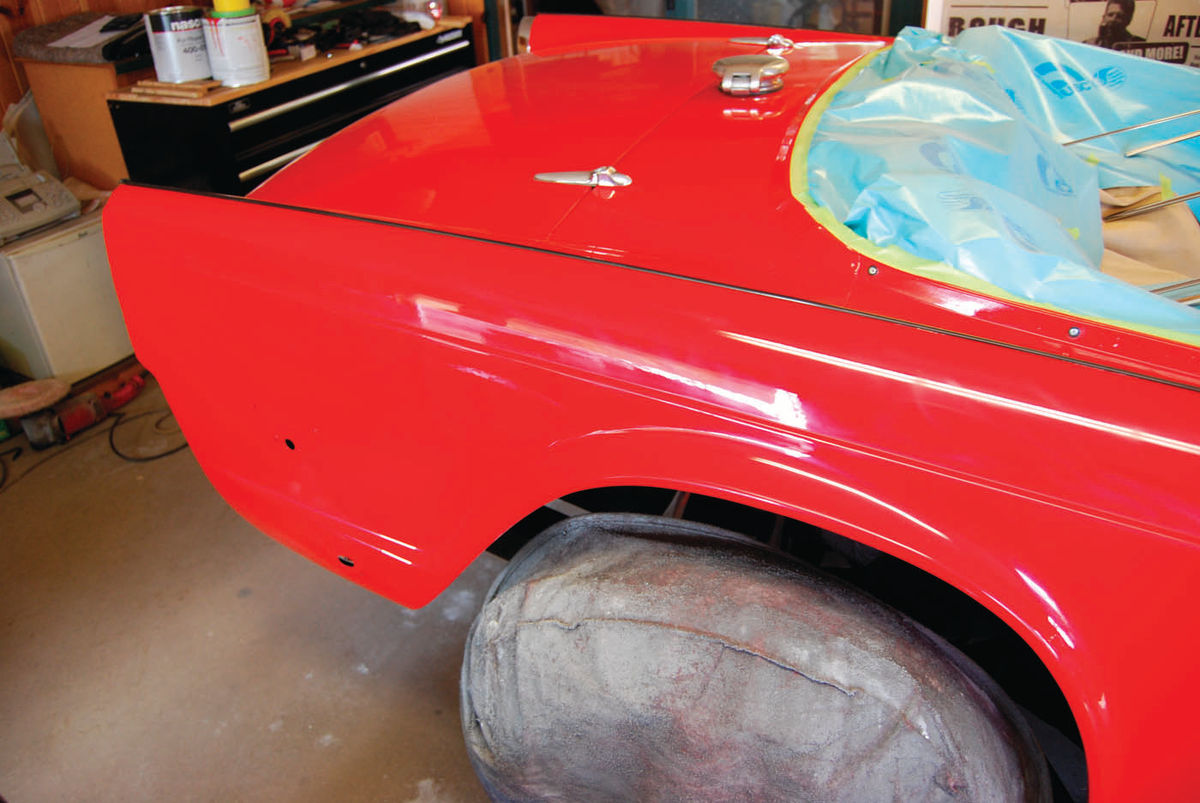
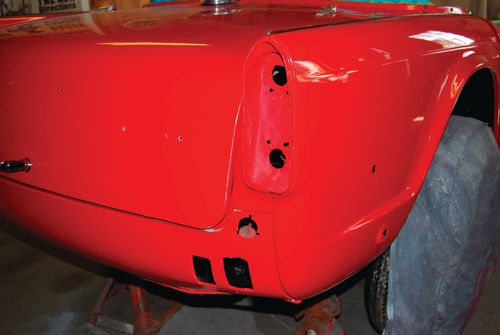
We have mentioned finding out, after the car was painted, that some hidden damage caused by a past accident resulted in a poor-fitting trunk. Someone else had done the bodywork on the car and before the trunk lid was installed, the car appeared to be finished. That wasn’t true and to solve the problem, we took the car to our preferred body shop. The bodywork and paint on the right-hand rear quarter panel had to be done over again to get a good fit on the trunk lid.
What we learned with that episode is it’s important to have better control over the refinishing process if we are going to be responsible for final assembly. We tried to work with the customer to save him money, but the end result was redoing part of the job. From this point on, we will have all our bodywork and paintwork done by our preferred shop—John’s Custom Auto of Manawa, Wisconsin. This will eliminate costly re-dos and cut the amount of time a restoration takes. John’s Custom Auto is located less than five miles from my shop, Gunner’s Great Garage, so transporting cars and parts there will be easier and safer than transporting them to other cities.
Avoid Busy Times In a Vendor’s Schedule

In an earlier part of this series we discussed having the TR250’s stainless steel trim buffed. We wanted to have the work done by Classics Plus, Ltd., of North Fond du Lac, Wisconsin, a shop that does a great job with stainless. So we took the pieces to their space at the giant Jefferson Swap Meet in Jefferson, Wisconsin. This saved us a trip to Classics Plus to drop the trim off, but what we didn’t consider is that a show like Jefferson generates lots of extra work for them. In fact, it gave them a backlog of work and slowed things up quite a bit. In the future, we’ll take the trim to them before a big swap meet and go to the front of the line. Another lesson learned.
Don’t Hesitate to Invest In a Helpful Tool
We redid the brakes on the TR250 with a combination of new, reconditioned and rebuilt parts. The master cylinder and wheel cylinders were lined with stainless steel and rebuilt by Brake and Equipment Warehouse. The brake calipers were also rebuilt, but the rotors were new. The brake drums were reconditioned by having them machined at a parts store. New brake lines were installed using an Auto Mech kit with pre-sized lines that already had fittings in place. This all went well, but bleeding the air out of the brake system was difficult.
Eventually we purchased a Mityvac MV6835 Universal Brake Bleeder Kit with Refill Bottle and accessories on eBay for about $150. This did a very good job of bleeding the brakes after manual bleeding didn’t get the job done. This handy tool can also be used to bleed a clutch slave cylinder or other hydraulic cylinders. We thought it was a little pricey at first, but it was well worth the cost. And other people have been asking to use it after they saw how well it works.
Prime the Oil Pump
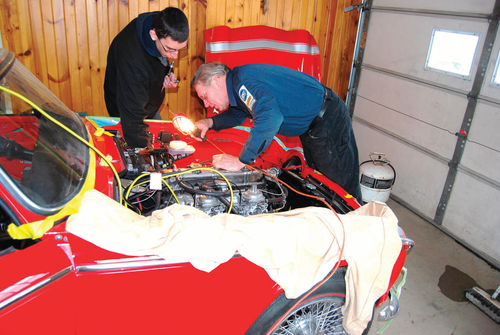
With the brakes finished (or so we thought), it was time to move on to starting the car. It’s a good idea to prime a car’s oil pump with a drill before you start the engine. This is a particularly good idea with the six-cylinder Triumph engine. You need to machine a rod to the same configuration as the oil pump shaft and then chuck it in a drill and spin the oil pump to get it primed. Our engine ran very well on startup and the four-speed manual transmission rebuilt by Ken Quade of Fox Cities British Car Club shifted like a new one.


Logic to the Rescue
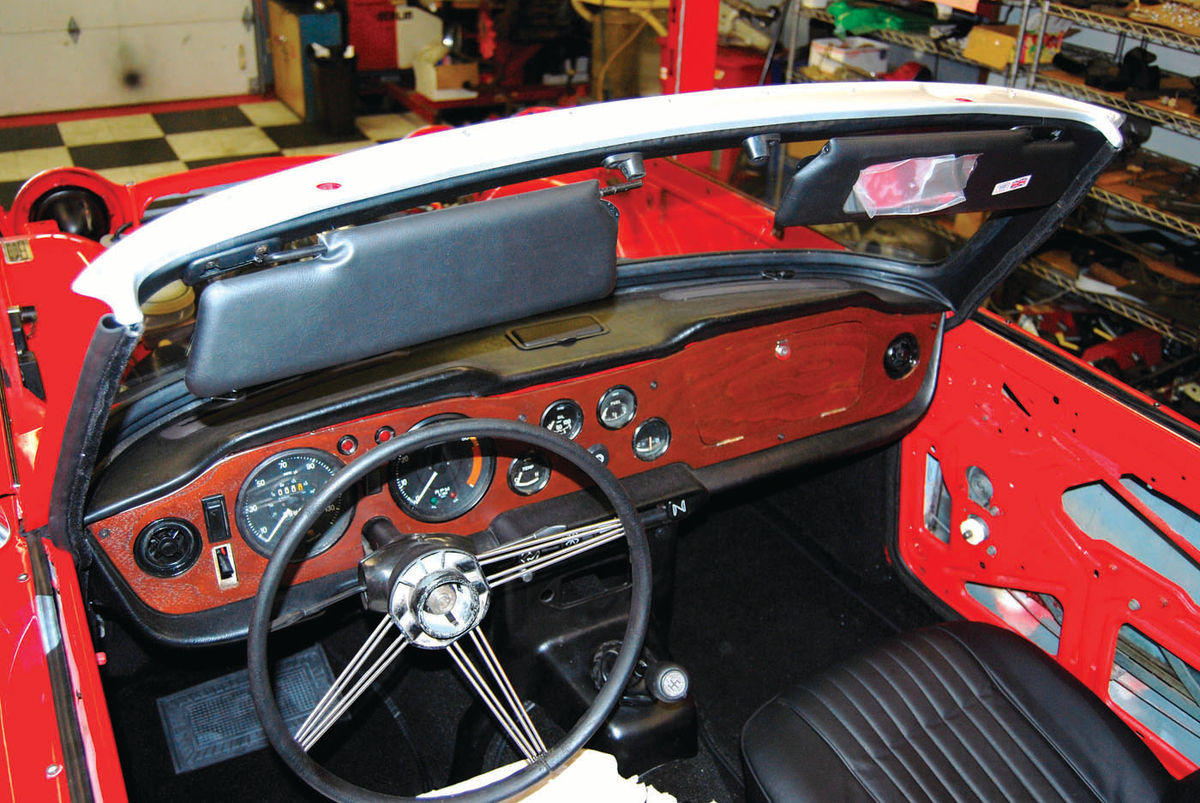
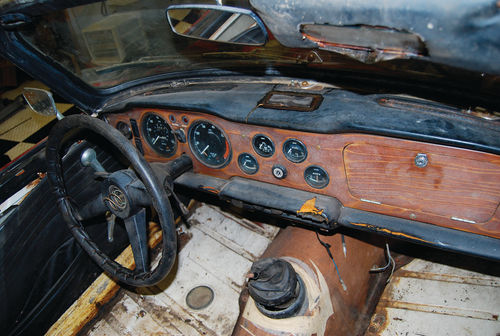
One of the biggest lessons we learned in the last 15 percent of this restoration was not to assume that gauges that haven’t worked for 30 years are going to pop to life just because you cleaned them up and made them look good.
The oil pressure gauge worked, as did the speedometer and tachometer. However, the fuel gauge, ammeter and temperature gauge all did nothing. Part of the problem was the ammeter wiring and a little device on the back of the speedometer called a voltage stabilizer. After burning up two voltage stabilizers (including one solid state version) we decided to go back to ground zero.
We tried to rethink what we were doing. Electrical circuits all work basically the same. If you rely on logic, you can usually figure out what’s causing a problem. Taking this start-at-thebeginning approach, we determined that the ammeter had been wired into the car incorrectly. Switching two wires and getting a new voltage stabilizer ($14 from Moss Motors) solved the problem. We also wound up purchasing three good used gauges on eBay and installing them in place of the non-functioning ones. We bought carefully and all three worked well.
If a Small Part Doesn’t Work…Try Improvising
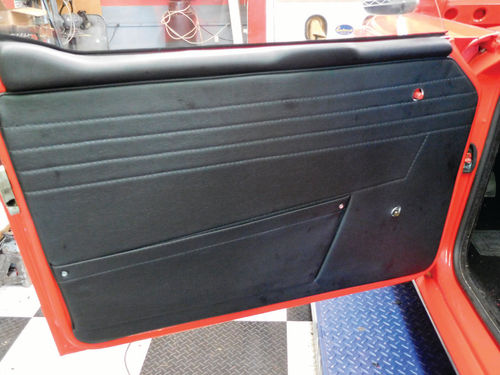
A couple of soft trim items were left until the last 15 percent of the restoration. New door panels were relatively easy to install, but attaching the door handles was challenging. As on many other cars, installation involves pushing the TR250 handle onto a rod with a spring and escutcheon positioned under the handle. Usually, the door handles snap into place or have clips holding them on. On a TR250, you are supposed to push a tiny retaining pin into a tiny hole at the same time you’re pushing in the spring, escutcheon and door handle.
After losing several pins and not having much luck (except with one of them) we decided there must be a better answer and we posted on a Website called The Triumph Experience and described our problem. It turned out the best solution is using a piece of proper thickness wire in place of the tiny pins. When you get everything pushed into position, it’s much easier to push a wire through the hole than a tiny pin. Then, you carefully snip off the excess wire with side cutters.
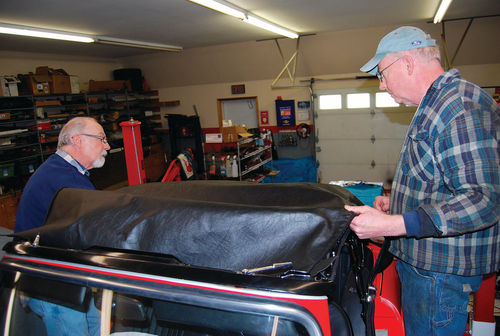
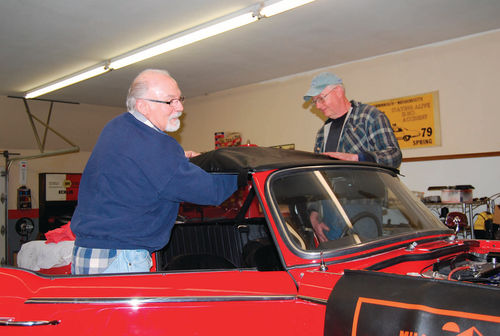
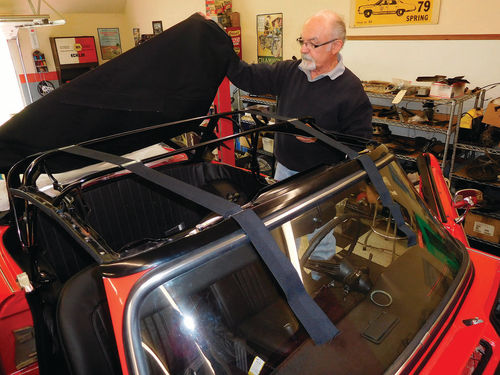
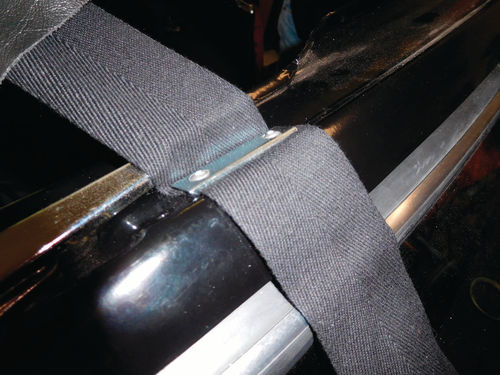
Sometimes You Need an Expert’s Help
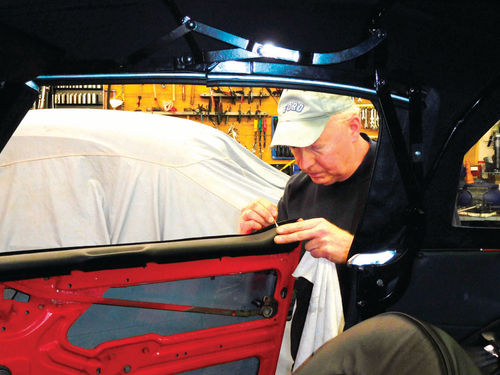
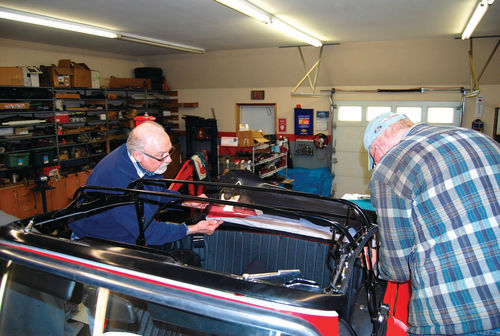
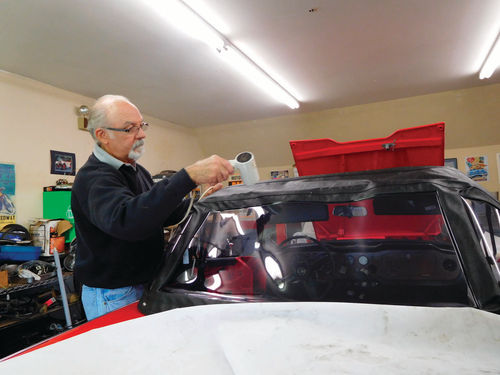
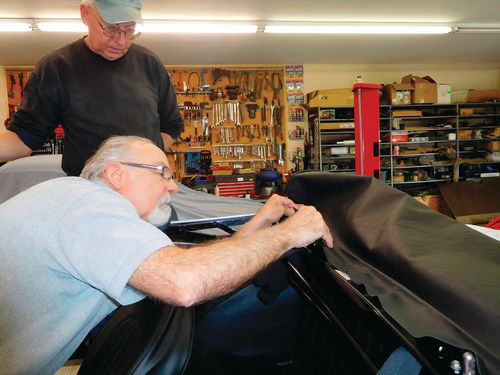
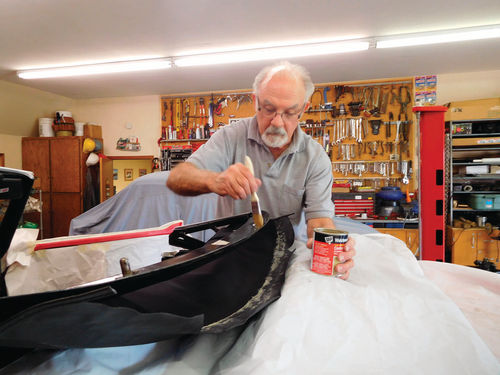
We have done a few convertible tops on our own cars, but that was a few years ago. We were a little reluctant to experiment on the customer’s TR250, so we sweet-talked a friend who used to be a trimmer into doing the top on the car. Top work is really a question of knowing a few basics and going slowly and carefully. Always remember to measure twice and cut once. The accompanying photos show a few of the basic steps in doing a convertible top. The top we had installed was a Robbins top bought from Moss Motors. It fit just perfectly.
Test Components When They Can Be Easily Reached
With pretty much all of the last 15 percent of the work done, we were ready to take the car for a short test drive. It ran well, but there was a clunk at the rear. Since we had completely rebuilt the half shafts, we figured they were the source of the noise. We listened again and the clunk seemed to come from the rear righthand wheel, not the differential. Again we turned to The Triumph Experience.
Most suggestions we got were about the bearings and U-joints and other parts we had already replaced. But after we stressed that the noise seemed to be coming from out at the wheel, we got several responses suggesting that we check the condition of the splines on the wire wheel hubs. Worn hub splines turned out to be the problem. We replaced three hubs and the noise was gone.
The windshield washer system was another assembly we waited longer than we should have to think about. Once the car was started, we could tell the washers weren’t working. Ultimately, a new electrical washer pump from The Roadster Factory got things working again. However, washer fluid was leaking from the hoses up by the cowl. The hose that carries the washer fluid to the passenger side of the windshield was not connected.
While it would have been simple to connect this hose when the car was apart for body and paintwork, it was impossible to connect it with the car reassembled. Fortunately, we were able to block the opening on the passenger side hose to stop the fluid leak. This way, at least the driver’s side windshield could be cleaned. We weren’t about to disassemble the car to attach the right-hand hose!
Expect a Gremlin Attack
At this point, we felt the car was ready for delivery, but as often happens when a car is taken totally apart and put back together, a few gremlins have popped up that we need to address.
There’s a brake fluid leak (thank goodness we used silicone brake fluid, which doesn’t hurt paint), the windshield washer switch fell apart (reproductions are available) and a bit of oil is leaking on the floor. Of course, legend has it that British cars always leak. In fact, the pundits insist the British don’t make computers because they can’t make them leak!
That’s a joke, of course, but the problems will have to be dealt with. And we have decided that in the future we will: 1) Have all body and paintwork done at our preferred shop. 2) Take stainless steel parts to be buffed before big swap meets. 3) Have all gauges tested and rebuilt or replaced before assembling the dashboard (We’ll assume they are not going to work until proven wrong). 4) Closely inspect all wheel splines during repair and re-assembly. 5) Test all electrical accessories and plumbing connections while the car is disassembled and 6) Anticipate gremlins and fix them before the car goes home again.


