My 1981 Mercedes 240D
Over Three Decades He’s Stopped Twice for Restoration Work. That Sound-Deadening Material Sure Was a Problem.
I BOUGHT THIS Mercedes-Benz 240D new in 1981, and was living in Placentia, California, at the time. In addition to its 2.4-liter 4-cylinder diesel engine, the car came standard with a 4- speed manual transmission, power steering and power 4-wheel disc brakes, 2-speed windshield wipers, trunk carpeting, halogen headlamps and fog lamps, and steel belted radial tires. A no-cost option was the Becker Europa stereo cassette system while A/C added $1386 to the car’s final cost of $21,387. Don’t even ask how much the loan interest was.
Anyway, I soon moved back to Grand Rapids, Michigan, and the Benz was driven daily, even in the winter. I lived on a gravel road for about 10 years and the salt and grime took its toll.
I lost the car in a divorce but regained it four years later. At that time I did a quick restoration and had to replace the front fenders, the left rocker panel and repair all the doors and rear quarter panels. It wasn’t pretty but I got it back on the road.
Eventually I had to do a valve job. At about 180,000 miles it was getting harder and harder to start and things were going south again.
Getting Serious About the Project
I had just finished the restoration of a ’57 Chevy and had a nice shop to work in so I decided to attack the Benz. This time I was determined to do it right so all the old repairs were ripped out.
New holes had developed and the car was pretty much a skeleton. I tell people that I finally had to put the car in baggies. Photo 2 shows some of the damage. This time I bought three new doors. Except for the new rear quarter panels the rest of the sheet metal was hand formed, beat to shape, filed to fit and painted to match. The front left kick plate hole, shown in Photo 2, was filled by welding in a piece, doing hammer and dolly work and then adding another piece and repeating until the repair was completed. I had used the old rusted piece as a guide. Many holes were filled in this manner.
A Sound-Deadening Rust Promoter
The Mercedes vehicles from this era were undercoated with a thick rubber like sound deadening material. The trouble with it was it would separate; moisture would then get between the undercoating and the sheet metal, and cause a rust-out.

While looking from the outside the car looked great, until you took an ice pick to it and then you would find holes everywhere in the floor pan. I resorted to hand scraping the bottom of the floor pan, the inner fenders and everywhere else the undercoating was located.
Not having the car on a rotisserie I had to do this on my back by heating up a little patch with a heat gun and then hand scraping. Needless to say, this approach to the task took awhile.
I had decided to paint the car a different color than it originally had been. This necessitated painting the fire wall, inner fenders, under the car, etc. Photo 1 shows the car during the painting and re-assembly process while Photo 3 gives you an idea of the stuff you have to work with under the dash.
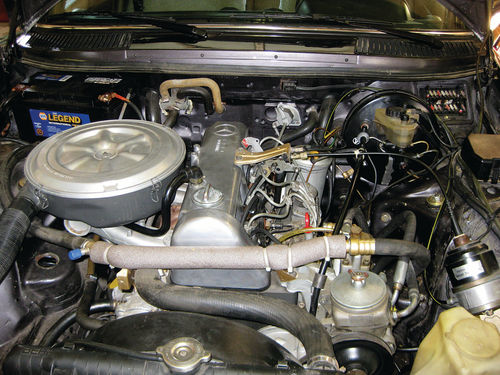
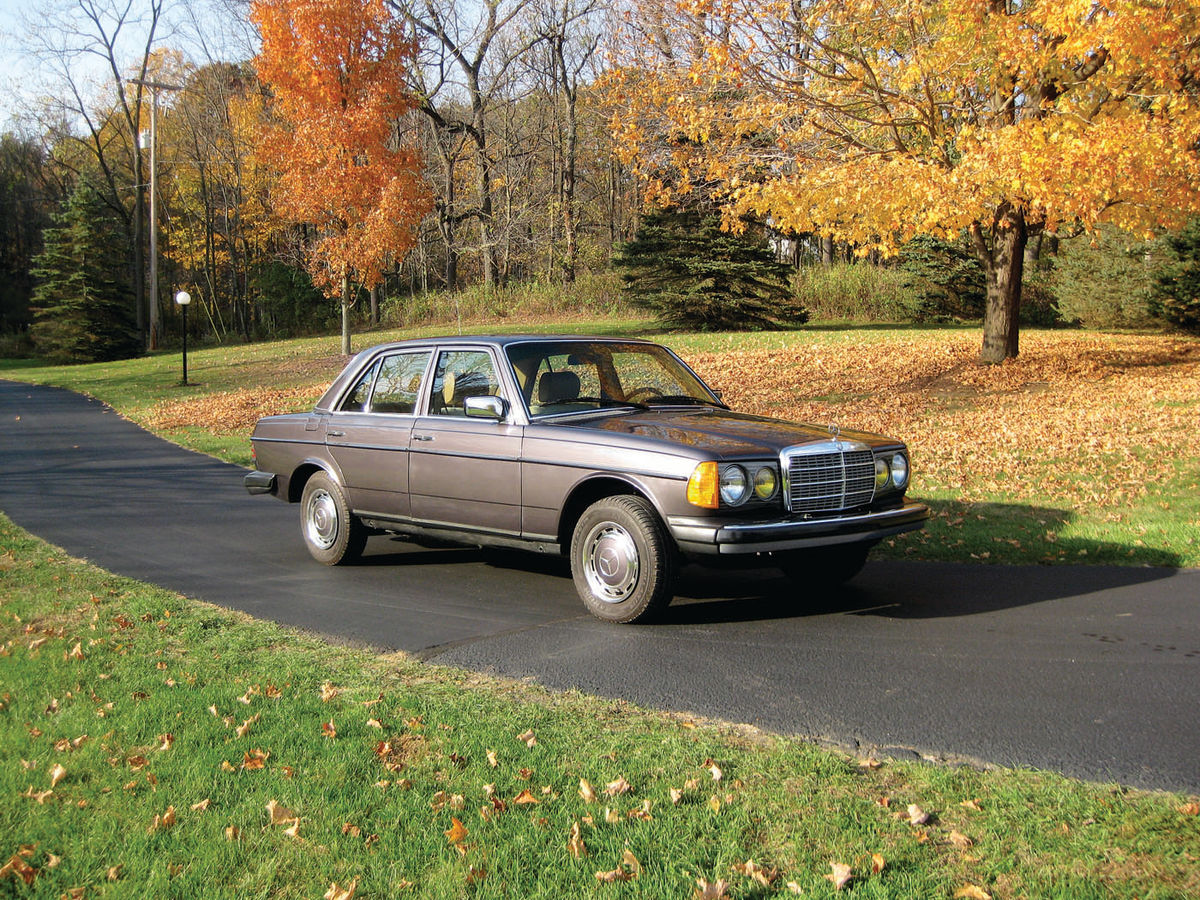
I totally rebuilt the diesel engine, put in new cylinder sleeves, had new pistons sized, all new bearings, a valve job, etc. The crank bearing surfaces only had to be polished. I did all the assembly. A look at Photo 4 shows the engine after reassembly and installation in the car. With Photo 5 you see the finished car back on the roadway again.
An Unresolved Issue
Of all the problems I had to solve restoring this car, the hardest was how to re-assemble the front end.
If you look at the OEM shop manual (which I have and could not have done this job without) you will find instructions about how to take one side of the suspension apart and reassemble it, but nowhere does it explain how to do the job when the complete suspension has been taken apart.
I would put it all together only to have it ride too high in the front, I’d say about three inches overall. As you no doubt have surmised, it looked really weird and didn’t drive well.
With that, the old Benz sat in my shop for about five years while I tried various things to get the suspension right. I tried blogs and other books but I was getting nowhere. So from time to time I just covered it up and forced myself to forget about my special car.


Then one day, while attempting yet again to get the height right I put a jack under the end of the anti-sway bar that attaches to the top suspension piece. Now this sway bar is about one inch thick so it doesn’t want to twist much. Anyway, when I jacked it up, which pushed it up and away from the rest of the suspension, it all of a sudden jumped up. I held it there with the jack and assembled that side and then blocked up the suspension. I did the same thing on the other side and once together the ride height was close to right.
As you can see in Photo 5, it still is a little high…but a lot better than it was.
We Drive It, Except…
Now the car is driven on a regular basis from spring to fall and we have taken it on trips.
But when you consider all the trouble I’ve had with rust, I think you’ll understand completely when I say that I try to keep my Mercedes off the local roads in winter.


