
How -to Let’s Talk Paint Products
There Are Numerous Primers, Sealers and Finish Coats Available. This Will Help You Pick the Right Ones for Your Ride.
THE QUESTION OF what refinishing products can be safely used on what surfaces comes up on a regular basis. And it’s no wonder; the world of refinishing products is constantly changing. Confusion about which product should be used where and when hangs over every painter out there, including me. To that end I thought this would be a good time to address painting product usage starting with the one I get the most questions about.
Etching Primers
Etching primers do two things (Photo 1). They enhance adhesion when you’re applying primer/surfacers and sealers to bare sanded steel and aluminum and they offer some corrosion resistance to bare sanded steel and aluminum. (Sanded with what? I prefer 180-grit dry.)
When should you use these products on your vintage ride? If your old ride is built of steel it is my opinion that the answer is “never.” Let me repeat that. I don’t think you should ever apply an etching primer to the bare sanded steel on your ride if that vehicle was produced before 1980. Apply two coats of epoxy primer instead. You will end up with better top coat adhesion and greatly improved corrosion protection.
Lightly sand the cured epoxy coats with 180-grit before top coating with primer/surfacer.
What about vehicles produced after 1980? This was about the time car manufacturers began to use HSLA (High Strength Low Alloy) steels to reduce weight and to add galvanized steels to address the issue of rust. As a consequence, mild steel slowly began to be replaced by steels made of various strength and corrosion-resistant concoctions. The need to apply an etching primer to promote adhesion to these metals has grown ever since.
What about aluminum? You can apply an etching primer to bare aluminum that has been sanded with 320-grit to promote adhesion before applying a urethane primer/surfacer or catalyzed sealer over it. That said, if you read the P Sheets that come with a can of epoxy to determine the correct application thickness you will find that you can apply epoxy to bare sanded aluminum instead of applying an etching primer.
Can you apply an etching primer to bare fiberglass? No, etching primer can do strange things to fiberglass like softening it or causing it to delaminate.
You say you’ve already applied an etching primer to your pre-’80s vintage ride? In that case the only products that can be safely applied over the etching
primer are urethane primer/surfacers, corrosion-resistant urethane primers, catalyzed sealers, and polyurethane enamel. Nothing else, especially not epoxy.
Why not? Etching primer will chemically react to epoxy and within a matter of a short while, days or maybe weeks, delamination will begin to occur and your expensive paint job will begin to bubble and come off.
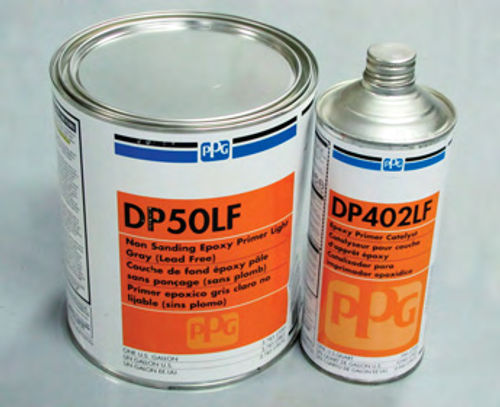
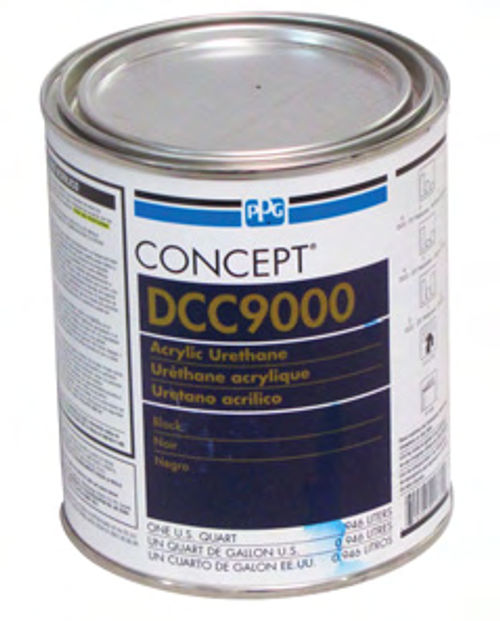
Epoxy Primer
Whether you have blasted your vintage ride clean of old paint, chemically stripped it, ground away the paint by hand, or just sanded off the bulk of the old paint with a DA, the first product you should apply is two medium wet coats of epoxy (Photo 2).
Epoxy is going to do a number of things for you. First, epoxy is probably the best corrosion-resistant primer you will find. Second, epoxy provides excellent adhesion to properly sanded bare steel, fiberglass, aluminum (sand with 180- to 320-grit and apply at least two coats over the bare aluminum), plastic body fillers finished with 80-grit, and old finishes sanded with 320-grit. Third, if reduced according to the P Sheets, epoxy can be applied over primer/surfacer sanded with 320-grit and used as a seal coat before applying the top coats. Of course, there is always a stipulation or two when it comes to applying epoxy so be certain you read the “Compatible Surfaces” section of the P Sheets to be sure you are using the product correctly.
When should you definitely not use epoxy? Never apply epoxy over any surface that hasn’t been sanded (80- to 320-grit) and never apply epoxy over any etching primer.
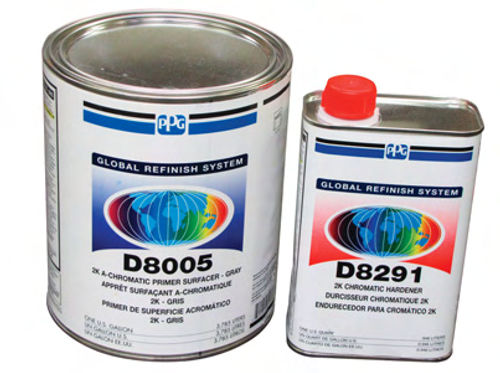
2K Primer/Surfacers
In the old days, primer/surfacers were lacquer-based products that did not require the use of a hardener. The problem with those primers was that once applied and allowed to dry they began to shrink and never stopped. The use of these products gave rise to the term “sand scratches” in that no matter how flawlessly you prepared the surface, these primers soon shrank to the point that scratches left from the sanding process began to show in the final finish
Today we use what are known as 2K primer/surfacers (Photo 3), which means a hardener must be used with these products so that they will cure out and not shrink.
What can you apply a 2K primer/surfacer over? These primers can be applied over properly sanded (220- to 340-grit) original paintwork, E-primer (the black stuff the factory applies to replacement sheet metal pieces), all types of body filler that has been sanded with 80-grit, fiberglass and SMC (Sheet Molded Compound), the stuff GM has used to construct Corvettes since 1972, that has been sanded with 80 to 180-grit, and, finally, bare steel, bare aluminum, and bare galvanized steel as long as these metals have been sanded with 180-grit and treated with an etching primer or coated with epoxy.
Note: Most 2K primer/surfacers will stick to bare sanded steel that has not been coated with an etching primer or epoxy. However, to be on the safe side I recommend the application of an epoxy primer before applying any 2K primer/surfacer.
How long should you allow a 2K primer/surfacer to cure before sanding it? The P Sheets state you should apply two to three medium wet coats, which would equal about 4 mils dry thickness, and allow those coats to cure for at least two hours before sanding.
That may work great for a production shop that needs to move cars to make money, but most of us are into restoration work and time isn’t our biggest issue. My recommendation is to allow at least two weeks for each application of primer/surface to cure.Why? I can’t offer any technical reasons other than I know catalyzed paint products can outgas solvents for a week or more after application, which to me would offer an opportunity for the primer to shrink as the outgassing occurs. Furthermore, I have friends in the restoration business and between us we all have come to an agreement that a couple of weeks cure time is a good thing.
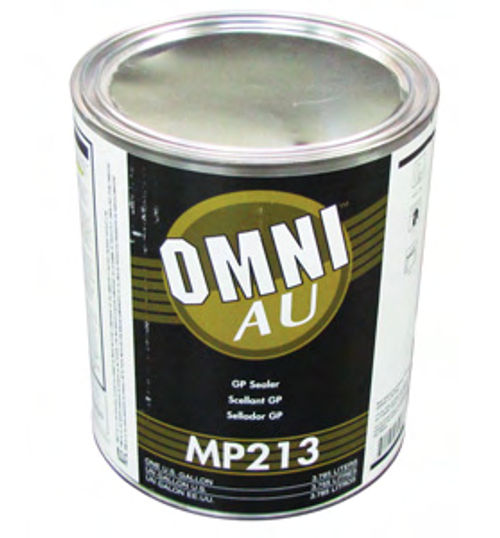
Non-Catalyzed Sealers
Sealers come in two varieties, non catalyzed and catalyzed. Both serve one purpose, to stop the solvents from subsequent top coats from penetrating into the primer coats underneath. What happens if you don’t apply a seal coat? You run the risk of the solvents reaching underneath the primer coats and lifting them from the surface being painted. It’s called “wrinkling.”
I don’t recommend the use of a non-catalyzed sealer for one reason: Should you need to sand out a bit of trash from a non catalyzed sealer and you sand through the sealer, you run the risk of the sealer wrinkling around the exposed edges of the sanded repair when you apply additional sealer over the repaired area.
That said, non-catalyzed sealers will do the job and compared to catalyzed sealers they are cheap, which makes them desirable in some situations (Photo 4).
What can you apply a non-catalyzed sealer over? These sealers can be applied to any surface coated with epoxy or any bare metal surface coated with an etching primer. Non-catalyzed sealers will also stick to sanded 2K primer/surfacer, and sanded original finishes of all types. Sanded with what grit? One coat of non catalyzed sealer will easily fill and hide 320-grit sand scratches.
Normal application is one wet coat. Drying time before top coating is 15 minutes at 70° F. If you delay applying the top coat for more than 72 hours this type of sealer must be lightly scuff sanded using a red Scotch-Brite pad and reapplied. Do not sand through the sealer for the reason mentioned above. It could cause wrinkling.
Catalyzed or 2K Sealer
This is the type of sealer I recommend using (Photo 5). I prefer 2K sealers for the same reason I dislike using non-catalyzed sealers. If you have a problem with the sealer such as a bit of trash or maybe even a run, you can stop, allow the coat to cure for 20 minutes, lightly wet sand the problem, then recoat with additional sealer without worry of the coat lifting or wrinkling.
What surfaces can you apply a 2K sealer over? You can put this sealer over bare aluminum, bare steel, and bare galvanized steel that have been coated with an etching primer, or any of the above surfaces that have been coated with epoxy.
Other than the above listed bare metals you can apply 2K sealers over original paintwork, E-primers, fiberglass and SMC, 2K primer/surfacers, and most plastics that have been sanded with 320-grit sandpaper. Apply one medium wet coat to any surface being sealed.
What products can you apply on top of a 2K sealer? Any acrylic enamel, base color coat, interior color coat, and single stage finish (polyurethane enamel).
If allowed to cure for more than 72 hours, 2K sealers must be lightly sanded using 320-grit sandpaper before top coating or reapplying additional sealer.
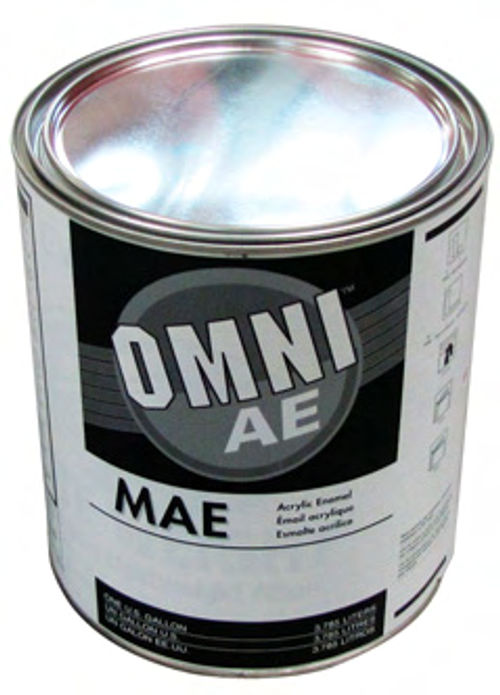
Acrylic Enamel
I’m including acrylic enamel in this discussion because some restorers want to go back with OEM-type finishes and in many cases that original finish was enamel (Photo 6).
In their time, enamels were considered to be durable and long-lasting. If you garaged your original enamel paint job it would eventually become hard as a rock and might last forever. But left in the sun it would quickly chalk and fade away.
Acrylic enamel can be applied over any cured, cleaned and sanded (320-grit) original finish, epoxy, etching primer, 2K primer/surfacer, non-catalyzed sealer, and 2K sealers.
Is there anything you should not apply acrylic enamel over? Enamel should not be applied to sanded bare steel or sanded bare aluminum as adhesion problems can occur.
Anytime you opt to use acrylic enamel always add a hardener to the mix. Without the hardener to reduce the curing time, you cannot apply additional coats without waiting for at least 90 days. The new coats will lift and wrinkle if applied before the 90 days are up. Adding the hardener quickly cures the enamel and allows you to repair flaws in the paint after only 48 hours of cure time.

Base Color Coats
These days it is very difficult to find a commercial paint shop that doesn’t rely on base coat colors when it comes to refinishing collision-damaged vehicles (Photo 7). In fact, most shops have mixing machines right next to the paint booth that allow them to mix any base coat color desired in any quantity needed.
Restorers were reluctant to use base coat colors at first, but quickly realized that they could not only duplicate any lacquer or enamel finish out there, they could also end up with a paint job that would outlast anything that has come before it.
The best thing about base colors is that they can be applied over just about any surface but bare metal. Doing so can cause adhesion problems.
Suitable surfaces would include OEM enamel and lacquer finishes, urethane finishes, 2K primers, epoxy, and the one product you should always apply before spraying base color coats, a catalyzed or noncatalyzed seal coat.
But no matter what surface you elect to spray with a base color, be sure that surface has been sanded with 320-grit or finer sandpaper. Base color will fill and hide 320-grit sand scratches if you put down two medium wet coats but it will not fill and hide deeper sand scratches like 220-grit.
The product P Sheets state that you should apply a minimum of two coats and allow five to 10 minutes between coats. I prefer three coats because some base coat colors can be very transparent. I give those coats at least 15 minutes to dry before applying the clear coat.
If your project happens to be a two tone, the first base color must be allowed to dry from 20 to 40 minutes at 70° F before you can apply masking tape over it. My preference would be to allow the first color to dry for at least an hour before applying masking tape to be sure the tape doesn’t leave tracks behind when you remove it.
If you spent all day getting the color coats on your ride and you just want to go home, the P Sheets state you can delay applying the clear coat for up to 24 hours at 70° F.
If you decide to take the weekend off and that 24-hour window closes, you will need to lightly sand the base color(s) and apply at least one additional coat of each color before applying the clear coat.
Base colors can also be reformulated by your supplier for use when painting low-gloss interior panels. Keep in mind that most interior panels have been coated with all types of interior cleaners and preservatives that can cause fisheye dots in your fresh finish.
To clean interior panels, start with soap and water followed by a good degreaser (PPG DX 320) and repeat. Then and only then, after the panels are good and clean, should they be sanded with 400- to 600-grit sandpaper prior to refinishing. Cleaning and degreasing prevents all of those nasty waxy contaminants from being ground into the surface by the sandpaper.
Polyurethane Clear Coats
You will find a large number of clear coat products out there. The one that you want is a high-solids clear,somewhere in the neighborhood of 4.0 VOC, as stated on the label, and one that can be used for overall painting.
Be aware that there are a lot of clear coat products designed specifically for use when making spot repairs. These clear coats dry much too fast for you to use when spraying your ’65 Mega-Boat Boulevard Cruiser. The result will be a finish with a lot of orange peel and areas that are rough with the appearance of your not having applied enough clear.
Needless to say, clear coats are designed for application over base color coats. However, you also can apply polyurethane clear over metallic single stage finishes. Why would you want to do that when single-stage finishes already exhibit a high gloss? Adding a clear coat allows you to color sand and buff these finishes without the worry of disturbing the metallics, which could result in a mottled finish.
The product P Sheets state you should apply at least two medium wet coats. My preference is to apply three coats, allowing 15 minutes of cure time between each coat.
However, if my plan calls for color sanding and buffing the finish to a high shine, I will apply two additional coats after allowing the first three coats to cure for at least 30 minutes at 70° F. The reason for the 30-minute delay is to allow a lot of the solvents in the first three coats to dissipate before applying the final two coats. Allowing the solvents to dissipate prevents solvent pops from forming on the surface of the clear.
The P Sheets also state that most clear coats are dust-free after one to two hours and can be taped after six hours. I agree with the dust-free information, but because I often apply four to five coats of clear I delay any application of masking tape for at least 72 hours; longer if I am working in cooler weather that can extend the curing time.
Urethane Single-Stage Finishes
What is a single-stage urethane finish? Think of a base coat color with the shine built in. Apply this product and there is no need for a clear coat, the shine is already there (Photo 8).
When would you want to use a urethane single-stage finish? I like single stage finishes any time I’m painting a vehicle with a non-metallic color. This non-metallic or solid color characteristic allows me to color sand and buff a single-stage finish without worrying about exposing the metallics and mottling the finish. The finish is one color through and through and you can make one of these paint jobs as slick as glass with a little color sanding and buffing.

Of course, urethane single-stage finishes are available in metallic colors, but like enamel, you should not attempt to color sand and buff one of these finishes as the exposed metallics will tend to mottle the color of the finish. You can, asI mentioned above, apply a clear coat over a metallic single-stage paint to give you the option of color sanding and buffing the finish.
Any other reason for using a urethane single-stage finish? Here’s one very good reason: When applying a base coat/clear coat finish you will need to apply three coats of base and top that with at least three coats of clear. That’s a minimum of six trips around the car with a paint gun hanging off your arm. Using a urethane single-stage finish lets you cut the number of coats and trips around the car in half.
Single-stage finishes can be applied over sanded and cleaned OEM finishes and just about any other surface that has been sealed. Allow 15 minutes between coats and six to eight hours at 70° F for the finish to cure. My preference is to allow at least 48 hours before handling or color sanding and buffing. If you are spraying black you can double the cure time as black always seems to take longer to dry and cure. Don’t ask me why. I don’t know; it just does.
Some Additional Tips
If a surface is to be sanded, it must be cleaned first. Since cleaning is basically degreasing, select a good degreaser, such as PPG DX 320, and always degrease any surface you are about to coat with a refinishing product.
Lightly scuff etching primers using a red Scotch-Brite pad so that you don’t remove the primer.
Sand epoxy that is to be top coated with primer/surfacer with 180- or 240- grit sandpaper. Wet sand epoxy that has been applied as a seal coat with 320- to 400-grit wet to assure a nice slick surface for your finish application.
Sand primer/surfacer that is to be top coated with additional primer/surfacer with 180- or 240-grit. Sand any primer/surfacer that is to be top coated with sealer with 320- then 400-grit sandpaper wet.
If it becomes necessary to do so, wet sand both non-catalyzed and catalyzed seal coats with 320- or 400-grit.
Wet sand base color coats with 400- to 600-grit sandpaper before top coating with either additional base color coats or clear coats. You may be tempted to lightly dry sand a base color coat but don’t. Dry sanding can leave sand scratches deep enough that they cannot be filled by subsequent color coats.
Wet sand clear coats and urethane single-stage finishes with 1000- then 1500-then 3000-grit before buffing. Got a question? Send it along.
Products supplied by:
LPL Body Works, LLC
5815 Contented Lane, Amarillo, TX 79109
Body and paint repair DVD series


