How -to Drilling, Cutting & Tapping Metal
Many Projects Call For Working With a Drill and Hand Saw. These Tips Will Help You Do a Better Job.
DRILLING AND CUTTING metal is similar to drilling and cutting wood, but you do use slightly different techniques. I am going to show you those techniques and offer some helpful hints to go along with them. I have taught this seminar professionally to mechanics, machinists and maintenance men. It will save you money, time…and frustration if you put these techniques to work.
Tightening That Chuck
For starters, here is something that a surprising number of people don’t know. When you tighten down a conventional chuck on your power drill with a chuck key, you must tighten all three holes. Many people simply crank down hard on one hole and call it good. Then they wonder why their bits slip in the chuck. The answer is that each hole controls one of the teeth in the chuck. Tightening down only one hole in the chuck is like changing your tire and only tightening down one lug nut.
Furthermore, many of you buy drills with hand-tightened chucks. This necessitates buying more expensive square end bits because a conventional round bit will slip in this chuck.
Bit-Buying Advice
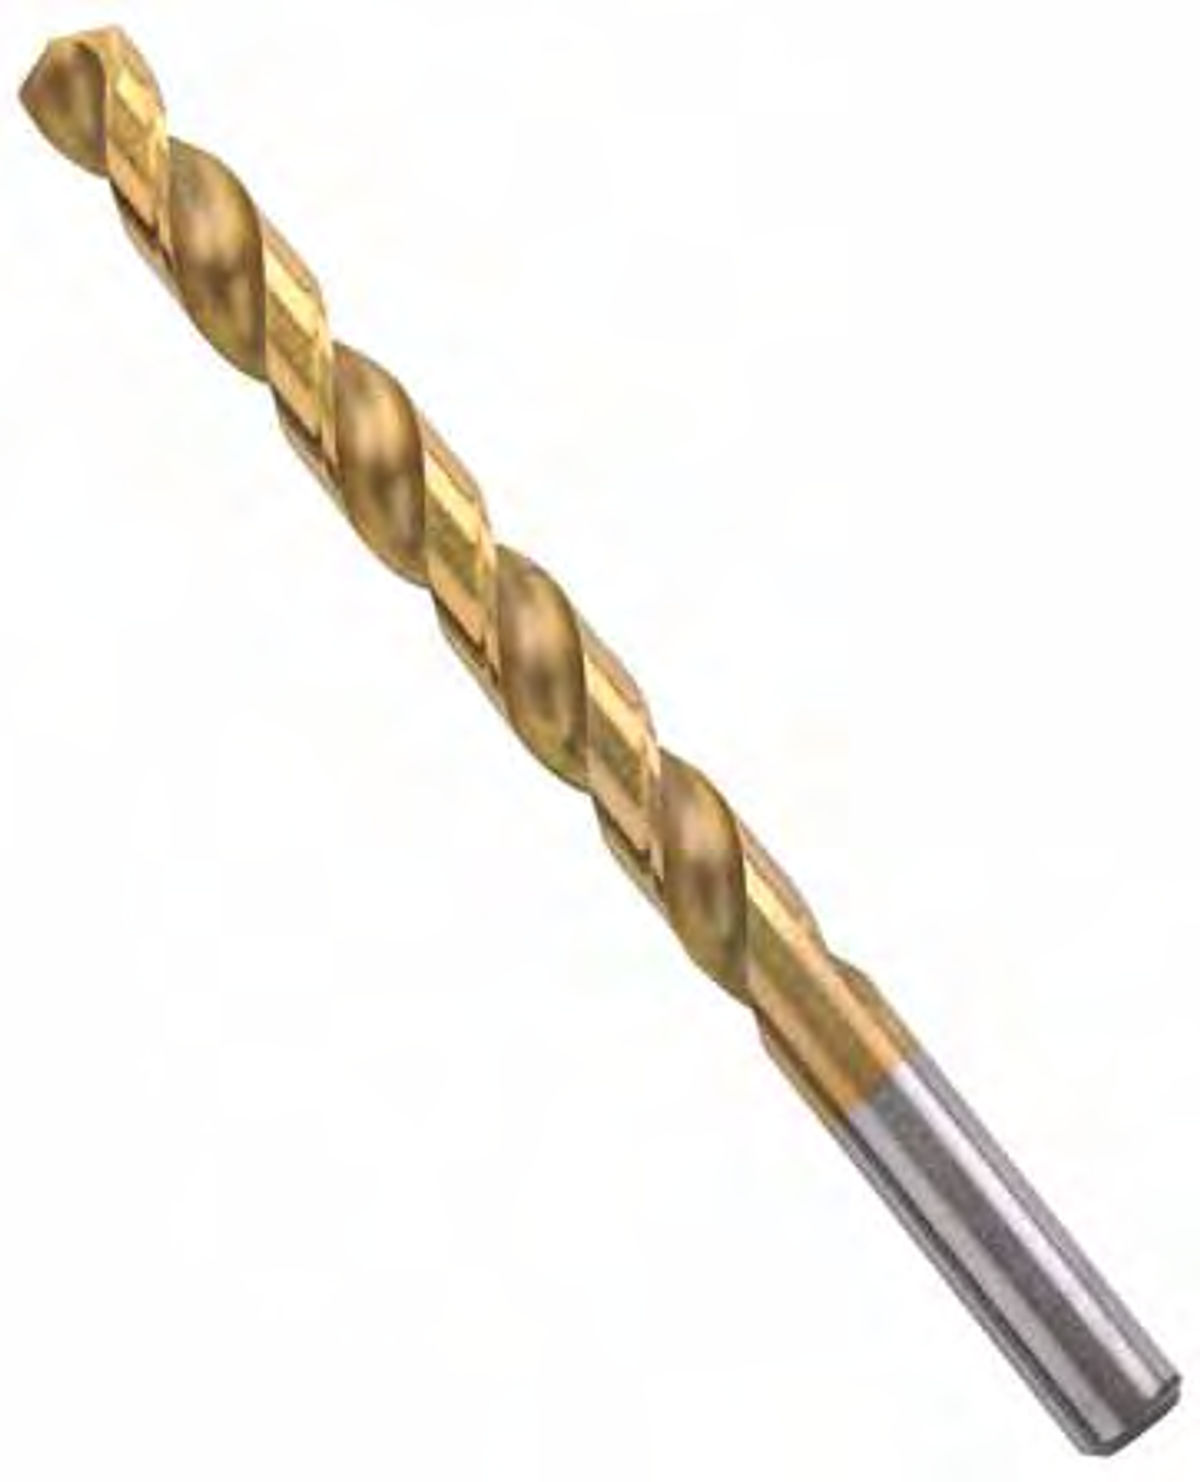
When you buy bits, buy only high quality bits that have a 135-degree split point (it will say that on the package) with a Titanium Nitride coating (golden color).
First, the split point is much more efficient because it has four cutting edges instead of two. It also makes the bit “self starting” without having to use a starter punch, even on round surfaces. The gold-colored Titanium Nitride Makes For a much cooler running bit due to the pronounced decrease in the frictional co-efficient that the Nitride coating provides. (Titanium is very strong, very light and highly resistant to heat. To give you an idea of how strong and heat-resistant it is, titanium was used on the famed SR-71 hypersonic spy plane as well as in the space program.)
Drill Slowly and Lubricate
When drilling metal, use a very low speed with an oil lubricant. This is the way that they do it in machinists shops to drill several hundred holes with the same bit. Most people mistakenly drill on a high-speed setting with no lubricant on the metal. This ruins bits and tempers. Moreover, high-speed drilling is just one mistake people make when drilling or cutting metal. Many mistakenly try to start a bit by first making an indentation in the metal with a punch. This is a no-no because what you are doing is called “work hardening” the metal by compressing it with the punch. This actually makes it harder for the bit to begin cutting.
Another mistake many people make is by drilling a hole with a smaller diameter bit and then going back and re-drilling the hole with the correct size bit, rationalizing that it will make the drilling easier with less resistance. The problem is,in drill bit geometry, the cutting faces of the drill bit need to be firmly seated in the hole. If you drill a smaller hole and come back with a bigger bit, it chips off the cutting faces of the bit, ruining it. If you need a one-half-inch hole drilled, then use a one-half-inch bit to begin with and all the way through. Again, don’t forget the cutting lubricant and the slow speed operation.
By the way, consider buying a one half-inch drill as the motor and the gears will be more powerful and durable. In addition, you don’t have to buy reduced shank drill bits when you have a bit above three-eighths in diameter.
And since you are going to buy a one- half-inch power drill, buy a hammer drill. There are many applications for the hammer function and you will be glad that you did.
Special Bits For Use With Taps
People know and understand that there are fractional drill bit sizes. What many of you don’t know is that there also are numbered and lettered bits with their own special uses. There also are metric bit sizes for metric fasteners.
The numbered and lettered bits are for use in the process of tapping threads in metal. For example, if you want to create a threaded one-half-inch hole in a piece of machinery or your motor to mount something, you don’t drill with a one half-inch bit. You have to drill with an undersized bit to then tap or cut threads in the hole. The lettered and numbered bits are just for drilling those undersized holes for the taps. The tap will have the correct bit size to use etched on its side. This will create the perfect hole for you to then cut the threads with a tap.
When tapping the hole, you also must use cutting oil lubricant on the metal and, again, use a very slow speed. You can chuck the tap into a power drill; you don’t have to use the tap handle and hand-turn the tap. Once more, the watchword when power tapping is to proceed very slowly and with lubricant.
When you are cutting threads, you must know if you want a coarse or a fine thread (machine thread). These are designated USS (coarse thread) or SAE (fine thread). I utilize a memory aid here and visualize that SS stands for Super Sloppy or coarse thread. As noted, SAE (which stands for Society of Automotive Engineers) means fine threads. I use the E at the end to stand for Excellent which makes me think of fine threads.
Using a Left-Handed Bit
There is another type of drill bit that you really need to know about and understand. It’s called a left-handed drill bit. Now, obviously, it is not for left-handed people. What it does is it drills in reverse, and there is an outstanding reason for this.
As you no doubt know, there are times when a bolt will break off and you have no visible hex head with which to remove it. This is where the left-handed drill bit comes to the rescue. (Generally, the left handed drill bit will be marked by a red band on the shank.)
By drilling counterclockwise, you apply reverse pressure which will often grab the bolt and actually back it out. Even if it does not back it out, it tends to loosen the bolt as opposed to drilling with a conventional bit in the clockwise motion. A clockwise movement only serves to tighten the broken-off bolt in the hole.
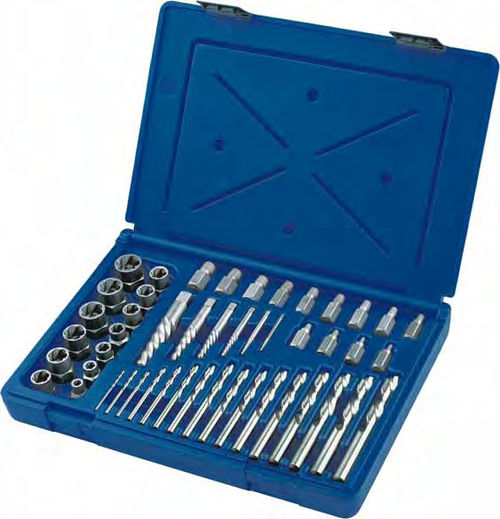
Once loosened, you can use an “easy out” extractor or a spiral screw extractor. Irwin Tools has a set of reverse drill bits and extractors that you could consider. Go to their Website, irwin.com, click on the tab “all products” and then click on the tab for “screw & bolt extractors.” They also have bolt extractors for when the head is rounded off and you can’t get a socket on it or the bolt is covered over with paint. This is very common with a soft Grade 2 bolt. In addition, they have a 48-piece set that will serve your needs for car, truck and boat applications that I highly recommend. It contains left handed drill bits,spiral screw extractors, bolt extractors and stud extractors. Virtually any fastener failure can be handled with this set.
Dump the Used Bolts
One way to not experience fastener failure is to not reuse bolts. I used to teach fastener safety seminars. A fact that surprised most people is that if you reused a bolt and tightened it with a torque wrench to the factory specs, it would drop to less than half of its holding power as measured on a torque meter. This is due to the fact that the threads were stretched and scratched when you tightened them to specs. This, in turn, allows things to work loose and causes component failures.
Any time you remove a bolt or nut, you need to install a new one in its place. Now I know that do-it-yourselfers are a thrifty bunch, but reusing bolts, nuts and washers is a false economy, especially when you are working on any kind of running machinery which will cause the bolt to loosen due to the vibrations.


Know Your Bolt’s Grade
Another thing that you need to know about bolts is that various grades are available. Most bolts come in Grade 2, Grade 5 or Grade 8.
You can determine the bolt grade by looking at the top of the hex head.
No concentric lines means that it is a Grade 2, which means it’s made of soft metal and not hardened. The head of this bolt or the nut easily rounds off under high torque loads. I don’t recommend it for any machinery application. It also has the least holding power in terms of pounds per square inch of torque.
A Grade 5 bolt is the minimum that you should install. It will have three concentric lines on the top of the bolt head. To easily remember this marking code, recall that you start off with Grade 2, add the three lines and you have a Grade 5.
Also, be sure to not use Grade 2 washers or nuts with your Grade 5 bolts because your fastening system is only as good as the weakest link.
You need to order hardened nuts and washers to go with the higher grade bolts. With soft washers, you find what is called “dishing” or “cupping.” This is a deformation that distorts your torque values and results in improper seating which causes failures.
For maximum holding power and the highest shear strength (breaking point), you need Grade 8 bolts. This Level can be spotted by looking for six concentric straight lines on the top of the bolt. Now, recall our system for identifying bolt grades. In this case,six lines plustwo to begin with, equals a Grade 8 bolt. I strongly recommend that you go with the best. It has the maximum holding power for your equipment use.
Be Certain With a Torque Wrench
Each of these bolts—Grades 2, 5 and 8—has a different set of manufacturer’s torque specs and you should always use a torque wrench to tighten these bolts down to those factory specs.
Far too many mechanics think that they can tighten down bolts with what they call “a mechanic’s feel.” This is guaranteed to not have the right torque setting and that allows things to work loose and fail. Your equipment is far too expensive and your work too important to depend upon this sloppy fastening technique. This is why they invented torque wrenches. You have to start using professional techniques if you want professional results.

Upgrade Your Hacksaw and Blades
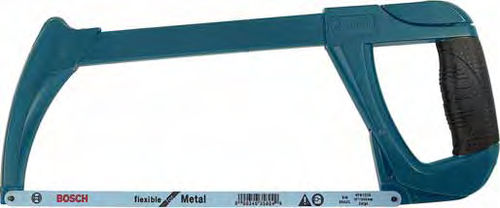
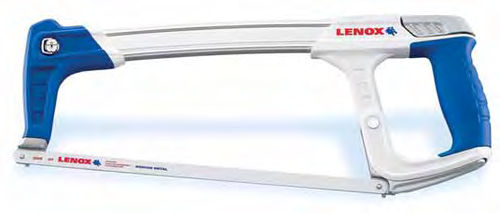
Many of you have a cheapo hacksaw frame laying around in your shop. You know the one I’m talking about—it cost around $5. You need to get a high-tension hacksaw frame which should run you about $20.
The high-tension hacksaw frame will make cutting metal much faster and more accurate.
You also need to purchase bi-metal blades instead of regular carbon steel blades. The term “bi-metal,” of course, means they are constructed with the use of two metals. The first is the body of the blade which is made of spring steel and has maximum flexibility without breaking. The second metal is cobalt, used for the teeth, which are laser beam welded onto the body of the blade. This process also is true for the bi-metal reciprocating saw blades.
Hacksaw blades generally come in three tooth-count forms: 18, 24 and 32 tpi (teeth per inch). The 18 tpi is a coarse blade for cutting through bolts, etc. The 24 tpi is a medium blade for cutting through heavier sheet steel, and the 32 tpi is a fine blade for cutting through thin aluminum or brass stock.
Using the right blade makes all the difference in the world in your ability to cut metal. I know that more and more people are depending upon their reciprocating saws for cutting metal, but there are times when you will need or want to use a hacksaw.
And when you do, it doesn’t cost that much more to have a good frame and blades available in your shop.


