How and where to use plastic body fillers or Bondo
IN THE LAST COUPLE of issues we have talked about body basics, and the tools required to do the work. We also discussed methods of shrinking metal and mentioned different kinds of body fillers. This time we will cover the proper use of plastic filler.
There are purists in the restoration hobby, as well as auto body pros, who would cringe at the thought of using plastic filler to finish a collector car for painting. (You'll often hear plastic filler referred to by one of the brand names, Bondo.) Anti-filler advocates point out that lead was exclusively used before the mid-’50s, and that it is more flexible and more durable than plastic filler. And they would be right on all counts. But how durable and flexible does body filler need to be?
Plastic isn’t strong enough to successfully fill holes Gt needs to be backed by solid metal), patch along sharp edges of doors or hoods (it chips too easily), or to be used in places that endure a lot of flexing (such as an unbraced hood). But anywhere else — assuming you only use a thin coat and it is adequately covered to protect it from moisture — filler will work very well. In fact, plastic fillers work so well that they are routinely abused by amateurs.
Some do outrageous things like apply an inch of filler over unrepaired dents. Others fill large, ragged, rusty holes backed with nothing but chicken wire or cardboard. And as if that weren’t enough, some of these same people drive around for weeks and leave their cars out in the elements before giving the filler a protective coat of paint. No wonder they have problems. Lead won’t stand this kind of abuse either.
Actually, plastic filler — when properly applied — holds up so well that cars restored with it 30 years ago and driven regularly still look flaw less. I have a 1936 Packard 120 sedan I restored 15 years ago that only has one crack in its hand-rubbed, lacquer paint job and that is in a spot on its top where I made the mistake of leaving the original lead in a welded seam. None of the areas on the car where thin layers of plastic filler were used to hide seams and smooth small dents have cracked or failed.
It really comes down to this: If you are doing a total restoration on an old car, strip the body to bare metal and replace all the existing body filler — including what was applied at the factory — whether it is lead or plastic. Both deteriorate over time. Decide whether you want to endure the toxicity, expense and learning curve involved in mastering lead just to get that last ounce of authenticity (even though you'll be the only one who knows) and that last word in durability for a car that likely will never be treated roughly again.
It’s just a matter of choice. If you believe lead is a must, read Richard Dove’s article in the March ’96 issue of Classic AUTO RESTORER On how to use it. Lead takes a bit of practice, but you can do it. On the other hand, if you decide — as have many pros — that plastic filler is suitable for your needs, read on. The technique to apply it is quite easy to master, involves no torches that can warp precious panels, and produces no toxic fumes or dust — though it is not a good idea to inhale the particles produced by sanding filler.
Metal Finish It
Neither plastic nor lead were intended to fill deep dents. Both fillers should only be used to smooth minor imperfections. If possible, tap out, shrink and file dents to the metal’s original shape. That is why you will want to polish your skills in metal finishing before working on your classic. The less proficient you are as a panel beater, the more you will need to resort to filler. And if — like most of us — you are a hobbyist working at home, you will need to use a little filler unless your resto project needs very little work or you are exceptionally talented.
Don’t Fear Filler
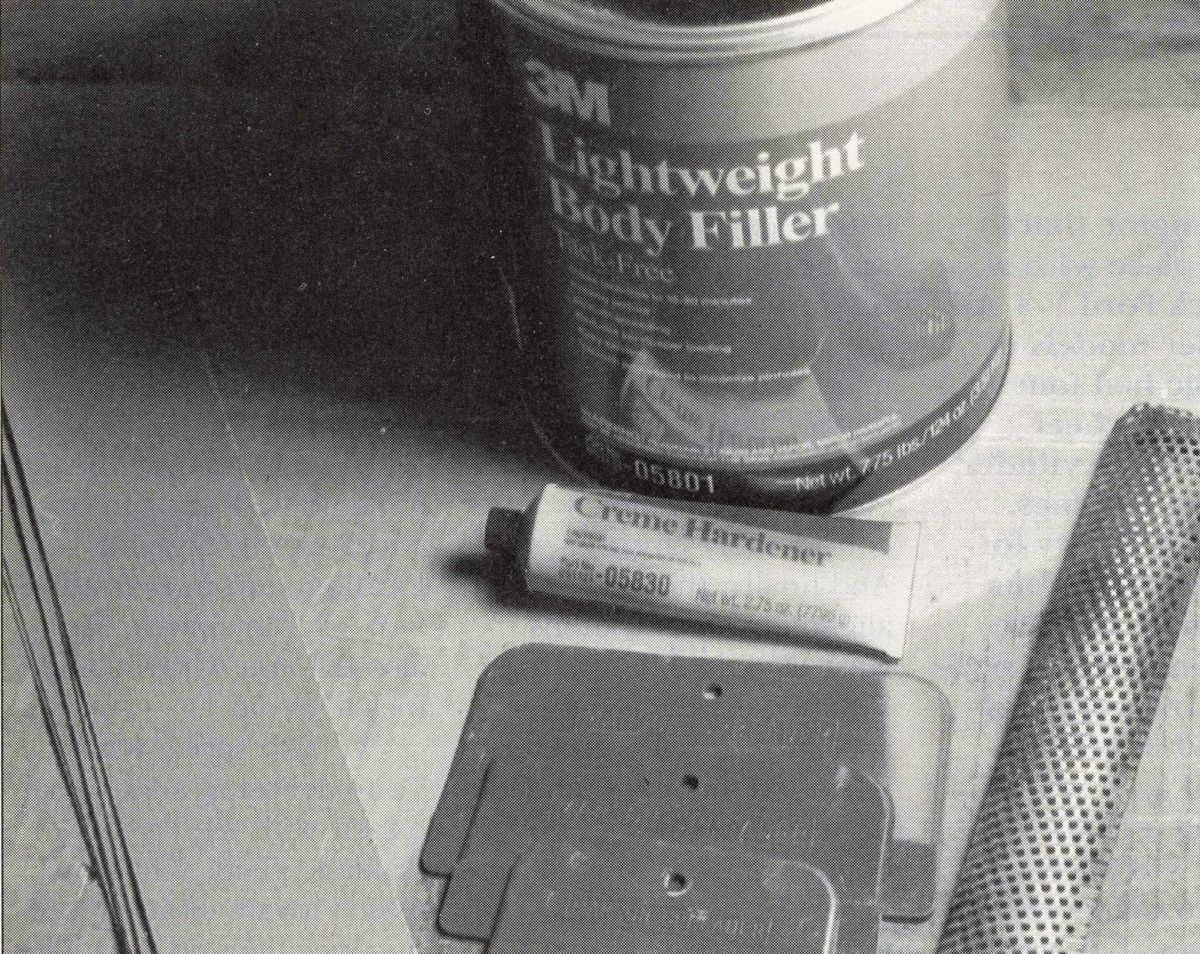
When you have a dent worked out to the point where you only need a thin film of filler to make it right, you are ready to use filler for its intended purpose. One mistake beginners often make is they over-work dents in an effort to metal finish like the big boys. Don't do it. A little, properly applied filler is not a problem, and is far better than ruining a panel by beating it until it is so thin, hard and oil-canned (flexible) that it can’t be saved. Buying filler from discount stores also can be a mistake because you don’t know how long it’s been on the shelf. Your best bet is to buy filler from an automotive paint store. I’ve had good results with 3-M brand plastic filler. Before you open the can of filler, sand or strip any paint and rust off of the area to be repaired. Only apply plastic to perfectly clean, bright metal. Wipe the surface down with a good metal-prep solution such as DuPont’s Prep-sol. This will etch the metal to give it ‘tooth’, or roughness for better adhesion, and will remove any silicone that has permeated it as a result of waxes applied to the car over the years.
Mix It
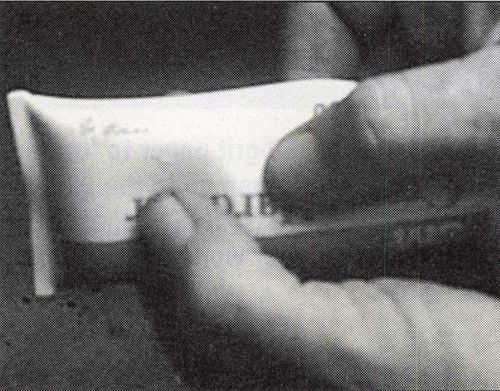
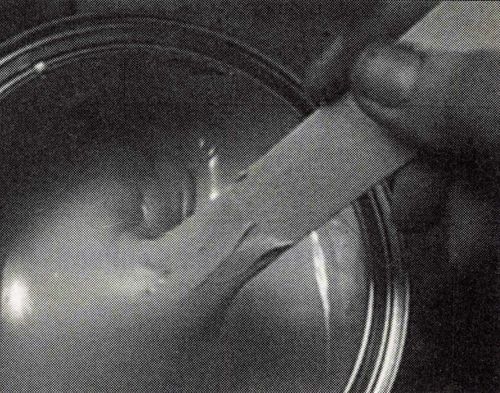
A tube of catalyst will come with your can of filler. Before you mix up a batch of the filler, massage the tube of catalyst with your fingers to mix and warm it. Also, stir the filler thoroughly, because it separates in the can during storage. Next, mix up only as much filler as you can easily spread in about 10 minutes. That is usually about a 1 1/2-inch line of catalyst to a golf-ball-sized gob of filler. Always follow the mixing instructions on the product. Filler sets up to the consistency of Parmesan cheese in about 20 minutes, so any more filler than you can apply in about 10 minutes will go to waste.
Don’t try over-doing the catalyst or applying heat in an effort to get the material to set up faster. Both tricks have adverse effects on durability. Trying to use less catalyst on a hot day is even worse. The result is a sticky glob of goo on your car that will never harden. Mix the filler and catalyst thoroughly with a plastic spreader so your filler has a consistent color throughout. Be careful not to trap air bubbles while you are mixing because they will cause problems when you do your shaping work.
Apply It
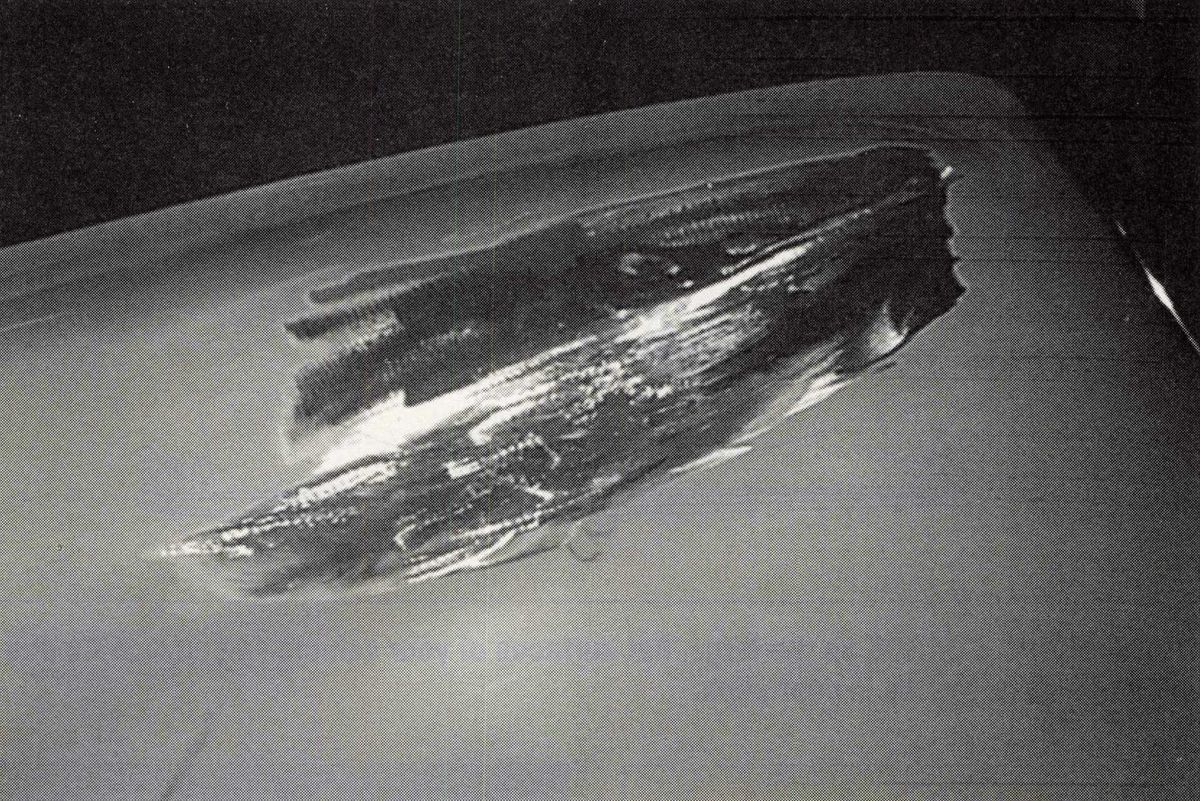
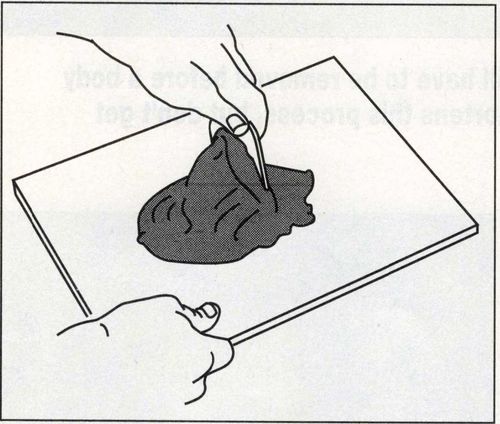
Apply a thin, even coat of filler about 1/4 inch thick, which is a little thicker than what you want as a finished surface. Also, apply the filler a little past the edges of the dent. This excess allows for shaping and sanding as well as feathering past the edges. Keep your spreaders and mixing tray scrupulously clean, because little bits of grit or hardened filler will ruin your work by making grooves in it as you attempt to spread the filler. While your plastic work is hardening, quickly wash your tools and tray in lacquer thinner. If you neglect to do so, you may have to throw your tools away after the filler hardens.
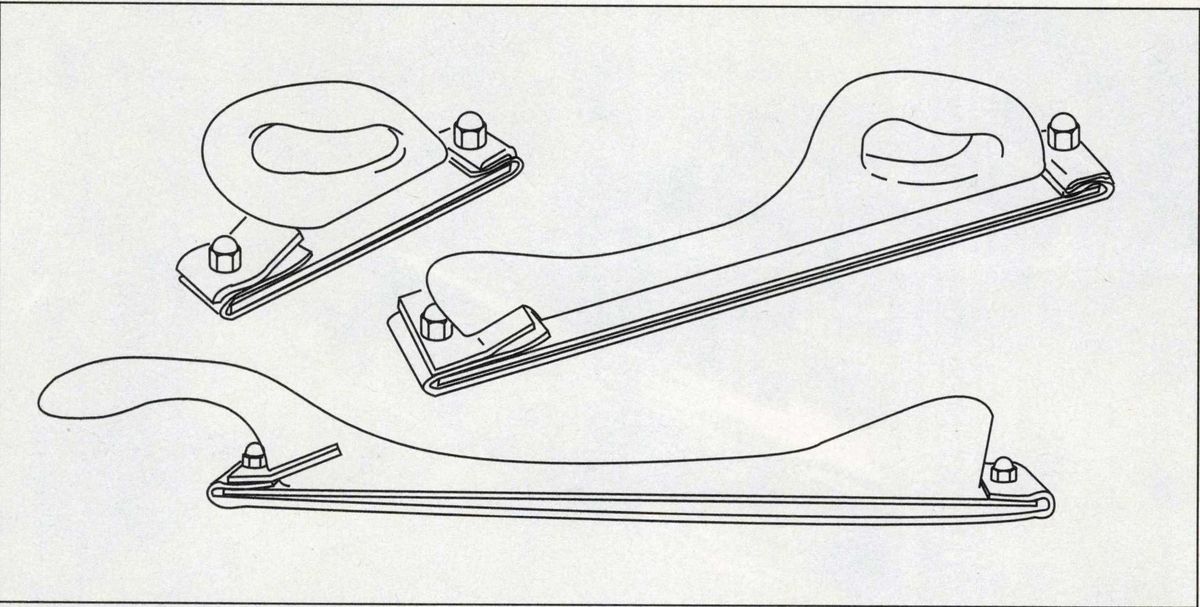
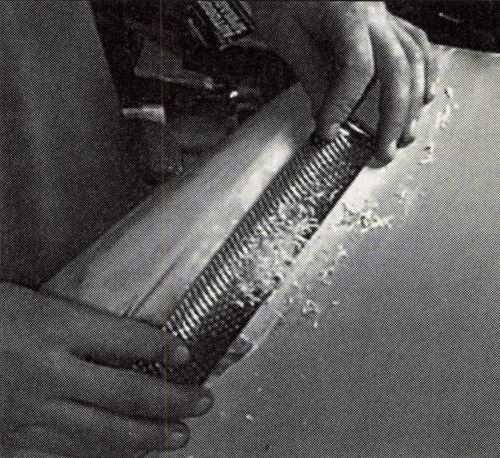
When the filler sets up to the consistency of Parmesan cheese, shape it roughly with an open, cheese grater file made especially for the purpose. (Don’t forget to wear a particle mask at this point.) Now switch to 80-grit sandpaper and shape the filler more carefully. Work from the edges toward the center to feather the filler and to prevent low spots. Sand in a criss-cross fashion to avoid making grooves. Wherever possible, use a sanding board.
A second or even third application of filler is frequently required to fin ish the job properly. That is why it is important to follow the mixing instructions as precisely as possible. If you don’t, your second batch of filler may be harder or softer than the underlying one, which will cause problems when you do the finish sanding.
Pros refer to the result as a fried egg, because poorly mixed filler often shows up as a circle within a circle (like a fried egg) on the side of your car after it has been painted.
I recommend 360-grit paper for finishing work. Glazing putty can be used to fill pin holes, but don’t use it for anything else, as it is not strong enough for big areas. If you are unsure about whether you have your panel exactly the way you want it, shoot a fine mist of paint in a contrasting color (an aerosol can will do), then sand it off. High spots will show up immediately, and low spots will continue to be speckled after several sanding strokes. Fix any imperfections before going to the next step.
When you have everything exactly right, let the filler cure for several hours in a dry, warm place before priming it. This will allow any gasses to escape. Finally, shoot some waterproof enamel primer to seal the panel and prevent rust. Later, especially if you are going to do a show-quality paint job, shoot on primer-surfacer and sand it with the 360-grit paper again to eliminate minor surface irregularities.
Next issue we'll talk about rustouts and how to make and install patch panels. Bodywork pros will tell you that rust is like cancer. It must be removed or it will keep growing. And if you don’t get it all, your paint will eventually bubble and your panels will weaken, crack and disintegrate. Cutting into your car’s body may seem like scary business, but with a little practice and a little help from a MIG welder, you can make it as good as new.


