Chassis and frame cleaning techniques
THE OTHER DAY I JUST had to get dirty again. Filthy, in fact. My wife wasn't real happy about what I was doing, but I couldn’t help it. You see, my latest restoration endeavor is a ’58 Chevy half-ton pickup. It is not a fancy Cameo, or a_ big-back-window model that someone once cherished. It is only a tired, old truck that has seen long miles and hard work.
It was a basket case when I bought it, so I got it cheap. And since I acquired it primarily for parts chasing, I won’t be making it into a museum piece or trailer queen. Needless to say, I don’t plan to take the body off the frame or tear the front suspension apart. That’s too much trouble for what I want, and besides, the steering is still nice and tight.
All of this explains why I just had to get so dirty. There is no other way I know to clean a chassis with a body still attached except to roll underneath and wallow in filth for a few hours.
Perhaps you have a desire to get dirty too. If so, you may want to try my time-tested recipe for transferring years of road grime from your restoration project to your clothes and your shop floor. The average grungy chassis will take at least a weekend of eight-hour days and probably longer as you'll be cleaning and painting numerous components including the frame, differential, suspension, steering system and brake backing plates. Here’s what to do. First, gather the following tools:
Putty knives
Small squirt can
Lacquer thinner
Electric drill
Assortment of wire wheels
Sanding disk and sandpaper
Strong twine
Tri-sodium Phosphate (TSP)
Scrub brushes
Neoprene gloves
Naval Jelly or DuPont’s Kwik Prep
Rustoleum Rusty Metal Primer
Satin-finish black Rustoleum
Mechanic’s creeper
Jack stands
Safety glasses and paper particle masks
Screwdrivers
Spray It
Next, take your car to a car wash that has a pressure sprayer and lie down on a plastic tarp next to the car, don some coveralls and blast as much of the dirt and dust off of the chassis as you can. Alternatively, you can have your chassis steam-cleaned by services that specialize in that sort of thing. This will save you the trouble and personal mess of having to lay on a wet tarp while you spray away at the underside of your car, and the steam cleaning should give better results. It won’t remove all the grunge, however, that will still be up to you. But whatever you do, don’t blast the engine bay. (Lots of people do it, but I don’t like to use pressure guns of steam cleaners in engine compartments because of what they can do to distributors, generators, voltage regulators and other electronics — even when such items are covered with plastic. And I don’t relish blowing dirty water into the induction system or into passenger compartment air vents either.)
I’ve also been asked my thoughts on using a sand blaster for some of the cleaning and I don’t recommend it. Aside from the mess it would create in your garage, you stand the chance of getting sand in your brakes and in other parts of your vehicle and may inadvertently hit sections of your car’s body with the blasting media causing damage or even poking holes through some thin sections of the sheetmetal.
Once the chassis has been sprayed or steamed, proceed as follows:
Drape It
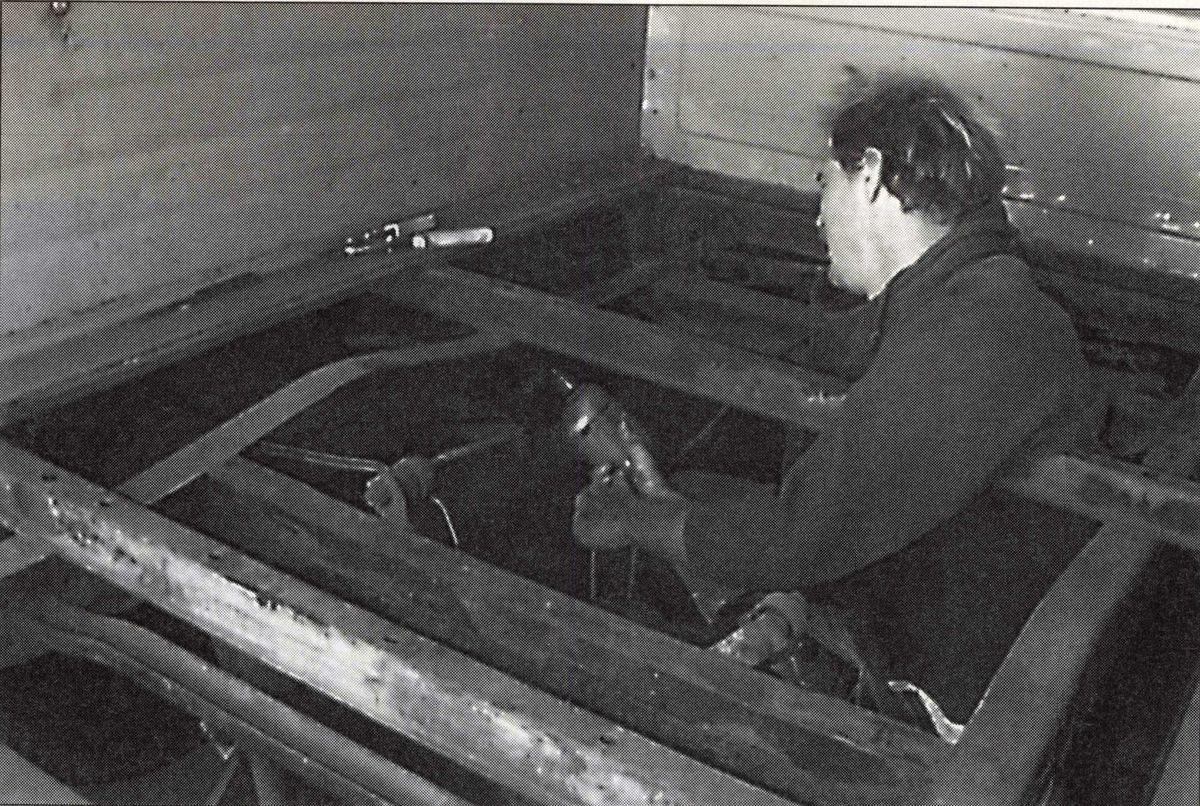
Spread a heavy tarp on your garage floor to catch the dirt, then drive the car onto the tarp. Put the vehicle on jack stands so you can get under it easily, and then remove the wheels so you can get to the brake backing plates. It’s pretty dark under most cars, so it might be a good idea to put a brighter bulb in your troublelight to help you to see while you work. Now put on some long-sleeved coveralls, a hat and safety glasses, and roll underneath.
Scrape It
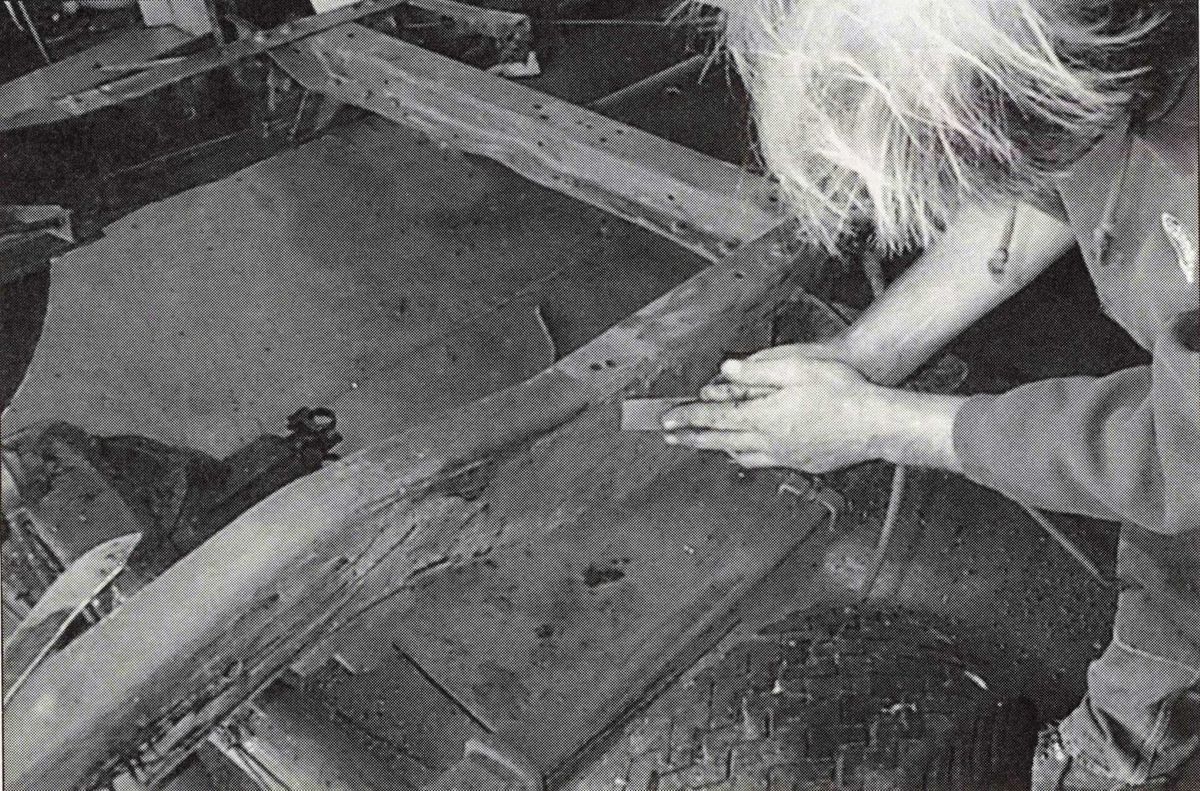
The worst stuff you’ll have to deal with is the dirt-and-oil combination that forms a tough, asphalt-like coating. Dissolving this thick, black muck with solvent is horribly messy. On the other hand, steam cleaning doesn’t seem to affect it much. In fact, it has been my experience that scraping it off with a sharp, stiff, putty knife is about the most effective approach. Remove dirt from around bolts and other protrusions using sturdy twine and a saw-like motion. Wire brushes are helpful in complicated areas too.
Put a little lacquer thinner in your squirt can and squirt it onto small, hard-to-reach places to dissolve the grease. You may want to move outdoors for this. At the very least, work in a well-ventilated area, make certain there are no open flames nearby and have a fire extinguisher handy. Lacquer thinner is very volatile. Use old, absorbent rags to clean up your mess, and dispose of them properly so as not to risk a fire, or pollute the environment.
Brush It
When you get as much of the grunge off as possible, sweep it up so you won't track it everywhere. (This was my wife’s suggestion.) Now put a stiff wire wheel in your electric drill and go over everything, cleaning as much of the loose dirt and rust as you can. There are several different shapes of wire wheels that range from the fine, brass-wire types to the heavy-duty twisted-steel brushes. You’ll want an assortment of at least three coarse and three finer types for chassis cleaning because they each have their own virtues.
Sand It
Next, install a sanding disk with #200 grit open-coat sandpaper in your drill and sand stubborn rust and discoloration off of everything. Areas that cannot be reached by your sanding disk will have to be done by hand. This is a lot of work, but the cleaner the metal on your classic’s chassis, the longer its new paint will last.
Wash It
Try to make everything as clean and bright as you can without becoming totally obsessive. When that is done, it is time to wash the chassis. To do so, put the wheels back on, roll the car Outdoors and put it back up on jack stands. Mix up a strong solution of TSP and hot water, then put on neoprene gloves and goggles. Now wash everything down from front to back with rags or a big mitt to remove any remaining grease or oil. Rinse your work thoroughly using a garden hose. .
Prep It
After your chassis has dried completely, wipe it down with Dupont’s Kwik Prep, or brush on some Naval Jelly to etch the metal and neutralize the surface rust. Follow the instructions on the label of the product you use, then wipe the chassis down or rinse it with water as required.
Paint It
Bring the car back inside, put it on jack stands and remove the wheels. Once again, be sure you’re in a well ventilated area with no open flames or sparks. Pull on a mask and goggles and maybe even a cap before you start to paint. If you have a compressor and spray gun, stir up a pot of Rustoleum’s Rusty Metal Primer and shoot it on. If you don’t have a spray gun, you can even use aerosol spray cans. Use big pieces of corrugated cardboard (about three feet long by a foot wide should do) to shield fenders, bumpers and running gear from over-spray. Give the primer about 45 minutes to dry, then mix up some Rustoleum Satin-Finish Black for spraying. Use a touch-up gun or an aerosol spray can to get into tight places.
Maintain It
Let your car’s frame dry for at least 24 hours before moving it. Rustoleum takes awhile to dry, but when it finally does, it is very tough and rust inhibitive, and will last for years. The satin-finish black color is correct for most production cars, and the result looks great. I know. I have taken some first-place trophies in shows with cars that have had this exact chassis treatment, and the paint has held up well over time, even when the vehicle has been driven regularly. And best of all, if you keep your chassis clean and touched up, you won't have to get down and dirty again.


