More Work On My Datsun Z
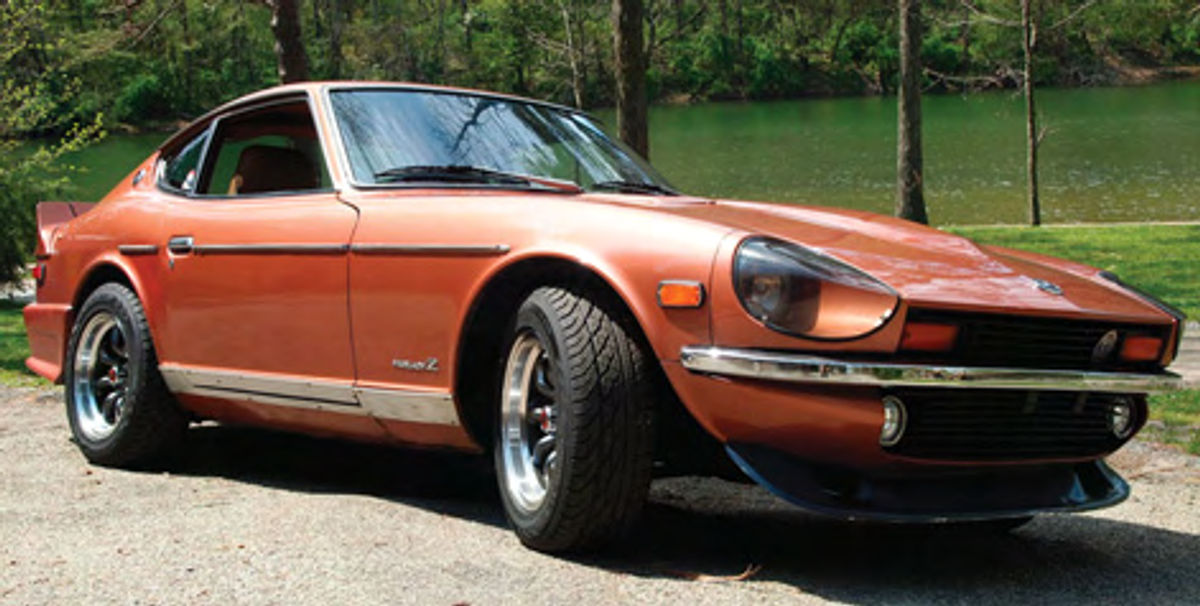
This Young Restorer’s 280Z Has Logged About 200,000 Miles. Now He’s Improved Its Looks & Performance.
Editor’s note: We first met Jeremiah and his Datsun Z car in November 2010 and then followed them as they moved from Washington state to Pennsylvania about a year later. We figured it was about time to catch up with the two of them once again.
WHILE OUT ENJOYING the twisty back roads of Pennsylvania on a recent sunny Saturday, the 280Z’s odometer rolled to 96,000. I had to stop and consider that for a moment as 96,000 was the same number showing when I first saw and purchased the car more than 10 years ago.
I had received 100,000 miles from a $700 car that was purchased at a thrift store’s car lot?
Not bad. Almost unbelievable, even, considering that for the first seven years the Datsun saw hard use as a daily driver in Indiana, Colorado, Oregon and Washington. Furthermore, it was the moving vehicle between those states, and went to many others on weekend trips.
When circumstances allowed over the years, the Z had been parked and the engine overhauled, its worn-out interior replaced, and the suspension received new struts, springs and bushings. Some modifications also occurred, notably a switch to older, lighter 240Z bumpers, along with new aluminum wheels, and upgrades to the exhaust, intake, electricals and lighting. The body has retained the shine of an older repaint,still remarkably rust-free, and even though it has some dings and dents, they all have a story to tell.
After a cross-country move from Washington to Pennsylvania last year (recounted in the October 2011 issue), with the Z uncharacteristically in tow, it became an extra vehicle, used only on weekends or driven to work on nice days.
Still, the Z runs better than ever, getting better MPG than my daily vehicle,in fact. It also gets a lot of attention here in Pennsylvania, where rust has eaten more than its fair share of these cars, making them quite a rarity. Attributes such as these have been all the more reason to continue my rolling restoration…my goals being improved performance, reliability, and above all, durability.
Resuming the Project
Last fall I parked the Z in a garage of my own for the first time. I already had my winter projects planned out. I had acquired a spare engine, mainly so I would have a supply of components for the future, such as a cylinder head, valve gear, and even little things like OEM nuts and bolts, all of which, as these cars head to the crusher, only get more rare and valuable. I disassembled the engine and carefully bagged and labeled everything I might have a use for someday.
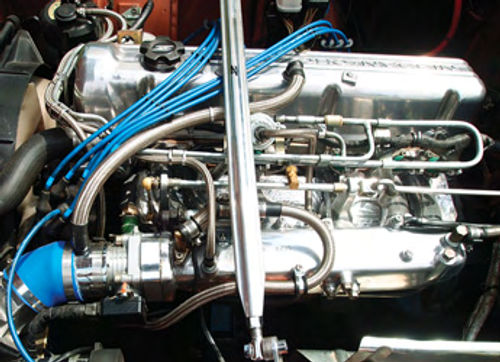
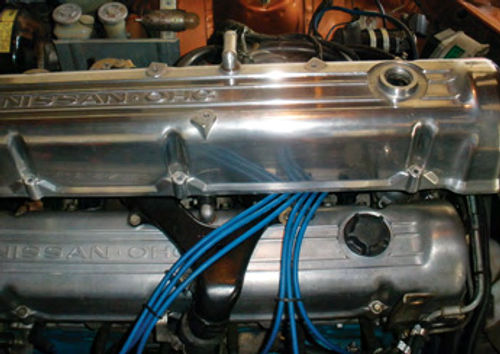
The first project of the winter was to degrease the spare valve cover and then hand sand it with a block and paper. After working up to 2000-grit wet paper I used a buffing wheel with polishing compound on an electric drill to produce a very shiny aluminum valve cover. The hardware from the spare engine retained most of its gold-hued zinc plating, and after a quick cleaning I used it to install the cover. The part really dressed up the engine, but now I had caught the polishing bug. After years of work, the Z’s engine was still a mess of hoses and wires, and I had some changes in mind.
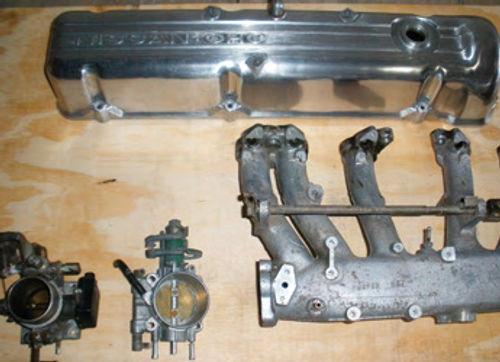
I sourced an early intake manifold, a later Nissan throttle body, andan adapter from Arizona Z Car to make them work (arizonazcar.com). Using a Dremel rotary tool I ported the manifold’s runners exactly to the head’s ports and gasket. I also enlarged the manifold inlet from the stock 42mm to the 60mm of the new throttle body. Using parts from my donor engine I created a custom accelerator linkage, TPS (throttle position sensor) bracket, and heat shield.
To clean up the manifold itself I used a large hand file to remove the largest casting flaws and reshape the thread bosses where needed. Then it was the same sanding process as with the valve cover, only with all the curved surfaces, nooks and crannies on the manifold, this time it took weeks. To keep the work fun, I took breaks and polished some smaller, easier pieces, such as the thermostat housings, Air Flow Meter, and Fuel pressure regulator.
Improved Looks and Results
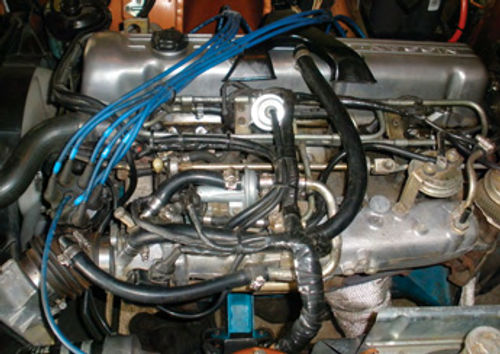
It was amazing how fast it all went back together. I used stainless-braided fuel line for vacuum, air and fuel lines, and installed new injectors, seals and hoses while it was all apart. The factory routing of the FI harness left a lot to be desired visually, so I moved it back to the firewall. I originally used black zip ties to secure the hoses and wires, but had to replace them with chrome-plated ties when the black ones stood out too much. The engine now looked as good externally as I knew it was internally.
When a warm dry day presented itself I jumped at the chance to see how the car drove. The throttle is crisper and more responsive, along with improved acceleration and power across the band. The new manifold and throttle body were working well with systems already installed, such as the 2.5” exhaust and the cold air intake. As a side-note, months later I’m seeing better MPG figures than with the original setup. The Z is running at a better state of tune, with more power than it ever had before.
Making Better Brakes
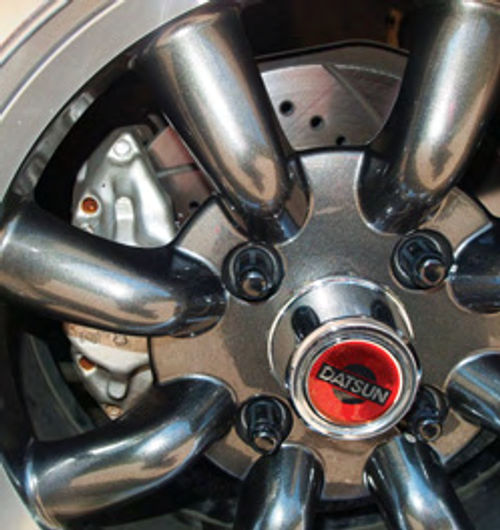
The next winter project on the list was to upgrade the stock brakes. Since my brake system was complete and in good working order, I took a simple approach. I upgraded my existing stock calipers with performance pads by Hawk, and installed cross-drilled and slotted rotors. It also was a good chance to inspect and repack the wheel bearings with grease, as well as re-torque suspension and steering components.
With the money I saved on this project I purchased a set of aluminum strut bars. I had been told they would stiffen the chassis and greatly improve handling. Since the car always handled pretty well, I was curious to see how it would be improved.
The next test drive was even better than the last. After giving the brakes a chance to wear in, I selected a curvy road and let the Z run. I was immediately impressed by how the small amount of body roll that had existed before was gone. The steering had become more responsive, and more stable through corners. The strut bars were certainly effective. Braking also was improved, the pedal was more reactive without being “grabby,” and there no longer was any heat fade, like the stock rotors had produced. I had achieved the improvement I was looking for, and within the budget.
All in all it was a good winter for the Z. I also replaced the front bumper, going back to a chrome one, instead of the fiberglass one I had installed a few years back. I’ve started keeping an eye out for a nice rear bumper to match the front.
But for now with good weather here it’s time to do what the Z does best: drive. With all the work I’ve done lately, the next 100,000 miles should be even better than the first!


