
WORKING WITH LEAF SPRINGS
Installing Springs Isn’t As Easy As It May Seem. This Restorer Sought Out Expert Advice for His Project.
Leaf springs on cars are funny creatures. Spring steel has a lot of energy and often unleashes it in ways that ordinary human beings don’t understand. There are countless Internet posts about how home mechanics replaced springs and the problems they had afterwards.
In some cases, the problem can be improper ride height. In other cases, people working on cars have problems getting spring eyes to match up with bolt holes. A third problem might be the installation of shock absorbers after a spring is changed and the shock just doesn’t seem to “stretch” far enough to mount up properly.
A Stock Reassembly Should Be Simple…
In a lot of cases, problems with leaf springs occur after suspension modifications are done. In our case, we were working on a late-1940s Chrysler with the intention of making everything purely stock when we were done.
One would think that if something is being restored to stock condition, there wouldn’t be many problems involved in re-assembling the rear leaf spring suspension. If it came apart pretty easily…it should go back together the same way, right?
The problem occurred with the body off the mostly restored chassis. The rear leaf springs had been re-arched to factory specifications by Accurate Alignment, an Appleton, Wisconsin, company that deals in all kinds of repairs, but particularly with suspension work.
In past articles we have discussed the pros and cons of spring re-arching, so we’re not going to discuss that again. The important thing to consider here is that the springs were at factory specs. In fact, further down we’ll discuss how this was checked in case others want to use the same system.
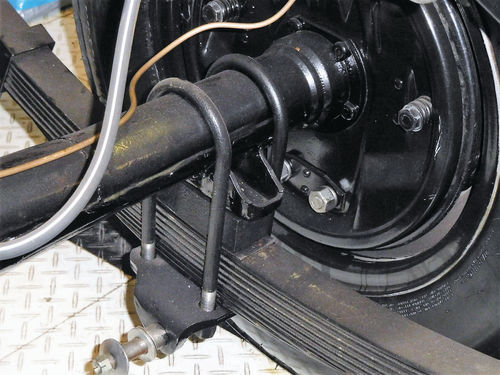
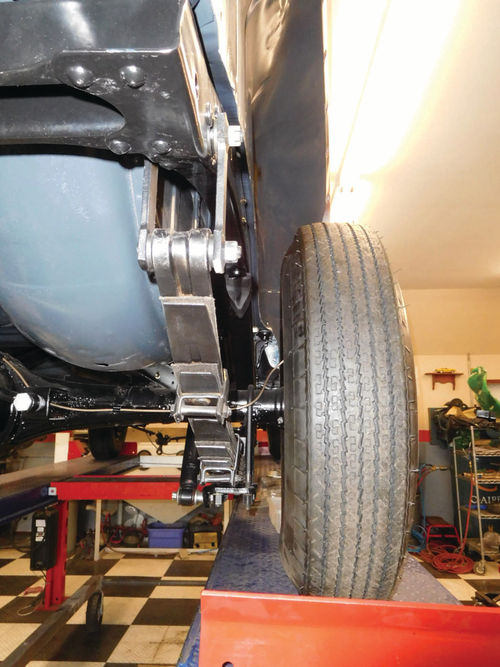
Upon initial re-installation of the Chrysler’s springs we left off the spacer blocks between the spring centers and the axle by mistake. We were able to install the shocks and the springs without the blocks installed, but the shackles were jammed up against the bottom surface of the frame in a forward-facing position. We thought they should have been “hanging loose” and angled toward the rear at the bottom. That’s how they looked in shop manual illustrations that showed just the rear suspension parts.
After looking in the factory parts manual, we noticed the blocks were missing and knew we had to install them. We loosened the large U-bolts. When we did this, we were able to put the shackles in the proper position (angled rearward). When we installed the blocks and reinstalled the U-bolts and tightened them, the shackles moved. They were angled forward again and jammed tightly up against the frame.
Time for Some Expert Advice
After installing the blocks and U-bolts, we could install the right rear shock, but then we had another problem. The left rear shock could not expand enough to bolt it into position. We decided to ask Mike Eaton—the spring guru at Eaton Detroit—to explain what was going on and what the proper procedure was to remedy the situation.
“Remember, springs support weight and while the body does not seem like much, it and all the other stuff that go in the body adds up,” said Mike. “We always tell customers to wait until the vehicle is 97.7 percent complete before worrying about ride height or the springs hooking up, but that is with our springs; not springs that someone else has provided or worked on. In those cases, we ask ‘So, when you talked to the ones who did your springs, what did they say?’”
Taking Some Measurements


Mike pointed out that manufacturing and re-arching springs is Eaton’s specialty. “As you know, the right way to do it is to anneal the steel, reform it and then redo the heat treating of the steel.” Eaton explained. “So, the first thing we’ll have to do is check to see whether your cold re-arched springs are really set to factory specifications. I will need to know some information about the springs. Let’s start with how many leaves the spring pack has. Then, I will have to know what the free arch of the spring is while off the vehicle.”
Eaton pointed out that the free arch has to be measured through the center line of the eyes down to the main plate next to the center bolt. “What ride height did you want the vehicle to sit at as compared to stock?’ he asked. “Let me know and I shall enrich you with more of my limited (author’s note: hardly) knowledge.”
We answered, “The spring pack has nine leaves. From what you are telling us, we need to take the springs off the car again to measure the free arch. This is a totally stock set-up and we want it to be stock when it is done. We are looking for stock riding height.”
Eaton said he was glad the springs had nine leaves. “Your first email said eight-leaf, which would have been wrong,” he advised.
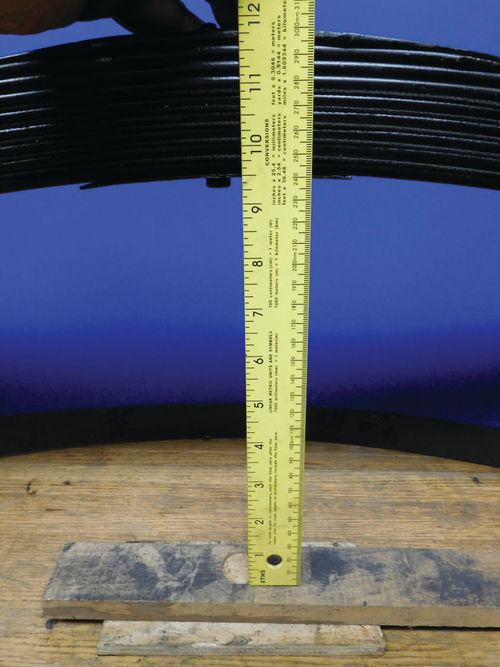
“Yep, one needs to come off to get the correct free arch measurement,” Eaton continued. “Chrysler used a standard-duty and heavy-duty nine-leaf spring. The standard-duty model has a 9.625-in. free arch while the heavy-duty has an 8.5-in. free arch. Let me know what you get.”
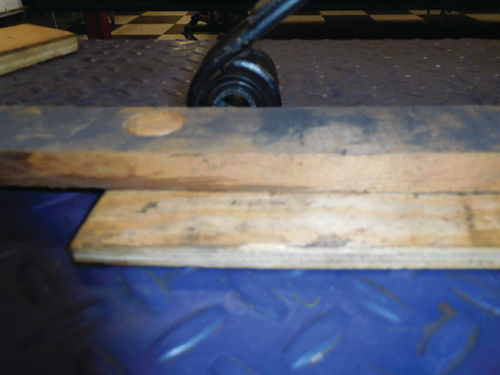
In order to measure the free arch, we set the spring on our 4-post lift ramp and used two blocks of wood to match the height of the middle of the spring eye (Photo on p. 22). This closely approximated the horizontal centerline of the eyes. Then, we measured, but we did not trust this measurement (it was less than 9.5 in.) because it was taken on a diamond plate ramp rather than a smooth surface. We moved the spring to a flat, smooth wooden tabletop. This time I got a measurement of 9.5 in. from the wood blocks to the main plate (Photo on p. 22). This measurement was very close to 9.62 in. between the wood blocks and the longest (main) leaf.
“The way you measured the spring is good,” said Eaton. “Now we know that the arch is right for the standard duty spring. So, I would now say we invoke our 97.7 percent complete rule. Do not worry about the ride height or hooking up the shocks until the car gets closer to being finished. As for getting the shackles in the correct position, they may have to be pried back or hooked up once more weight is on the springs. If you have never seen our measuring form, go to www.eatondetroitspring.com/measure and read about measuring leaf springs. Feel free to download the form.”
Moving On to the Body Drop
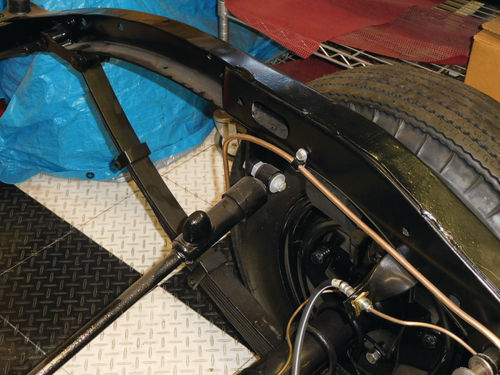
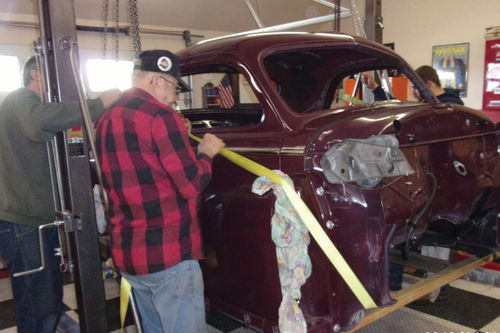
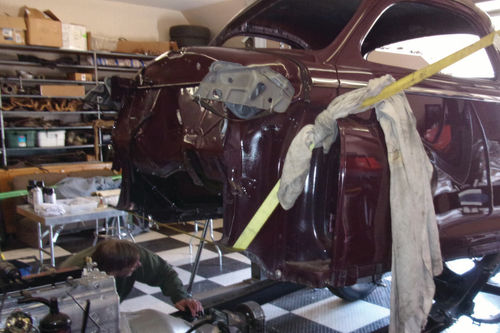
A month or so after our discussion with Mike Eaton, the time had come to mount the Chrysler body on the restored chassis. We had purchased a gantry crane from Harbor Freight to help with this procedure. We made a sling with ratchet straps, balanced the load, lifted the body, pushed the chassis under it and lowered it down. Everything went as smooth as silk.
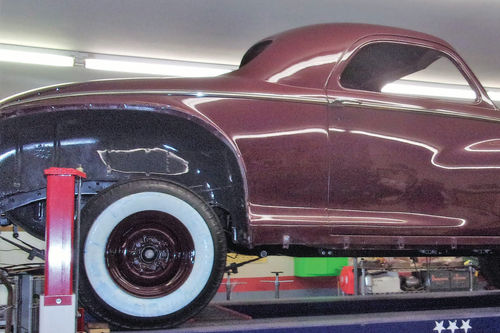
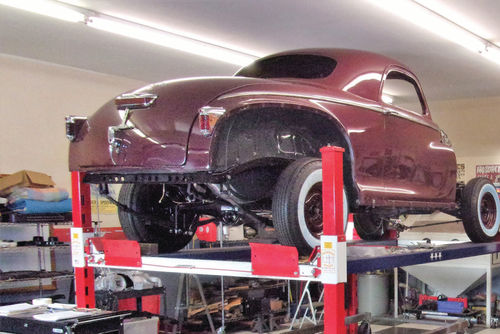
After doing the body drop, we pushed the car forward onto the Backyard Buddy lift and raised it. We were hoping that the shackles had moved into the proper position, but they still had the bottom end angled toward the front of the car and the top surface jammed up against the underside of the frame rail. Remembering that Mike said they might have to be pried a bit, we tried doing that. The Chrysler has big, heavy suspension parts and the pry bar wasn’t heavy enough to reposition the shackles.


Then it occurred to us that we could adjust the height of the lift and thereby utilize the weight of the car to reposition the shackles. We had also purchased some Underhoist Safety Stands (tall stand jacks) when they were on sale at Harbor Freight. We carefully lowered the Chrysler so that its rear crossmember was sitting on the Underhoist Safety Stand. That took a lot of the pressure off the rear suspension, and it was easy to move the shackles into more of a proper position. We can already see that as we add more parts (hood, fenders, grille, seats, etc.), the car is going to get heavier and the springs and shackles will settle down even more into their proper “factory” position.
A Different Approach for Other Cars
Remember that not all cars have the same type of rear suspension. For example, we have seen two cases where people brought a restored Duesenberg chassis to a car show and rode around in it without a body. How did they get their springs to hook up properly without the car being 97.7 percent finished? The answer lies in the Depression-era suspension design in which the leaf springs were mounted differently.
So, if you experience problems, contact Mike Eaton and he’ll have the parts you need to make it right.
Resource
Mike Eaton
EATON Detroit Spring, Inc.


