
Project Charger Update
We Followed This Restoration Over the Span of Two Years. And Now... Hey, Is That Rear Quarter Scratched?
Editor’s note: Project Charger was the first step-by-step restoration series written for us by Larry Lyles. It ran from June 2001 through May 2003 and covered the work he did on his own 1970 Charger R/T. We subsequently ran two other series by Larry, an Amarillo, Texas, restoration pro. Project Mustang, the restoration of a ’68 pony car, was followed by Project ’46, a resto-mod project involving a 1946 Ford Business Coupe. All three project series are available in book form along with a collection of some of Larry’s other how-to articles which we’ve titled “Revive Your Ride, Secrets from a Body and Paint Restoration Pro.” Visit autorestorermagazine.com or call to order them. (They’re $24.95 each.)
Several readers have asked us how Larry’s Charger is doing these days, so we figured this would be a good time to check in on the Plum Crazy Mopar.
I NEVER PASS up an opportunity to talk about Project Charger, so when the guys at Auto Restorer wanted to know if the car was collecting dust or driving the local cops crazy, I thought this would be a good opportunity to pass along a little more current information about the car.
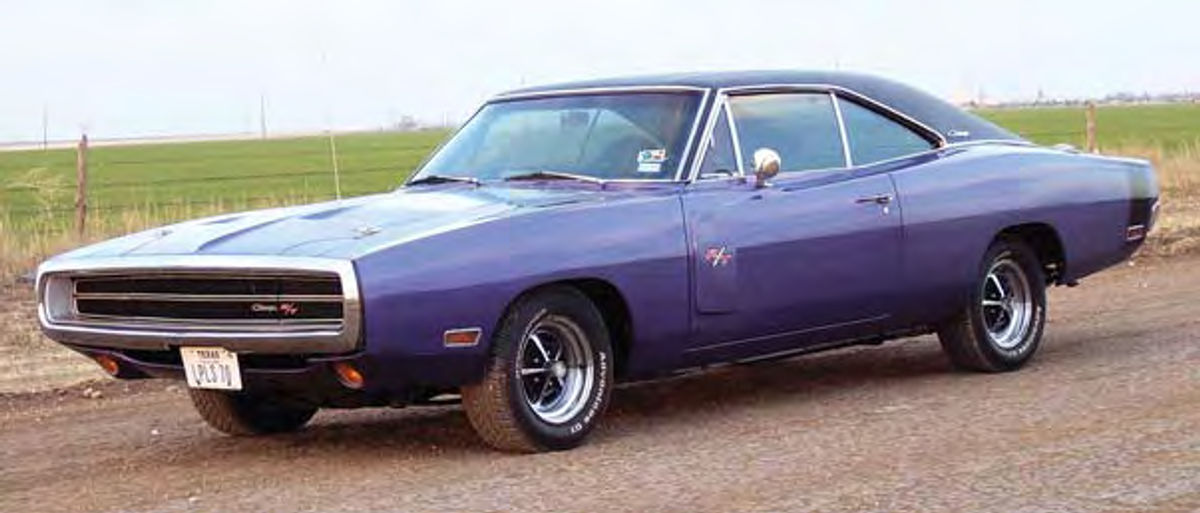
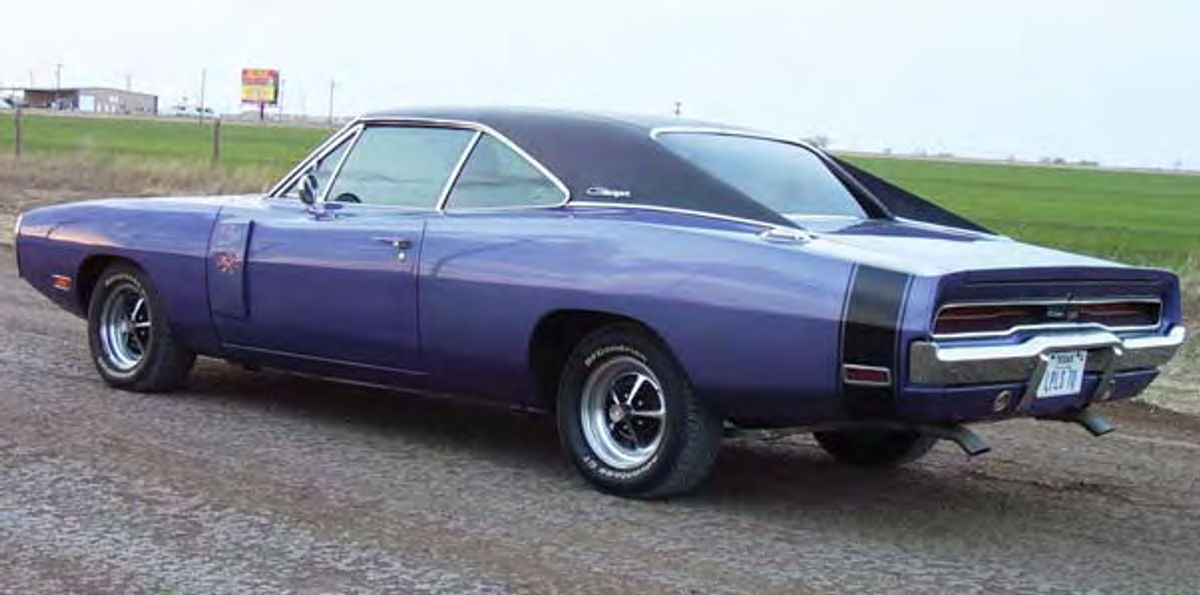
To start, the Charger doesn’t spend a lot of time in the garage. We take it out quite often. Some of those drives take us to car shows where the Charger has managed to collect a few plaques and trophies. The one I am most proud of is a Participants’ Choice award won at a Charger-only meet in Kansas. When other Charger owners get together and appreciate what you have done, that is something special.
Beyond that, the car has been absolutely trouble-free to drive and enjoy. Hopefully over the course of the many restoration articles and books I’ve written I’ve conveyed the importance of doing it right the first time and not having to worry about things being left to chance. The Charger should stand as proof this method works.
It’s Best to Be Prepared
But then you do occasionally run into unforeseen problems.
Did I ever mention the need to hold back a little of the paint used to refinish your ride for those “just in case” things? I think I did and, luckily, I took my own advice and sat back a pint of Plum Crazy Purple just in case.
The series of photographs on the previous page don’t cover the entire episode, just some of the results. I’m going to show these pictures for the sole purpose of letting you see that yes, cars can be spot repaired, and if done right those repairs are completely invisible.
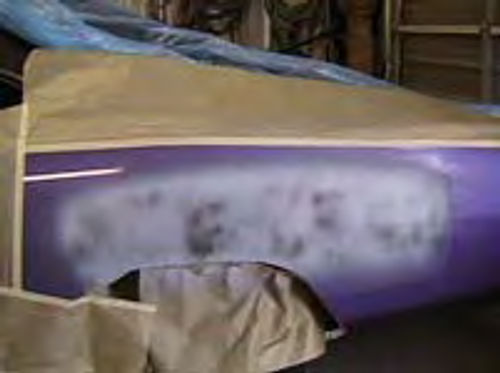
My blood was really boiling on the day I pulled the Charger back into the shop for this repair (Photo 1) so I’ll use that excuse for not getting a shot of the damage before starting the repairs. This shot is of a long scratch down the side of the quarter panel after a little primer was applied. Fortunately, the scratch wasn’t deep and I was able to remove it using an orbital palm sander equipped with 320- grit sandpaper.
What happened to the car? I’m not going to say what happened other than the Charger was the victim of a very close call. My wife tells me that I have mellowed somewhat in my old age in that the immediate aftermath of the event did not lead to my arrest. Nor did she hear me utter the expected words “and that’s when I shot him” after I got home.
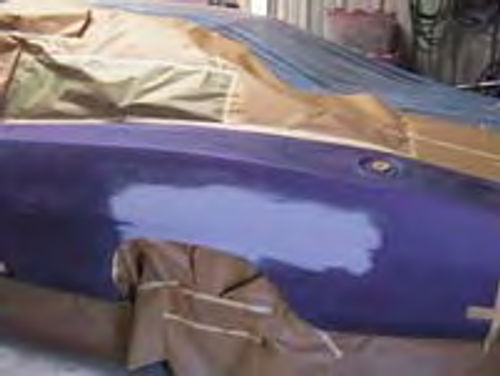
At this point (Photo 2) the scratched area has been block sanded, more 320-grit, and I’m ready for a little sealer and color. Notice that I removed the side marker lamp, the fuel door on top of the quarter panel, and the chrome where the vinyl top meets the quarter (hidden under the masking paper), and lightly sanded the entire quarter with 320-grit. That’s what preps the area for sealer and color.
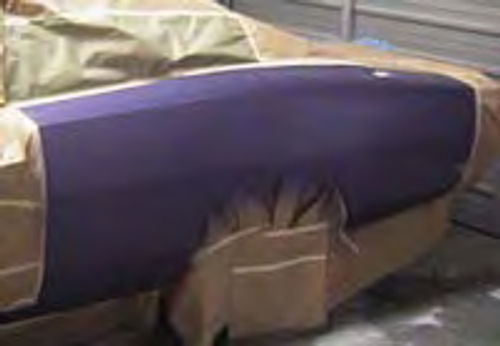
I apologize for the grainy shot (Photo 3). I wouldn’t show it except this is the only shot I have of the quarter in base color. What I want you to understand here is that I didn’t apply color from end to end on the quarter. That should be evident by the absence of colored over spray at either end of the quarter and up on top of the quarter.
What I did was to blend the color by first giving the primed and sealed area three coats of color then gradually extended the color out past the repair about a foot on either side. That allows for a completely invisible blend of the color coat.
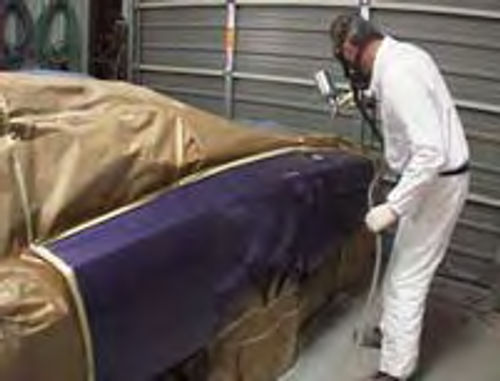
A little clear and the world as I know it starts to come back into focus (Photo 4). Notice that I didn’t attempt to blend the clear. I clear coated the entire quarter panel from end to end, top to bottom. I had plenty of “break” lines to mask off the quarter for clear coating so attempting a blend wasn’t necessary.
Future Charger Projects
Is there anything else looming on the horizon for Project Charger?

Glad you asked. The factory heating and air conditioning unit has not performed up to standards. I’m thinking of giving this unit the toss and replacing it with a system from Hot Rod Air, the same guys who provided the heater/AC unit for Project ’46 (also known as Project Street Rod in book form). Hopefully that will happen sometime this year and when it does I will click a few photos of the process and pass along the installation procedure, pitfalls, short cuts and all, to you.


