Tell me about color sanding, polishing and buffing new paint
Question:
I recently had my 1957 Thunderbird repainted and in part to save money— but more importantly time—I told the shop that I would finish the job and polish out the paint myself. And then I got cool feet. I am not so intimidated that I have cold feet, but I need more information before I go further.
Could you provide some instruction, hopefully including photographs, on how to polish the paint after it cures? It would also be valuable if you discussed the various types of finishes painters use as well.
Answer:
I have spent more hours of my life polishing paint on old cars than is normal and healthy, and have a den full of trophies to prove it. I also understand that when you’re working on your vehicle, you do get a little hinky when anyone else touches it. Besides, you know that having someone do the job properly will cost a lot of money because it is so time consuming.
The secret to a show-winning finish once the necessary repair, de-rusting, block sanding and painting is done is color sanding, no matter which paint system you use. Good painters can shoot any paint well enough that most people would be more than pleased with the job. But no painter—no matter how experienced or talented—can shoot on that perfect mirror finish so deep that you worry you might fall into it. To get that level of perfection, you need to do several more hours of work.
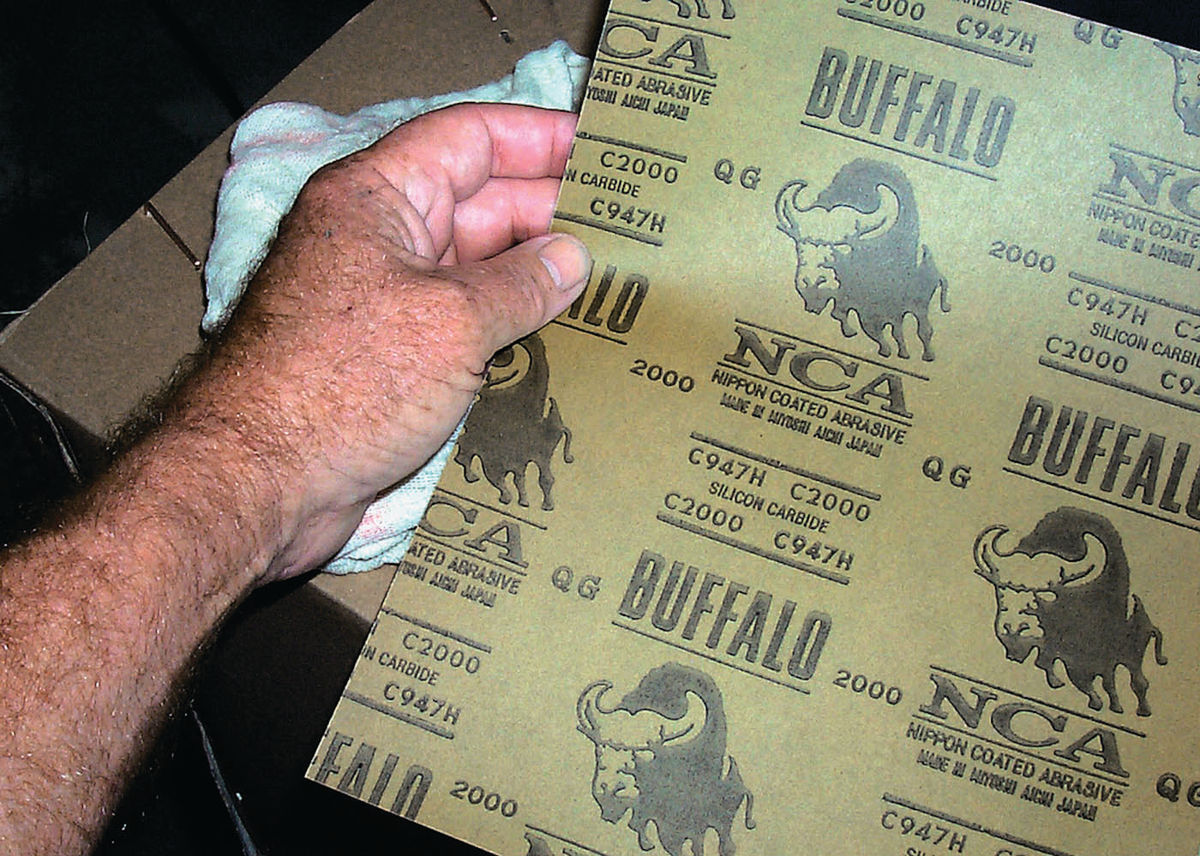
It used to be called polishing or rubbing out, and it used to be done with compounds and pastes that came in cans. They worked pretty well, but the compounds really just rounded off imperfections instead of eliminating them, and they removed quite a lot of paint in the process. But now your new finish can be made flawless, thanks to micro-fine sandpapers that come in 1000-, 1500-, 2000- and even 2500-grit ranges, and CSI polishes.
Once the car has been painted with its final color or clear coats and the paint has been allowed to cure for at least a week, you can to begin. Even if your paintwork is so good that there was barely a perceptible ripple to it, if you get down low and squint while looking into the highlights it will still appear uneven. To get out minor orange peel you want to start with the 1500-grit micro-fine wet sandpaper and then progress to finer stuff to save time and effort.
In many cases you can go directly to the 2000-grit if the paintwork is expertly shot.
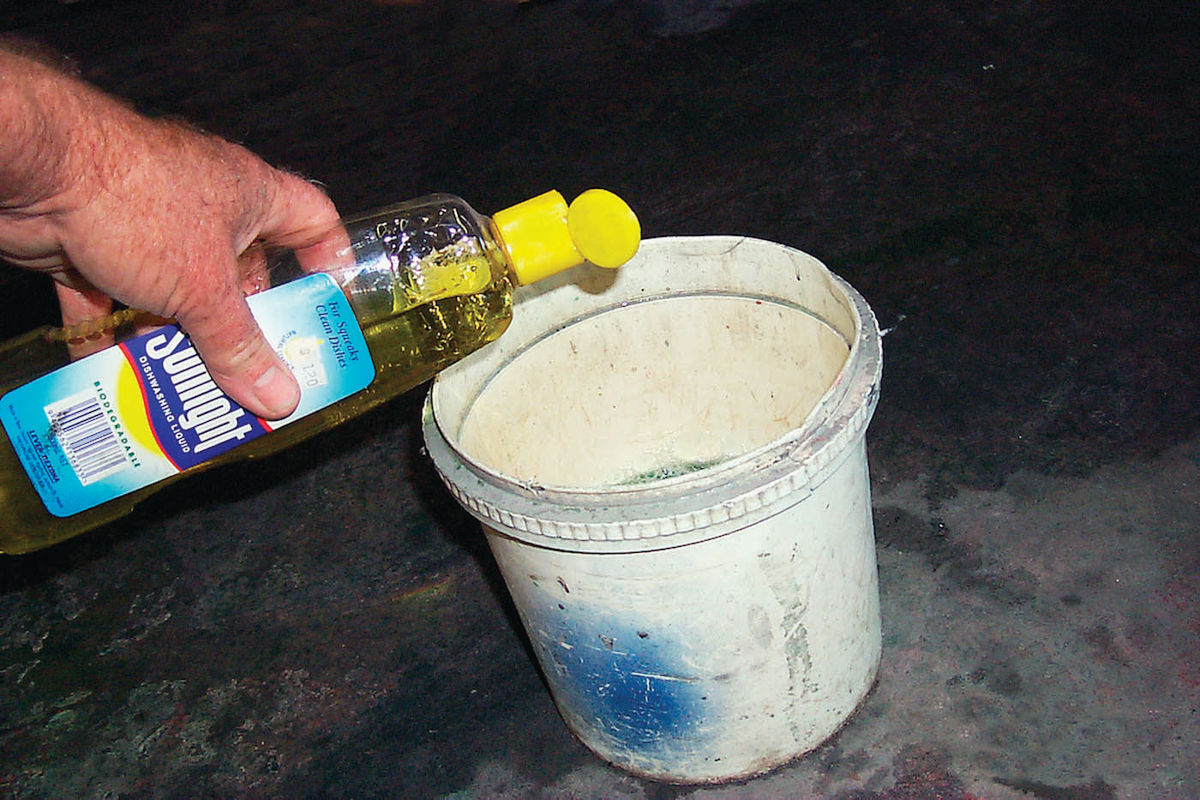
Here’s the process: Put a drop or two of dishwashing liquid in a clean bucket and fill it with water. Next, place three or four pieces of the micro-fine sandpaper in the bucket. Leave them in there for about 20 minutes to soften their edges.
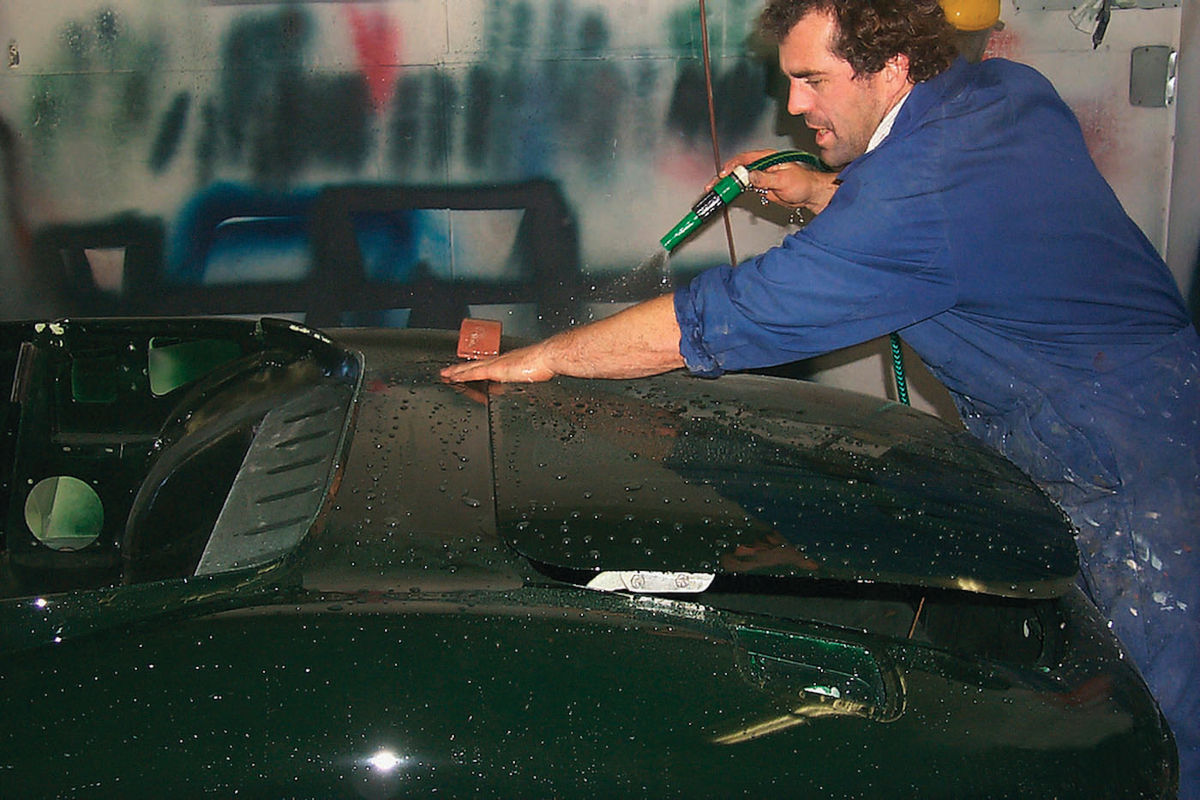
Work in a well-lit, dust-free area, and while you are waiting for the paper to soften, wash the car down completely to remove any grit or dust. Dry it gently with clean terrycloth towels. Then get out a tack rag and go over the car one final time to make sure the paint is absolutely clean. A small particle of grit can make deep scratches in even the hardest finish. If you are working outdoors, wet down the surrounding area to keep dust under control and keep a garden hose going with a trickle of water on the surface at all times.
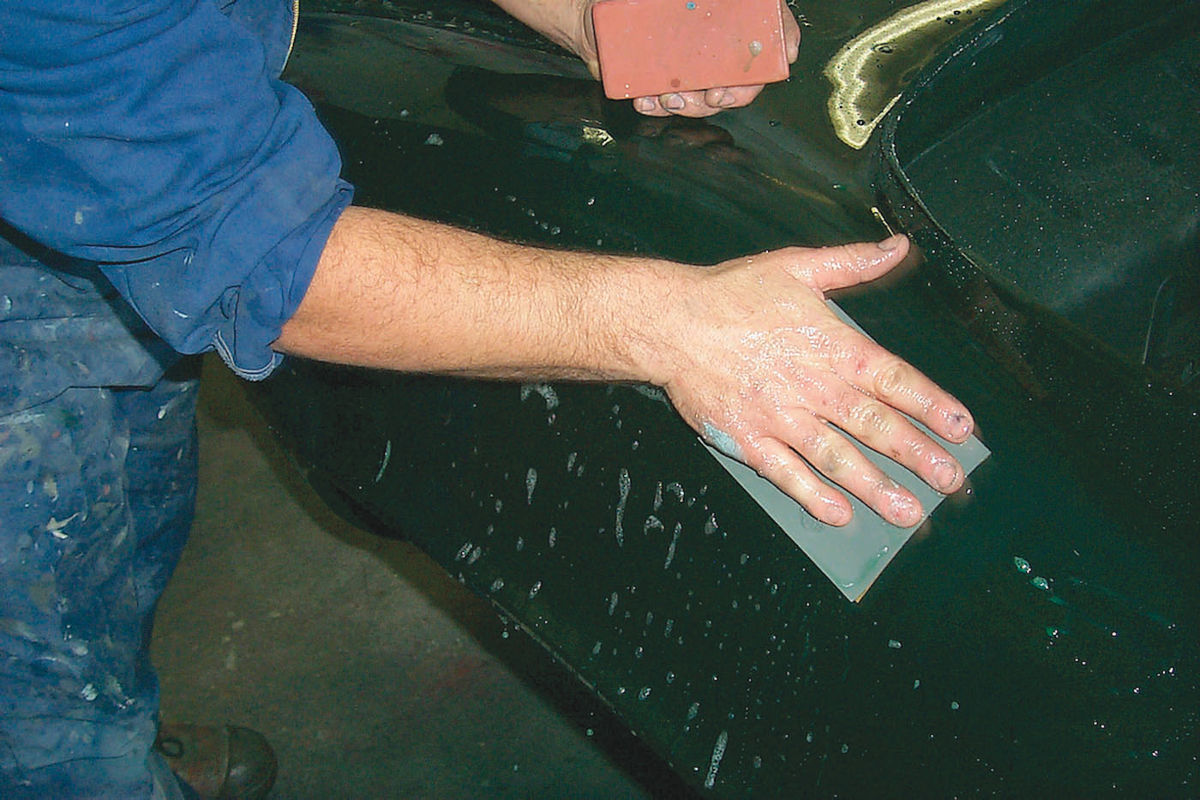
Wrap a piece of the wet sandpaper around a thin rubber sanding block if you are going to be working broad, flat surfaces. Otherwise, you can just fold the sandpaper in thirds and use it that way. Keep wetting the surface of the car where you will be sanding and make sure to keep it wet while you work. Place your hand flat on the paper and start sanding in short, crisscross strokes. Don’t apply a lot of pressure, and never sand with just your fingertips because you’ll make grooves if you do.
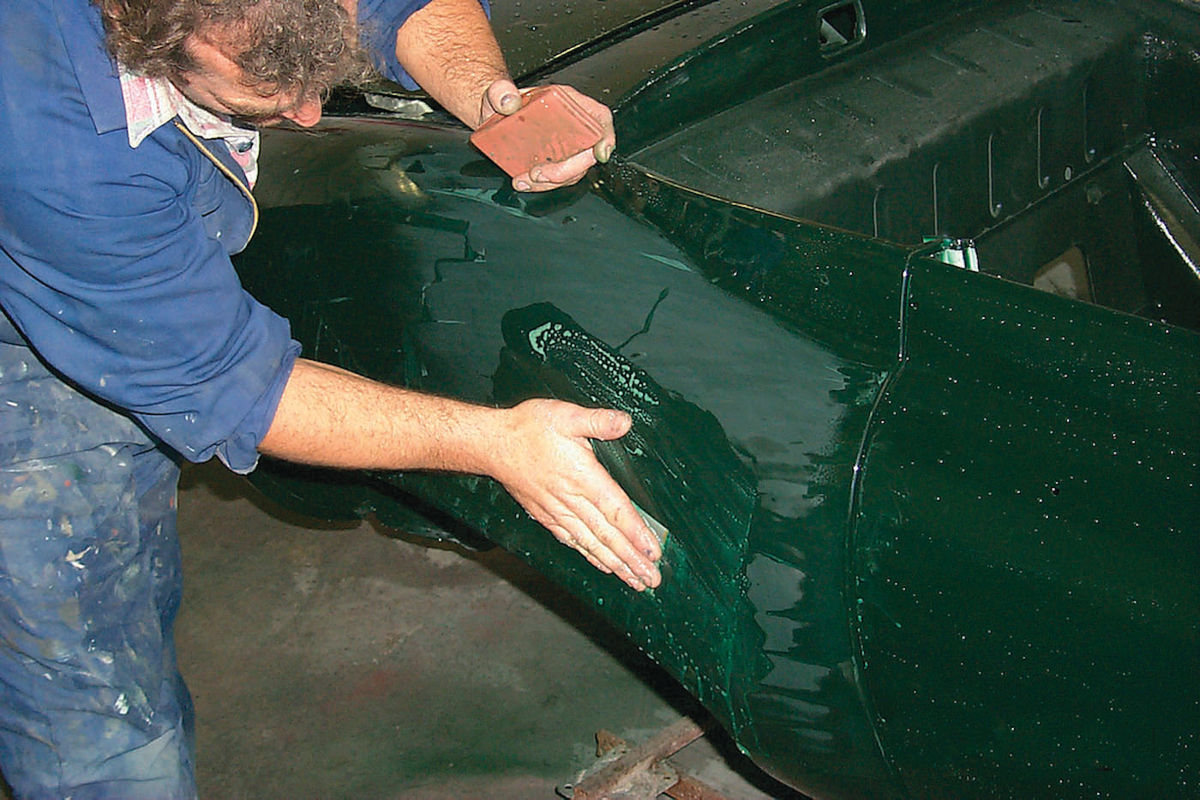
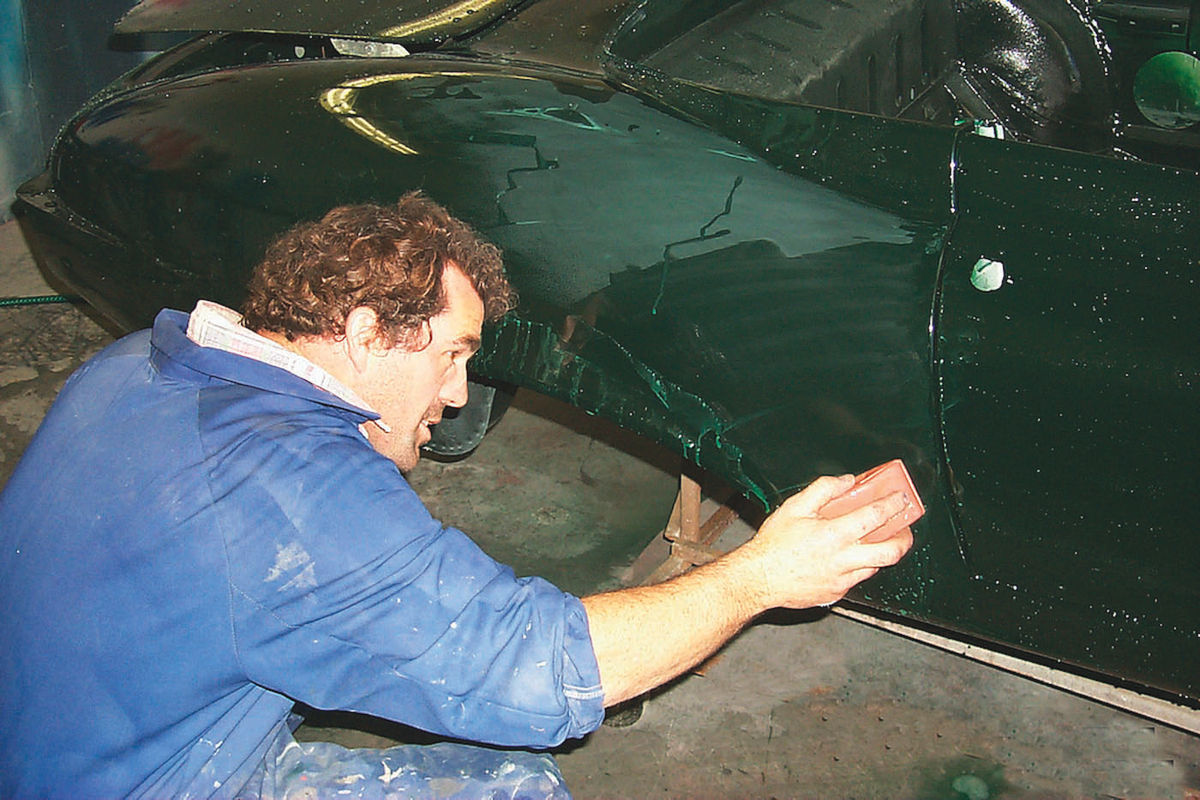
I found that moving the paper about four inches back and forth yielded the best results. That way—if you do make a scratch—it will only be a short one and thus easier to buff out. I found that using shorter, quicker strokes was just about as fast as the longer sweeps, but with a better safety margin and better results. Besides, you can’t let yourself worry about time when you are color sanding. If you are the impatient type, you shouldn’t attempt this kind of work.
A rubber squeegee or rubber block— as long as it is clean—is the best tool for checking your progress. Swipe the squeegee across the sanded surface periodically to clear it of water. Only when you have the surface completely free of any suggestion of orange peel or imperfections are you ready to go to the next step. And which step that is will depend on how smooth your paint was in the first place.
If you began the process with 1500-grit, you will need to proceed to 2000-grit and repeat the process until all the coarser scratches are eliminated. And then you can even finish with 2500-grit in order to get out all of the fine scratches. Only when the paint has a consistent, smooth satin semi-gloss finish can you go to the buffing stage if you want a perfect finish.
For this next step you’ll need a multispeed buffer or an orbital sander with a foam pad. Today’s base-coat clearcoat paints are too hard to rub out by hand. In fact, I only mention an orbital sander because even though it’s slowgoing, you run less risk of burning or damaging the paint with one if you are a novice. However, if you take a little time to work with a buffer on an old beater or practice panel, you can master the use of it pretty easily and the buffing will go much faster.
Buffing
Which buffer you use is less important than how you use it. These are heavyduty professional tools that require a little practice to get the hang of them.
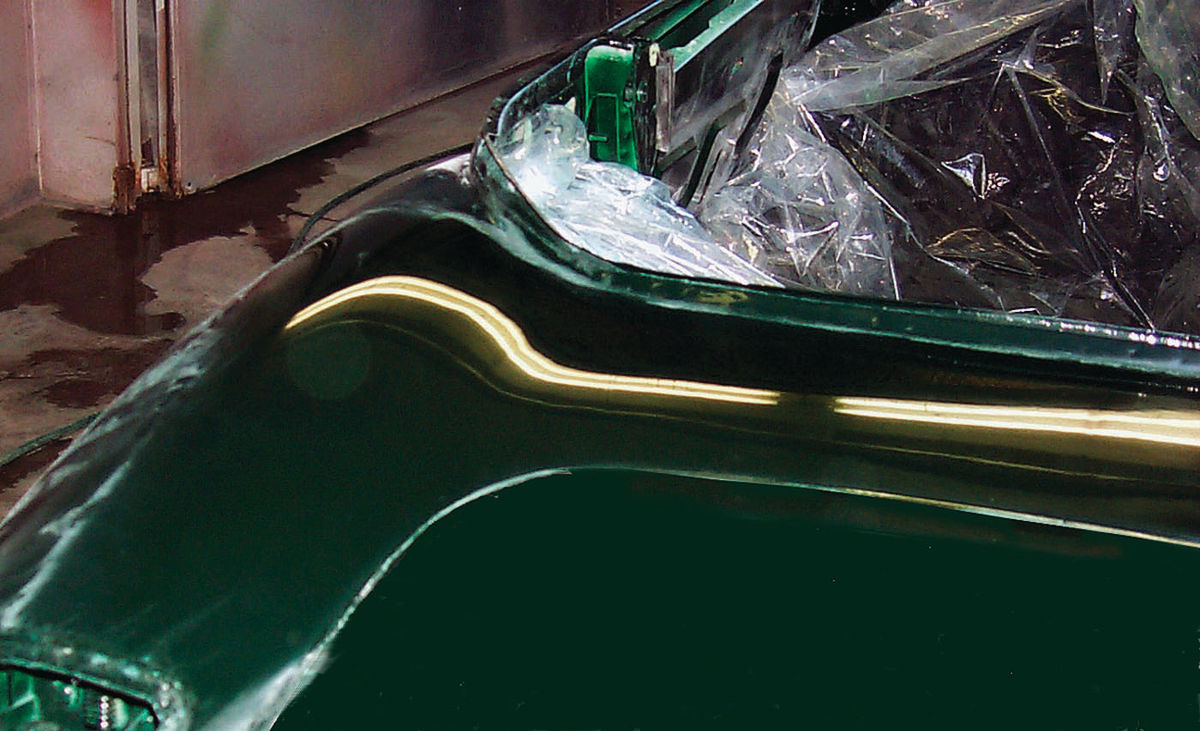
Set the buffer on low speed. Never buff sharp edges or crowns because you can remove the color coat in a hurry if you aren’t careful. Paint tends to build up in valleys, but is blown away from ridges and edges during spraying, so it can be very thin in those places.
Again, always work in a well-lit area. It is important to be able to study a car’s finish from a number of angles, and that takes good, even lighting. Dark-colored cars can be a special challenge because imperfections are more noticeable with them. And if you are building a show car, you will also want to inspect it under the kind of lighting in which it will be shown whether it will be outdoors or indoors under fluorescent lighting… which will show every imperfection.
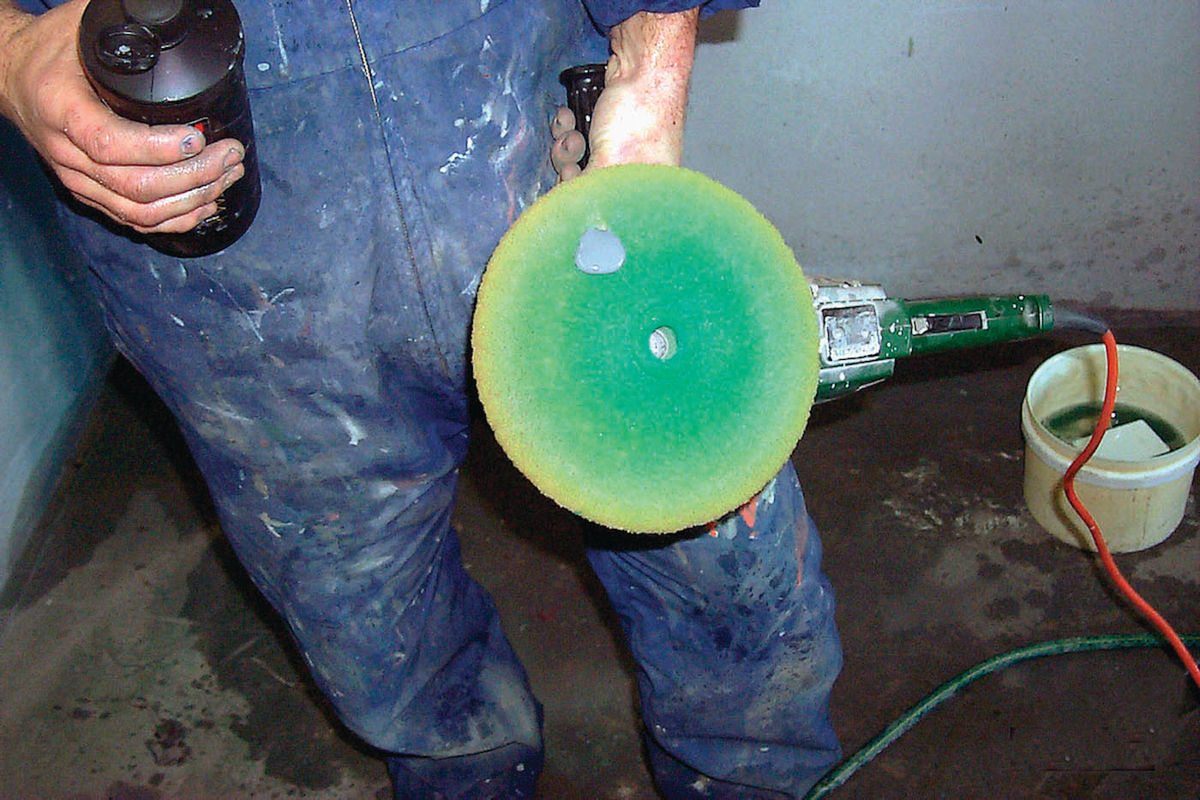
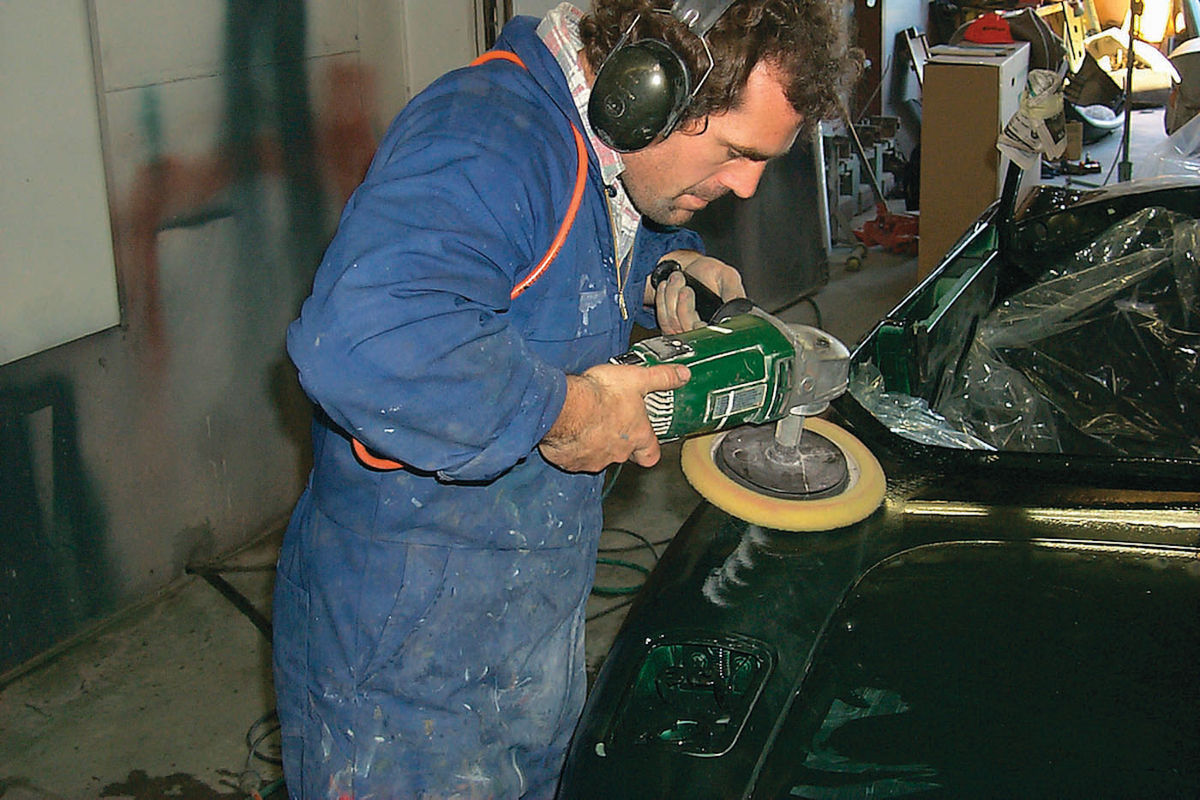
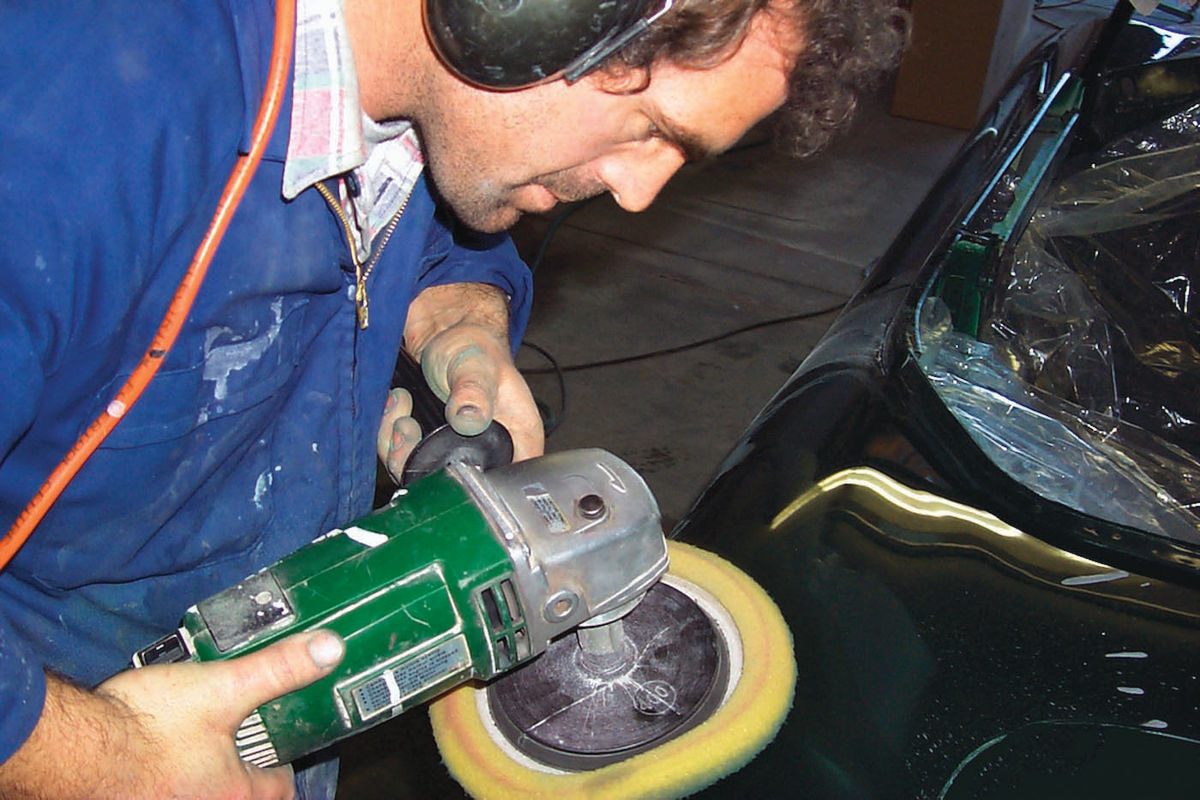
Use a special cutting pad on the buffer. Apply only a small amount of CSI polish because this product goes a long way. When you begin to buff, use the 12 o’clock-to-3 o’clock position on the pad. Slightly tilt the buffer toward the working surface (this gets easier with practice) and work a small surface area of about two feet by two feet.
Though you need not moisten the pad with water first before using the CSI, never dry buff, which is when there is no polish on the surface or the pad. This condition will burn the finish, and that can be a very expensive mistake because you could have to repaint the whole panel.
Never flat buff either because you will lose control of the buffer if you do. And don’t linger too long in one area. With practice the surface will come up to a beautiful, sparkling shine in a very short time. If you have buffed before using other compounds, you will be amazed at how much more quickly the CSI polish works because it is made with fine aluminum oxide rather than the diatomaceous earth in most other cutting compounds.
As you work, continue to look for scratches. At this point, if you find any coarse straight-line scratches that you missed, change back to the 2000-grit sandpaper and take them out before going on. Just keep in mind that the more you sand or buff with the cutting pad, the more paint you will be taking off.
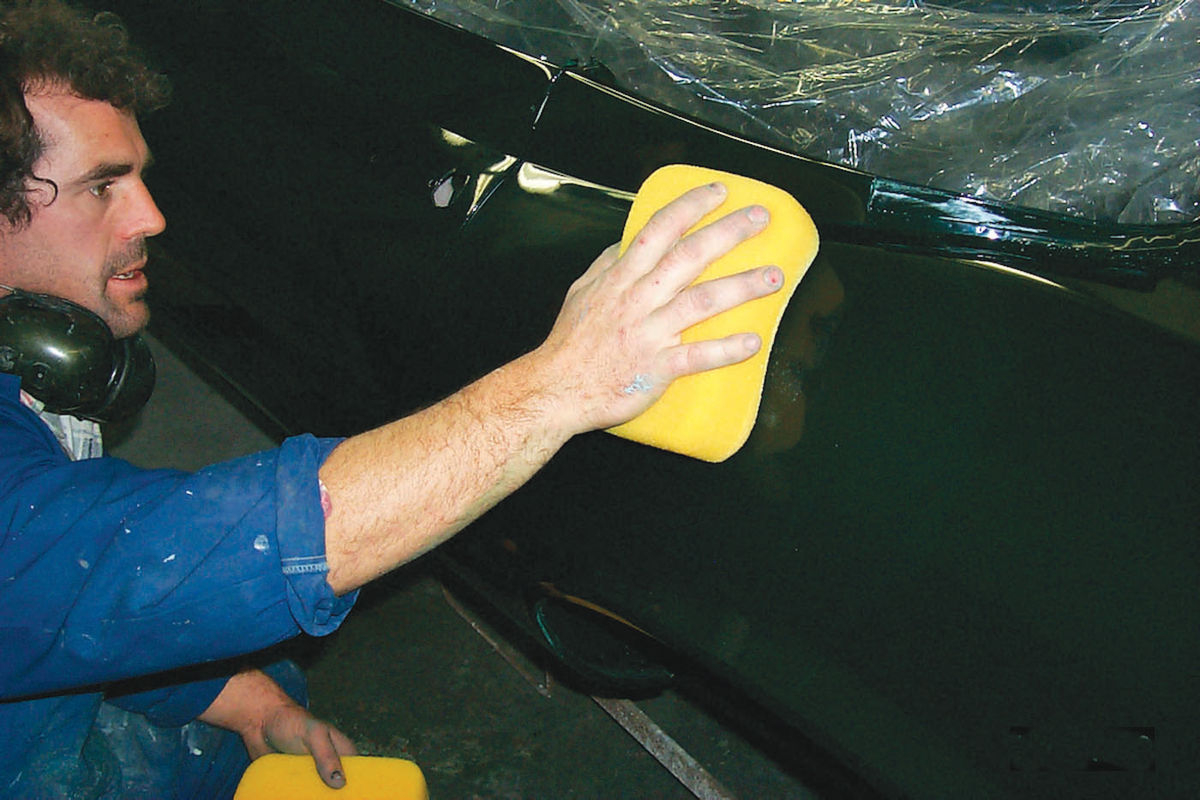
When you’ve finished buffing you should be looking at a dazzling, liquid finish with just a little residue on the surface. This residue will come off quickly and easily, but don’t be tempted to wipe down the surface with a terrycloth towel because it could scratch your work if you do. Instead, apply a small amount of CSI detailing glaze or pure wax with no cleaner in it to a clean, soft sponge. Apply a thin coat to the paint surface and then take it right off. The glaze will remove the buffing residue, leaving a perfect finish with no visible scratches.
Don’t continue to apply more wax to create a deeper polish though. The heavier you apply the wax, the more pressure will be required to remove it, and excess pressure will just cause small scratches. The only reason wax would ever need to be applied heavily to a painted surface would be to mask imperfections, and that should not be necessary if you’ve done the job right.
Finally, allow yourself at least half an hour of “gee-whiz” time to stand around admiring the beautiful results of your efforts.
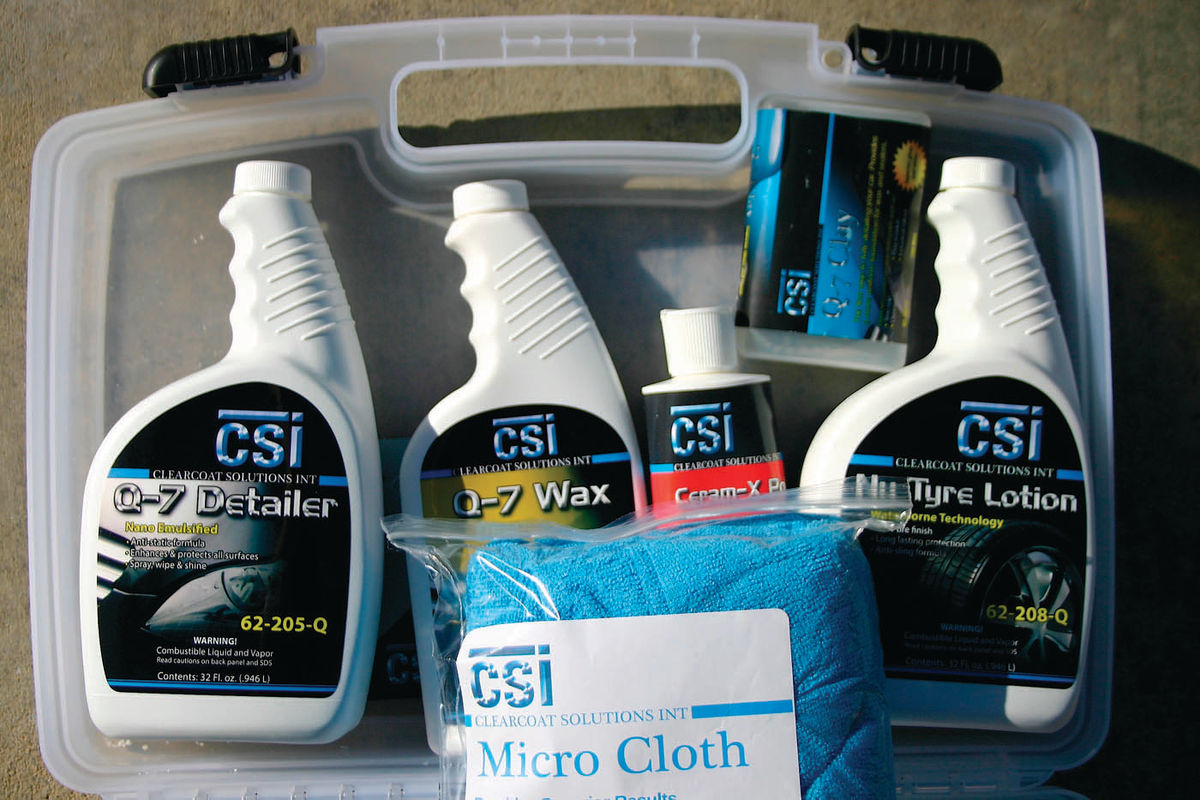
I use CSI compounds and polishes because that is what the pros use. Check the Internet for CSI products or you can order at Clearcoatsolutions.com.


