Removing some small, stubborn dents
Question:
I am restoring a 1954 Buick Special and it has some small dents in it that suction cups and hot glue won’t touch. It is nearly impossible to get in behind them, and that thick steel didn’t move when I tried the glue gun approach. I will be repainting the car anyway, but I don’t want to have to take it all apart just to get at some small dents. Can you help?
Answer:
The worst way is to pack plastic filler into the dent until it is level. Plastic filler should never be more than 1/8” thick at its thickest. If it is any thicker it will shrink, crack and fall out. No pro would consider this approach, but amateurs do it to save money or out of ignorance of the consequences, so don’t even consider it.
Another bad approach is to drill a bunch of holes in the dent and then pull it out using a slide hammer and hooks. What you end up with is a dent with lots of little raised volcanoes in it. The next mistake is to smear on a thick coat of plastic filler, and pushing it into the aforementioned little holes in hopes it will stay in place.
Even though the plastic applied to fix the dent is a bit is thinner because of the little raised areas, the filler oozes out of the holes on the other side and forms little knobs. These often can’t be sealed, so they wick up moisture and then the plastic falls out and the sheet metal rusts. Besides, even if you weld up the holes you still wind up with a weak mutilated panel.
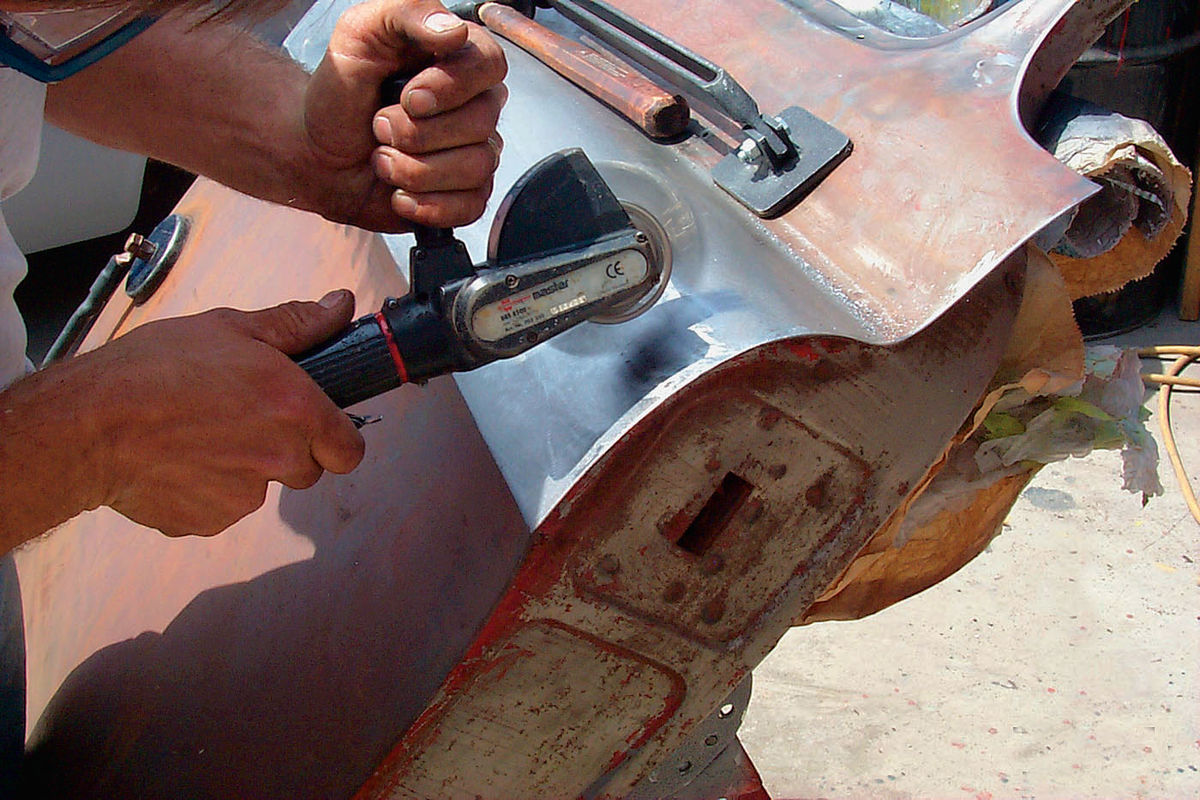
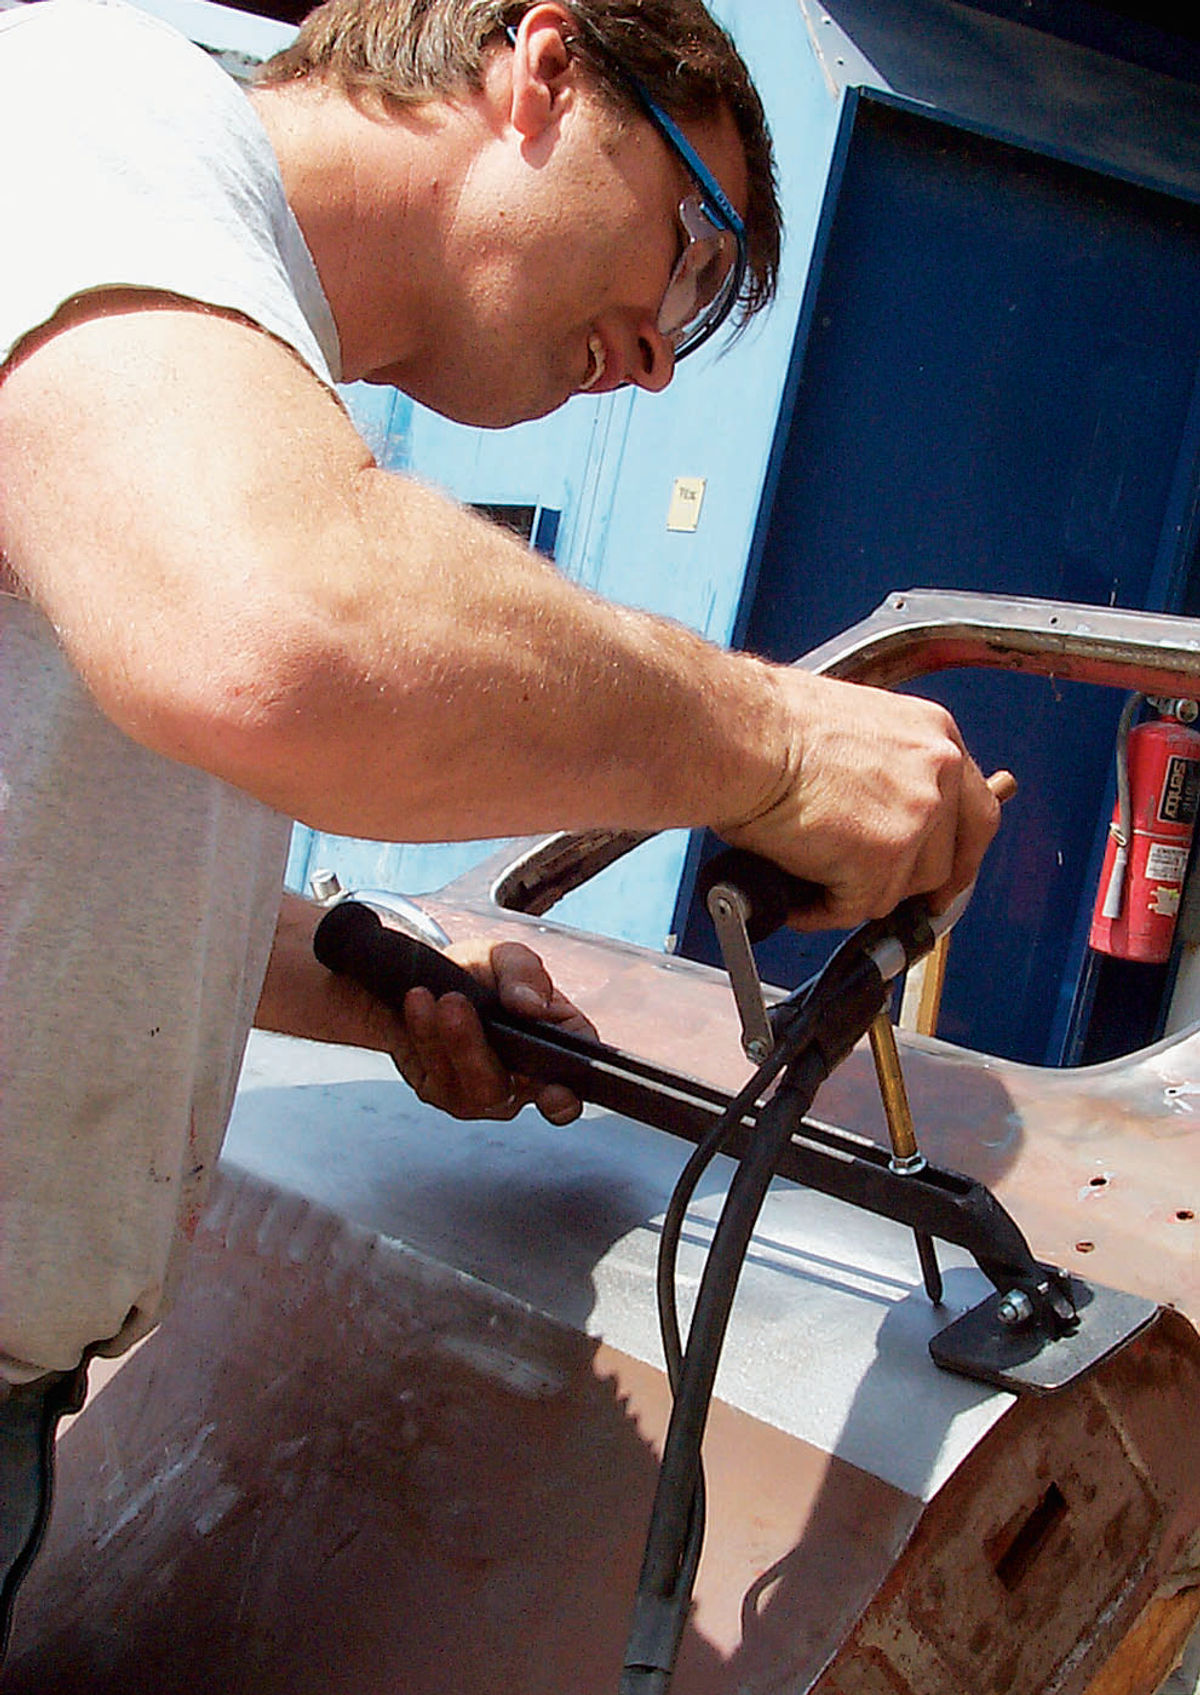
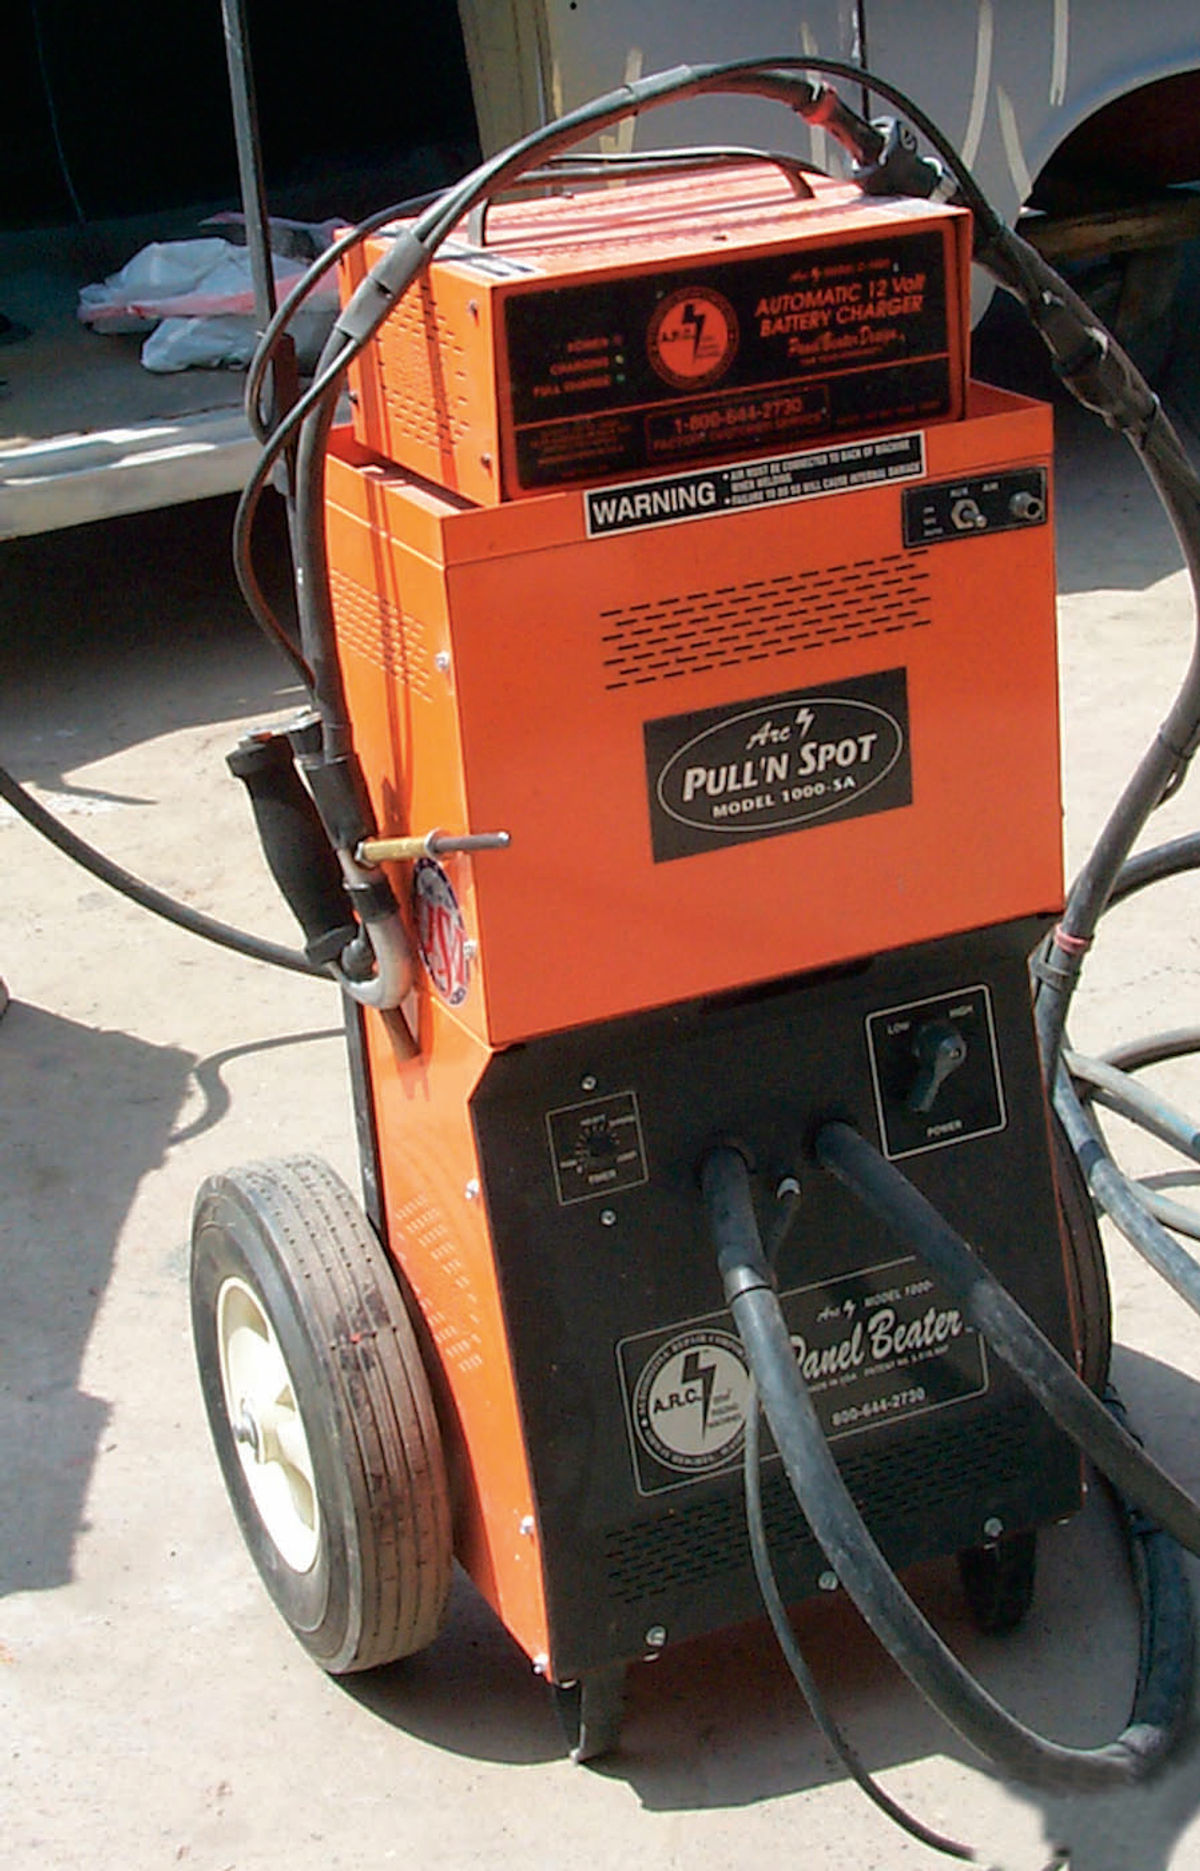
So what to do? Well, if you can afford one, an AIM 1000DX is a great way to go. It uses a spot welder and a lever to pull, once the welder has bonded to the metal. The device is also capable of shrinking stretched metal. They’re a bit pricey at $1785 but if you can afford one, they will make dent pulling a breeze. Another advantage to the AIM 1000DX is that it runs off of a car battery so it is portable.
Slightly less efficient but much less costly is a Stud Welder Dent Pulling System. It works by spot welding small two-inch-long pins to a dent, and then you can pull the low spot up with a slide hammer or dent-pulling tool that grips the pin. It is amazing how easily dents can be removed with these devices. A basic stud welder is available from The Eastwood Company for $315 at this writing.
Another device that does a great job in tight places is a slim pry bar that can be slipped under fenders and into door hinge openings to gently pry dents out. These have to be used carefully, and you must make sure that you have a rigid item to pry against. Prying one piece of thin sheet metal by bracing against another may ruin a panel.
Removal Techniques
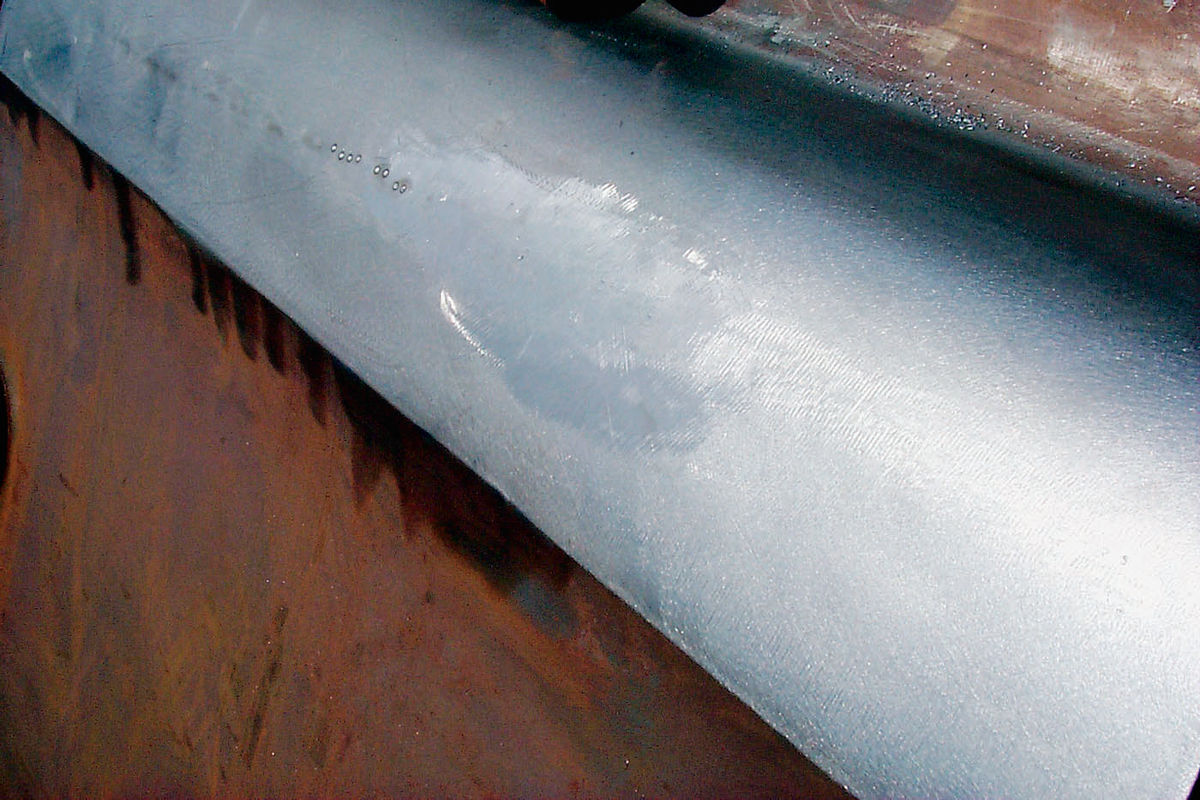
Unless the dent is shallow and you can get it out with a dead-blow hammer or a plumber’s helper, you will have to remove all the paint and any rust or plastic filler that may have been applied to a previous repair. If you are just doing a spot repair, you can grind the paint off with a sander and a #80-grit disk. If you are going to have to repaint the entire panel or the entire car, you may want to strip it with chemical stripper. Media blasting is another possibility but must be done with the right medium and shot by a pro to avoid peening, hardening and warping the panel.
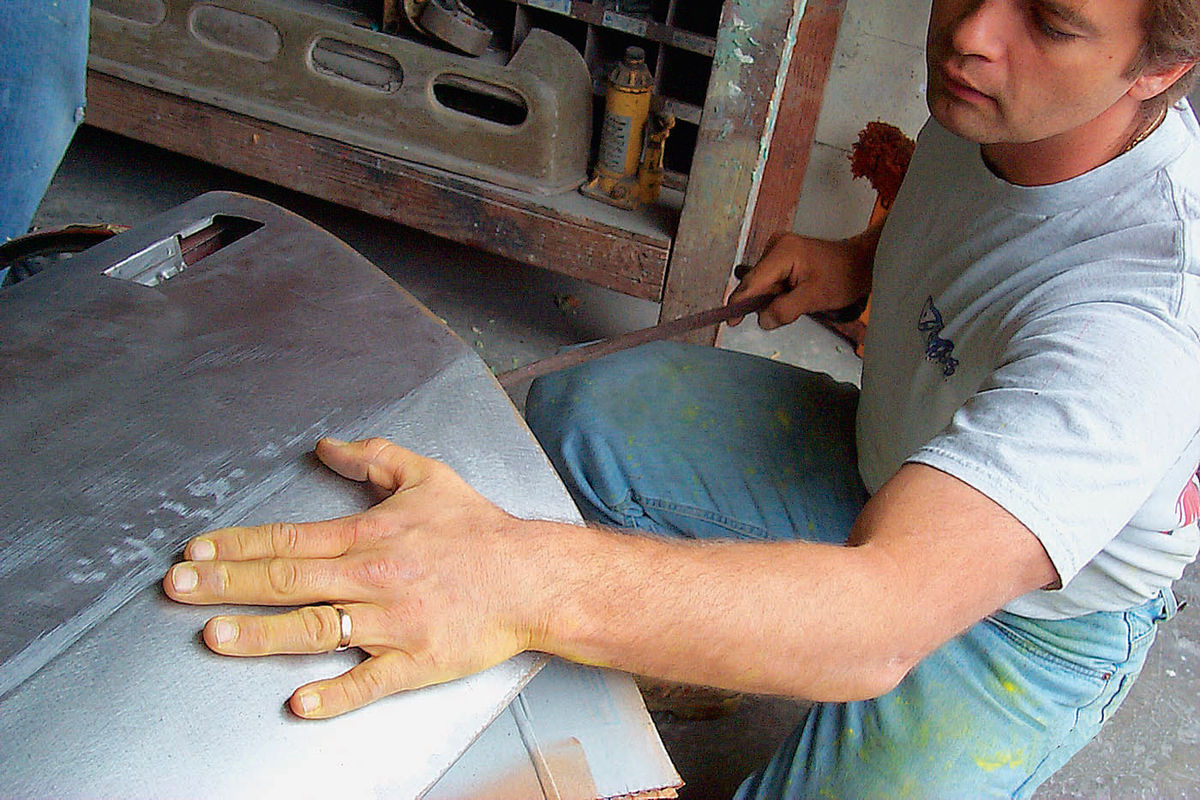
Close your eyes and run the palm of your hand over the dent slowly. I know this sounds a little kinky, but the skin on your palm is quite sensitive, so you can feel even minor imperfections. Keep working the dent with whichever tool works best until you have it pretty well pulled out. Finally, go over the area with a fine vixen file so you can see the high and low spots. Work the low spots a bit more to try to bring them up, but don’t overdo it.
A thin skim coat of plastic filler will last almost as long as the car does, and will fill any small imperfections. But be careful because if you overwork an area, it will become stretched and thinned. The initial collision may have stretched the panel too, and in either case it will need to be shrunk back to shape for it to look right, but that is another set of skills altogether.
Once you have worked out the dent as well as you can without overworking the metal, use a thin coat of plastic filler to level any slight inconsistencies. Top panel beating pros can metal finish to the point where no filler is needed, but if you are new at the game don’t try it. You could easily end up with a bulging, overworked mess.
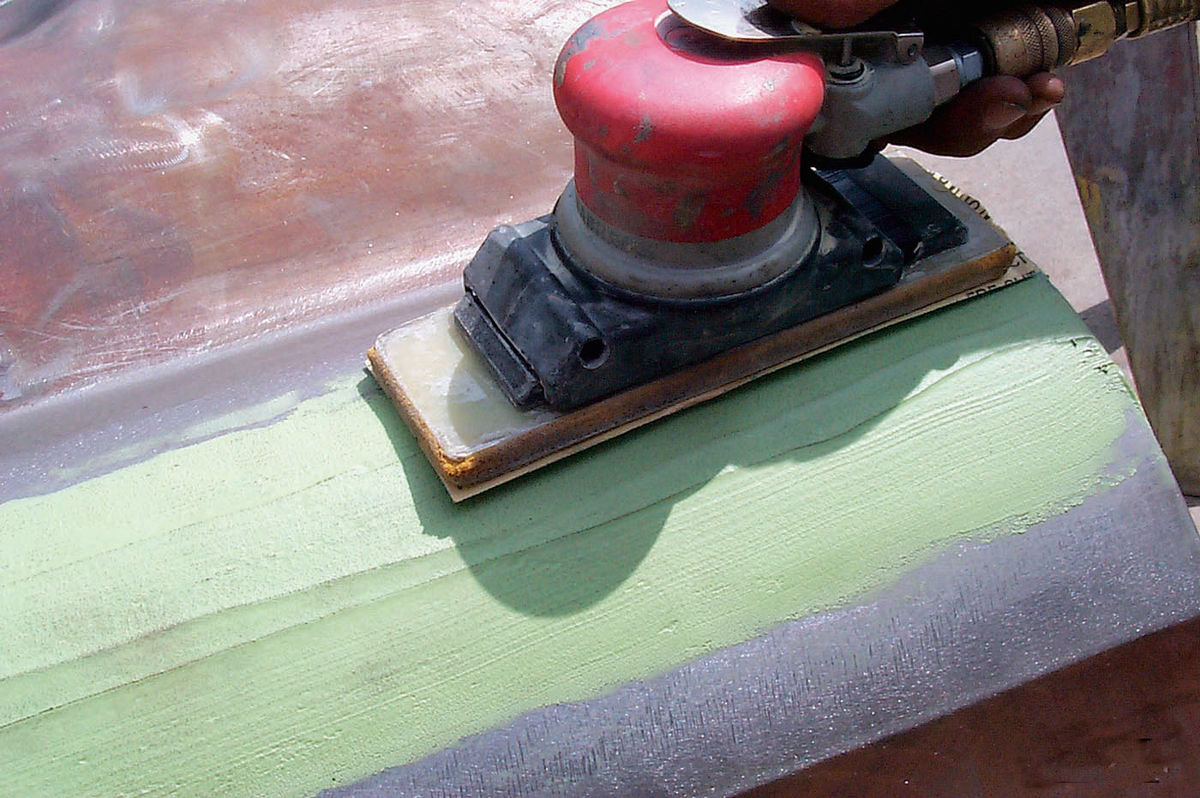
As soon as the filler has hardened sufficiently—normally about ½-hour— use a sanding board or air or electric sander and #80-grit paper to remove the excess and shape the repair. Sand from the edges in toward the middle, and sand parallel to the crease so the plastic will make an even transition from the surrounding metal to the patch. If you need a second application of the filler, make sure you mix it exactly as you did the first batch.
Filler that has different levels of hardness as a result of sloppy mixing will sand unevenly, leaving a fried egg pattern. When you have the area shaped properly with #80-grit, finish shaping it with #120-grit paper. If you find any small pits or pinholes fill them with a little automotive glazing putty, but don’t use it for anything bigger.
Give the job a few hours to cure then give it a couple of coats of primersealer. After the primer has set (follow the instructions that come with the primer), shoot on a high-build primer surfacer. Finally, block sand the area to remove any slight unevenness. The time you spend block sanding and finishing will make the difference between efforts that look spectacular or reveal unevenness under certain light.
The Eastwood Company sells what you need to do the job. You can reach them at:


