
A NEED FOR MORE PROJECT SPACE
There Wasn’t Enough Room In His Duplex Garage to Continue His Mercedes Restoration. So He Took Out a Load-Bearing Dividing Wall and Installed a Steel Girder In Its Place.
As Auto Restorer readers may remember, I’ve lately been engaged in the reassembly of my 1964 Mercedes 230SL following years of metal work and painting. I have learned that this amounts to rebuilding the car from a shell without a factory or assembly line! Even with the marvelous resources of SL113.org available, these cars are over 50 years old, there were numerous manufacturing changes during their seven-year run, and expertise on a particular model and year is often in short supply. Parts don’t always fit and diagrams sometimes are inaccurate because they depict a different model or year. And of course in my case the disassembly was not properly documented in the first place and several thousand dollars worth of parts turned up missing.
Nevertheless, I have persevered, and the old girl is back on her wheels and running smoothly with all vital systems functional.
But as I faced the process of reinstalling the ventilation, doors and dash panels, it became clear that I had to improve the working environment in my little Portland garage where so much work has taken place under such cramped conditions.
The garage is a duplex and I now have access to both sides.
In order to properly utilize the combined space, I had to take down a load-bearing wall separating the two units. I was assured by several trustworthy parties that I could replace eight stout old-growth 2x4 joists with a steel girder to span the length of the wall. However, these folks were not available and I had to do the job pretty much by myself. Here’s what I did:
Pulling Nails & Taking a Dirt Shower
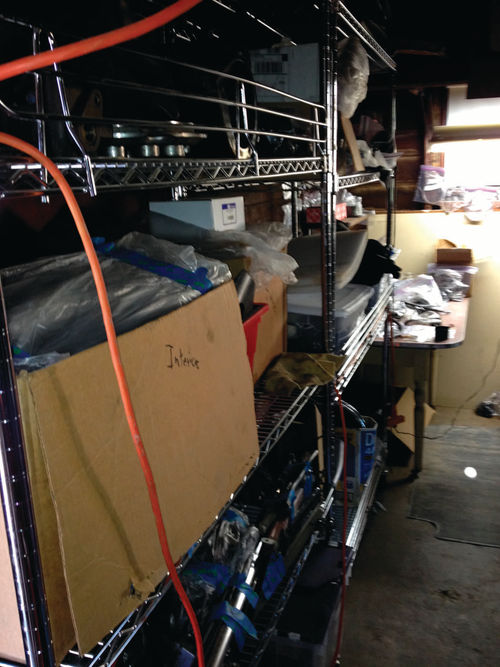
Photos 1 and 2 show what was between the two sides. In order to expose the joists I
had to remove pegboard and insulation on one side and about a dozen splintery shiplap planks on the other side. I spent days pulling nails, which shrieked and groaned as they came out of the very dense close-grain Douglas fir. I removed one additional plank from the ceiling, which caused dirt and debris from a long-ago roofing job to rain down on me in a very annoying fashion.
Help From Friends Got the Girder Inside

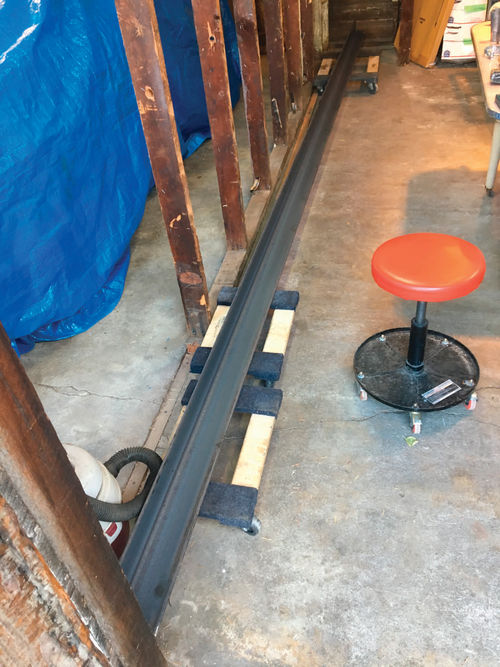
I chose 4x4¼” thick mild steel angle iron for the support beam. To my surprise, a 20-foot length only weighs 135 lbs. However, that seems a lot heavier when you’re carrying one end up the driveway! Standard Steel of Portland agreed to deliver the girder and sent two guys to help unload. I cooked breakfast for several of my sturdy friends, and with five sets of arms it was soon inside the garage, as shown in (Photo 3). Then I was left to myself.
Starting the Placement Lift
I measured the distance half a dozen times using both a tape measure and a laser range-finder, then applied my saws-all with a hacksaw blade to shorten the beam, and my cut-off wheel to clean up the sharp edges. (You’ll be glad if you always take time to do this.) See Photo 4.

I used my hammer drill to cut the holes in the steel. I found that rather than letting the tool do all the work, it was best if I put my weight on it and used plenty of oil—this also reduced the infernal squeals. Because it was on dollies, it was very easy to move the girder to the other side of the garage for the lift (Photo 5).
It was raining in Oregon. I set my jaw and decided that if I couldn’t safely put the beam in place with the car still in the garage right next to it, then by golly I wouldn’t do it at all. Remembering how using safety chains helped me in working with dangerous coiled springs, as documented in an earlier article, I chose three of the joists and wrapped chains around both them and the angle iron, so that there was no way it could move other then straight up or down.
I also passed ratchet straps around the girder and header boards and slowly went back and forth giving each one a few ratchets at a time.
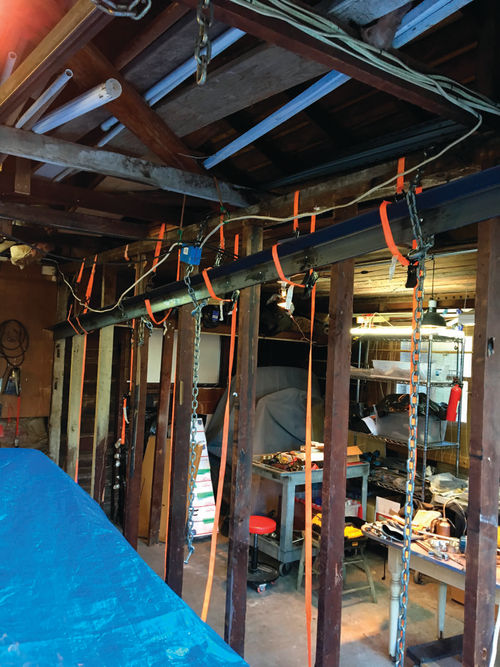

There is a limit to how much strap will fit on the reel before binding up, so I had to pause periodically and cinch them up. I’m sure there are YouTube videos on using these contraptions, but it always seemed awkward, like I needed more hands, although I got better with practice. They handled the weight effortlessly (Photo 6).
As the beam slowly raised (Photo 7), I encountered two problems: I had to use a large spanner from time to time to keep the beam from twisting so that it stayed vertically flush with the 2x4s, and it would occasionally hang up when a safety chain began to bind—a whack or two with the mallet would free it.
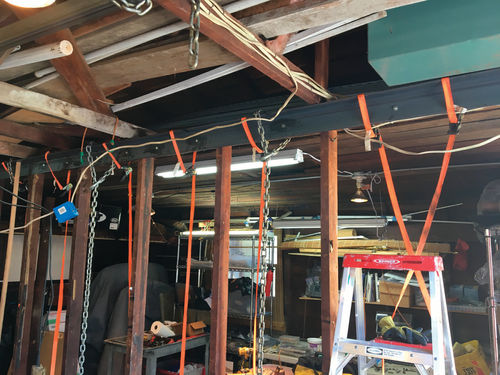
Then, as it approached the final position (Photo 8), I moved the safety chains one at a time so that they passed over the header beams and did not interfere. I very cautiously used a hydraulic jack and a pole of appropriate length on the lower end to literally snap it into position, and was delighted that my measurement was perfect for once.
For each hole, I used a large c-clamp to hold the angle iron against the nearest rafter, drilled a hole for the bolt, hammered it through, and tightened it with all my might against the header.
The Planning and Work Paid Off

After some well-deserved rest, I came back out the next day and carefully cut the 2x4 joists out one at a time with the saws-all. None had any tension on them and they all came right out. There have been no ominous sag or creaks, and the garage spaces are now contiguous (Photo 9). I still have all my limbs and didn’t even need to go to the chiropractor. Thanks Archimedes!
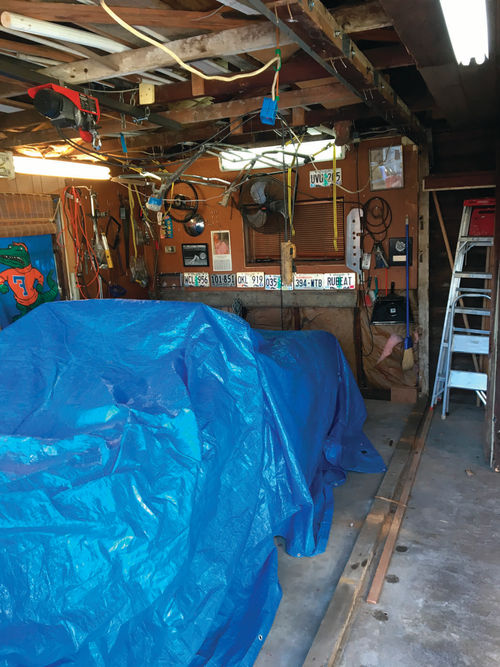
And as (Photo 10) clearly shows, there’s plenty of room to complete the project now.
Please pass on to Auto Restorer readers that we should be intrepid and confident about taking on jobs like this garage remodeling even if we have to work by ourselves. Keep it slow and steady, put wheels underneath whenever possible, and let leverage do the heavy lifting! Be sure to use ear protection and safety chains as well.


