Replacing worn kingpins and bushings
Question:
My all-original 1956 Chevrolet Cameo pickup starts shaking and wobbling and the steering wheel jerks around at about 40 miles per hour, and if I hit the brakes it gets worse. It seems to smooth out somewhat when I go beyond that speed, but when I slow back down it shakes again.
All I’ve been able to do is try to control it while driving. The steering box seems OK, and the shock absorbers work normally. What’s going on?
Answer:
As it turns out, I wrote a chapter on this problem for my book: “Classic Chevy Truck Handbook HP 1534: How to Rod, Rebuild, Restore, Repair and Upgrade Classic Chevy Trucks.” What follows is that chapter in condensed form. If you are interested in reading further, the book is available from Amazon and Barnes and Noble for around $23 and covers Chevrolet pickups built from 1955- 1960. Here’s the procedure:
The problem is you need to replace your truck’s kingpins and bushings. The task is actually pretty simple, and can be done at home using hand tools. And you can do the job in an afternoon. The parts are readily available, and you will be pleased with how well your truck handles once its steering system is nice and tight.
Order a kingpin and bushing kit by email or phone from a source such as Brothers Truck Parts. They can be reached at:
801 E. Parkridge Ave. Corona. CA 92879 www.brotherstrucks.com
While you are waiting for the parts to arrive, take the front steering apart and have everything ready for the installation. Put your truck up on sturdy jack stands in front, and block the wheels in back. Spread newspaper or plastic tarps on the floor around and under the front wheels, and then pop off the wheel covers.
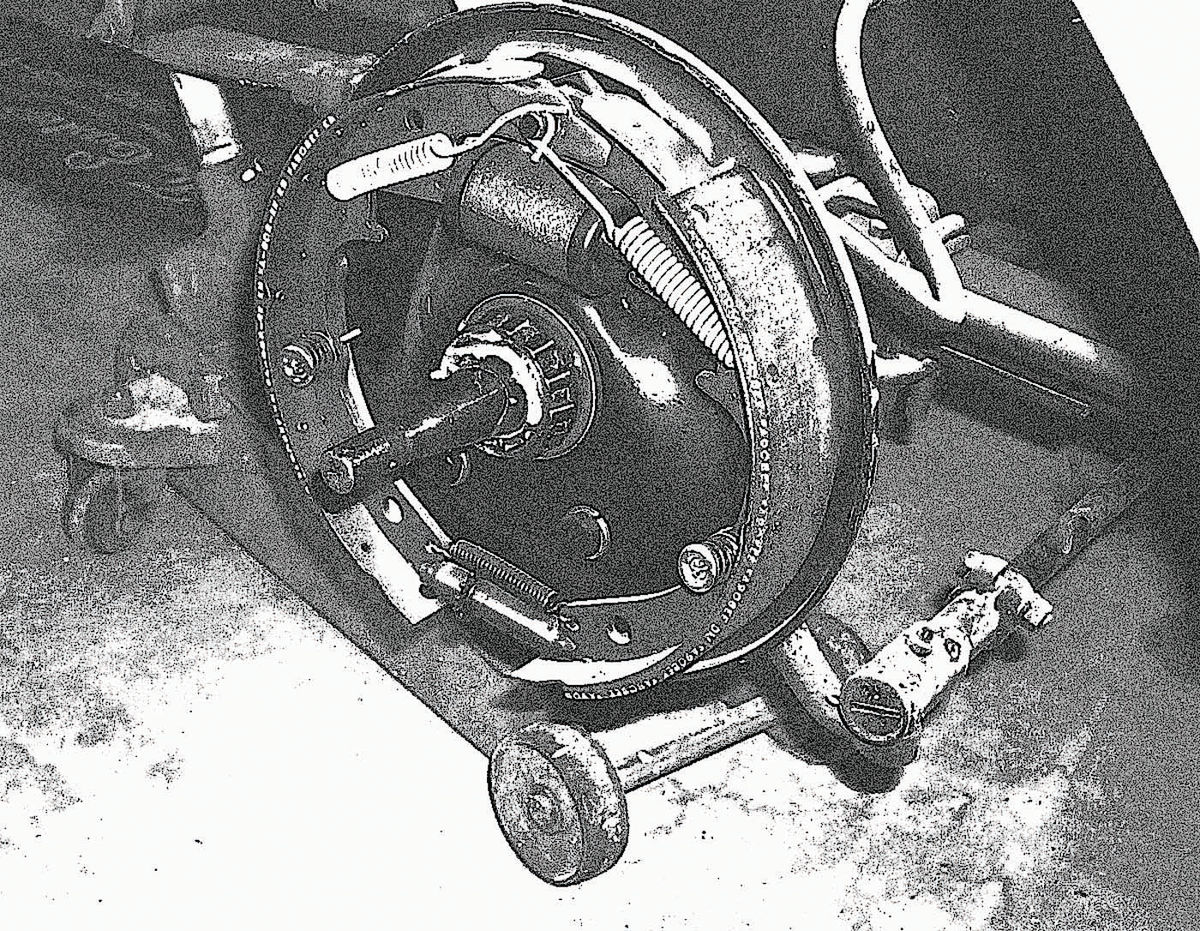
Pry off the dust caps on the hubs. Under them you will find large, preloaded castellated nuts that hold the wheel bearings in place. Pull out their cotter keys and remove these nuts. Pull off the washer holding in the outer wheel bearing, and then pull out the bearing and its inner race.
Next, take off the wheel—drum and all. Just grab the tire firmly and pull it off of the spindle.
The inner bearing and its seal usually come off with the wheel, but if it stays behind, pull it off of the spindle and then wipe away any excess grease. Now remove the entire front brake assembly, backing plate and all. There are four large bolts holding it on. Take them out and set the brake assembly aside in such a way that you don’t put any strain on the hydraulic hose feeding the wheel cylinder.
Next take out the horizontal pin holding the kingpin in place on the axle. Remove the nut holding it in, and then tap it out using a hammer and soft metal drift. Don’t use a hardened drift because—as they said in your high school shop class— bashing two hardened steel surfaces together can cause bits of shrapnel to go careening into your eyes and face, necessitating a humiliating trip to the nurse’s office. (To be sure you’re on the safe side; eye protection is always a good idea during any project.)

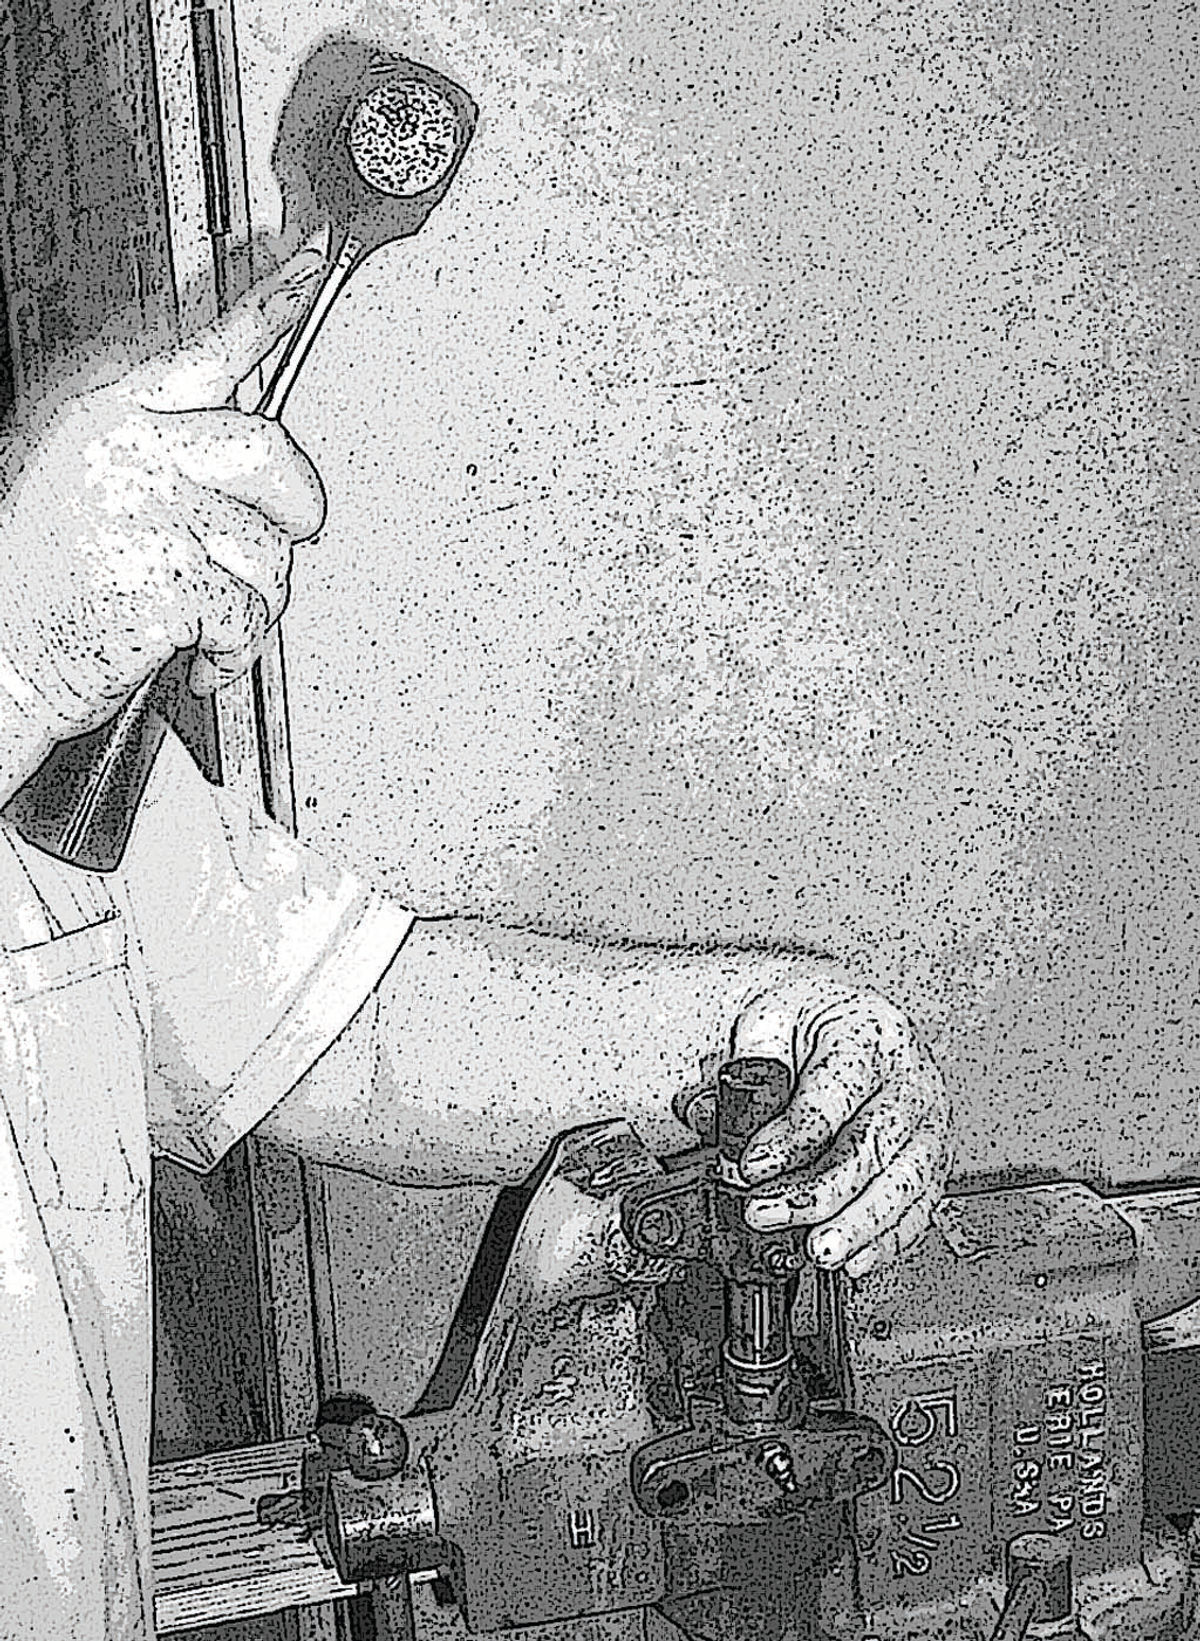


Soft metal caps on the top and bottom on the steering knuckle protect the kingpins, and these caps are held in place by metal that has been swaged over from the edges of the steering knuckle. Use a hammer and chisel to cut away the peenedover metal, then use a punch to make a hole in the top cap. Pop the top cap out using a stout screwdriver. Remove the swaging from the bottom of the steering knuckle as well, and then use a drift to drive the kingpin down against the lower cap and pop it out.
If the kingpin is stuck in place, tap it out using a hammer and drift. The steering knuckle and its thrust bearing can now be pulled out easily. Inspect the old bushings and kingpins. If the bushings are worn, grooved or loose, they must be replaced. If the kingpins are discolored, worn or galled, they need to be replaced too. Inspect the thrust bearing for wear as well. If it is at all worn, discolored or pitted, replace it with a new one.
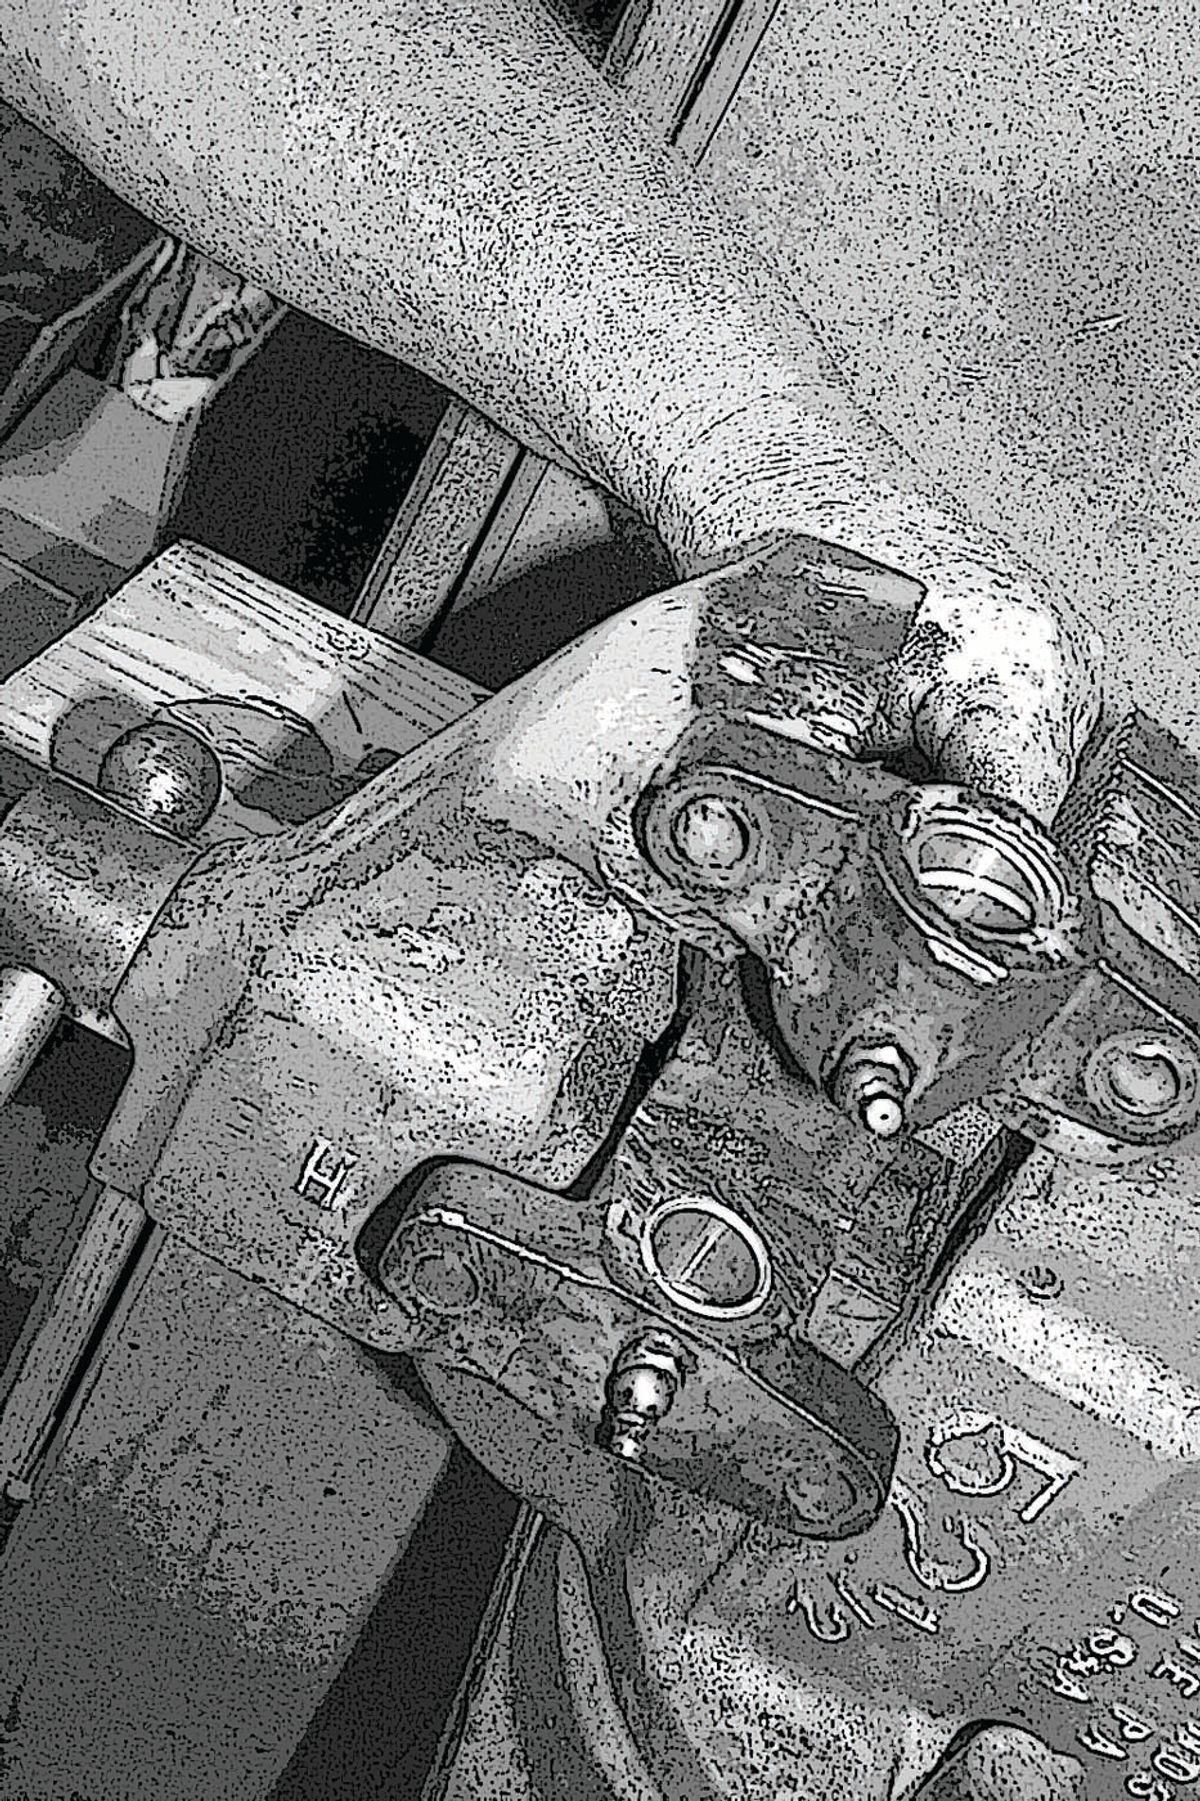
A large bench vise is required for the next step. Chuck the steering knuckle firmly into the vise and, using a drift, drive the lower bushing out from the top. Now slide the kingpin into the upper bushing and slide the old lower bushing over it and on to the upper bushing. Use the kingpin to keep things straight and tap out the upper bushing.
Shoot a little grease through the zerk fittings on the steering knuckle to make sure they are not clogged, then clean the inner surfaces of the steering knuckle with a little lacquer thinner. Carefully note where the grease comes out of the fittings in the steering knuckle because the holes in the new bushings need to line up with them. If there is any corrosion in the areas where the bushings go, clean it out with a little emery paper.
Use a bearing scraper to remove any burrs on the edges of the steering knuckle where the bushings go in. Bushings need to be held firmly in place so only the kingpin moves. If the bushings can move, they will wear out the steering knuckle in a hurry. The new bushings should have a firm press fit, but just to make sure they won’t move, coat the upper, outer surfaces of the bushings with a little epoxy cement. (I like JB weld for this job.) Don’t coat the whole bushing because the epoxy will get into the grease groove and make the bushing difficult to lubricate.
Make sure the grease hole is lined up, then slide the old kingpin into the new bushing. Slip an old bushing over the kingpin, slide the kingpin down level with the old bushing, then tap the new bushing into place using the old kingpin and bushing as a drift. Flip the steering knuckle over and use the same technique to put the lower bushing in.
Smear a thin film of grease over the new kingpin and slide it into place to test for fit. The pin should be held in place firmly, but you should not have to pound it in. If it won’t tap easily into place, you may need to scrape any burrs off of the edges of the bushings, and in some cases you may need to use a reamer to open the bushings slightly.
When you are satisfied with the fit of the kingpin, take it out and use an old bushing to tap a new metal cap over the bottom bushing. Once the cap is in place, strike it hard once to create a press fit against the steering knuckle. Use a hammer and chisel to swage over the edges of the steering knuckle to hold the cap in place.
Smear another finger-full of lube grease on the bushings, and smear a little onto the kingpin as well. Make up the lower thrust bearing, smear it with grease, and then slip it and the kingpin back into the front axle. Slide the kingpin in from the top, then install the upper cap and swage it over.
Wash out your wheel bearings in solvent, dry them thoroughly (Never dry bearings by spinning them with compressed air, as this can damage them.) and pack them with fresh wheel bearing grease. Use a bearing packer, or do it the old-fashioned way by placing a gob of grease on the heel of your hand and then pressing and dragging the bearings through the grease in order to force it well into the rollers.
Install the races and bearings in the wheel, then tap in new seals using a seal installation tool or a hammer and large socket to drive the seals in along their outer edges. Do not pack the spline with extra grease. If the spindle heats up under braking, the excess grease will just run out and ruin your brake linings. Slip each wheel back in place then install the keeper for the outer race.
Snug each castellated wheel nut in place using a 10-inch-long adjustable wrench and moderate pressure. Then back off 1/4 turn. This will properly pre-load the bearings without damaging them. Adjust each castellated nut to allow for a new cotter pin, and then install the pin. Never re-use an old cotter pin, and never use one that is smaller than required. You court catastrophe if you do.
Finally, grab the tire and try to wobble the hub around. You should not feel any slop at the wheel bearings. If you do, readjust the bearings and check them again.
Tap on the dust caps and wheel covers and you are ready for a test drive. Your steering should be easy and smooth and there should be no hint of shimmy.
If all seems well, take your classic to a front-end shop and have them fine-tune the steering alignment. You will be surprised at how well your classic truck steers and handles with its new kingpins and bushings.


