
The MG-A
Have you ever heard the line H of an old song that goes: “If heartaches were money, I’d be a millionaire”? It could be that the guy who wrote that was an auto restorer. Like most of us, Harold Pabst’s first restoration project delivered a Brinks truck full of heartaches. To begin with, he made a basic mistake when choosing his vehicle: The car he embraced had a good engine and transmission, but they came encased in a rusted, rotting hulk.
Pabst first considered the idea of a project car in 1989 as he was nearing retirement from the Grumman Corp. He was inclined toward an early Ford roadster, but then he heard of an MGA at a price that sounded too good to pass up.
The MG’s top was torn, the side curtains were missing and the interior was full of leaves and dirt. On the other hand, the oil was clean and the engine wasn’t frozen. In fact, the owner said the engine had been rebuilt before he parked the car.
Like many restoration novices, Pabst didn’t pay enough attention to the body.
“I decided that after a little body work it would be all set to go,” Pabst remembers. So in short order he had the MG trucked to his home in Smithtown, New York, where it was rolled into his garage.
Bad News
“Three months of part-time tinkering, and we got it started,” Pabst says. But when he took the car out on the road, it steered to the left, had a bad front-end shimmy and was generally “very rough handling,” he says. About that time, Pabst began to realize “there was a lot more to this car than what met the eye,” and he didn’t mean that in a positive sense. Still, he was more concerned about the mechanical condition than the body and frame. But in the process of diagnosing the front suspension problems, he began to discover rust. That’s when he decided to take a closer look at the car’s structure.
Worse News
“The rocker panels turned out to be just angle iron and Bondo,” Pabst remembers. “The guy did a nice sculpturing job, but there was nothing behind it.”
From there the discoveries followed a downhill pattern. The bottoms of all the fenders were rusted through or completely missing.
“Not knowing (the intimate details of) an MGA at the time and never having done a car before, I didn’t know the fenders were not supposed to be welded on,” Pabst says. When Pabst chiseled the fenders off, he discovered the mounting flanges — where the fenders were supposed to be bolted on — had rusted away. There was nothing to bolt the fenders to. The door sills and the door pillars all were rusted beyond redemption. “The one (door pillar) on the passenger side wasn’t really connected to the rest of the body anymore,” Pabst says. , When all the rot was exposed, the entire bottom half of the car — both inner and outer bodies — in addition to much of the sheetmetal on the nose and tail, required replacement. The wood cockpit floorboards and the trunk floor also needed replacing. The frame rails were peppered with rust holes on both sides of the cockpit.
Previous work on the car had been a total cover-up job. The body repairman had welded metal plates behind the rust holes and leveled the surface with plastic filler. None of the rust had been removed.
“I don’t know why the car was holding together,” Pabst said. “If I knew more about restoring cars at the time, I think I would have junked it.”
Good News at Last
Pabst’s spirits received a lift when he investigated parts availability and found that it is feasible to build an MGA from scratch using NOS and reproduction parts (see Resources box). Complete body panels, patch panels and most mechanical parts are just a phone call away.
He talked it over with his wife, Dorothy, and they decided to bring the little roadster back to life. “I love a challenge,” Pabst explained.
Pabst retired in October 1990, moved to St. Augustine, Florida, in March 1991, and became committed to completing the daunting restoration.
Body and Frame
When Pabst began to work on the body repairs, one mistake made a big impression on him. Now the first tip he passes along to others is: Take detailed and extensive body and chassis measurements before disassembling a badly rusted MGA. Photos and drawings are a good idea, too, especially if you don’t have a reference car, “I would have taken more measurements,” Pabst says, “but I didn’t think of that ’til it was too late.”
Because Pabst had cut away most of the lower portion of the inner body, he had no reference point for rebuilding. He had ordered the sills and door pillars in a one-piece assembly, but so much of the inner body was gone he couldn’t determine the proper elevation for mounting them.
Pabst solved the problem by first welding in repair panels to return the fenders to the proper dimensions and contours. The patch panels replaced the rusted-out lower portion of the fenders. Next he temporarily mounted the fenders to establish a reference point for rebuilding the rest of the body. He then held the doors where they should hang to help determine the proper elevation for mounting the sill-and-door-pillar assemblies.

“You might as well say the bottom 15 inches of the car was replaced,” Pabst says. Also, Pabst says, it is important to leave the body on the chassis while making structural repairs, especially to the sill and door pillars. If a restorer removes a weakened body before repairing the major structural components, the body can flex and create an alignment nightmare. It also is a good idea to mount temporary braces across the top of the cockpit to preclude any movement when the body is removed from the chassis.
When Pabst tried to repair the sheetmetal on the car’s nose, he couldn't establish the proper alignment with the body off. He had to backtrack and put the body back on the chassis to get the nose aligned properly.
Pabst also cautions MGA restorers to make sure the hood-latch components are properly positioned before closing the hood. He didn’t and had to hammer on a metal rod — which he poked through the grill — to re open the hood.
While the body was off the chassis, Pabst repaired the frame. He ordered ready-made repair panels, and hired a professional for the frame welding.
The Moss MGA Parts Catalog offers some tips: “Frame condition is a determining factor in deciding how far to go with your restoration. Most of the rust damage will occur on the passenger side of the car from the foot well to the rear support tube. A seriously rusted frame will be completely perforated or will have large sections completely missing in this area.”
Among the tips offered in the catalog are these: “Cut away the remaining damaged metal and clamp the repair parts in place. Tack weld and trial fit an entire section before any final welding is carried out. To avoid warpage, weld the rails at 2inch to 4-inch intervals working from the center of the piece. An electric welder is best for frame repairs.”
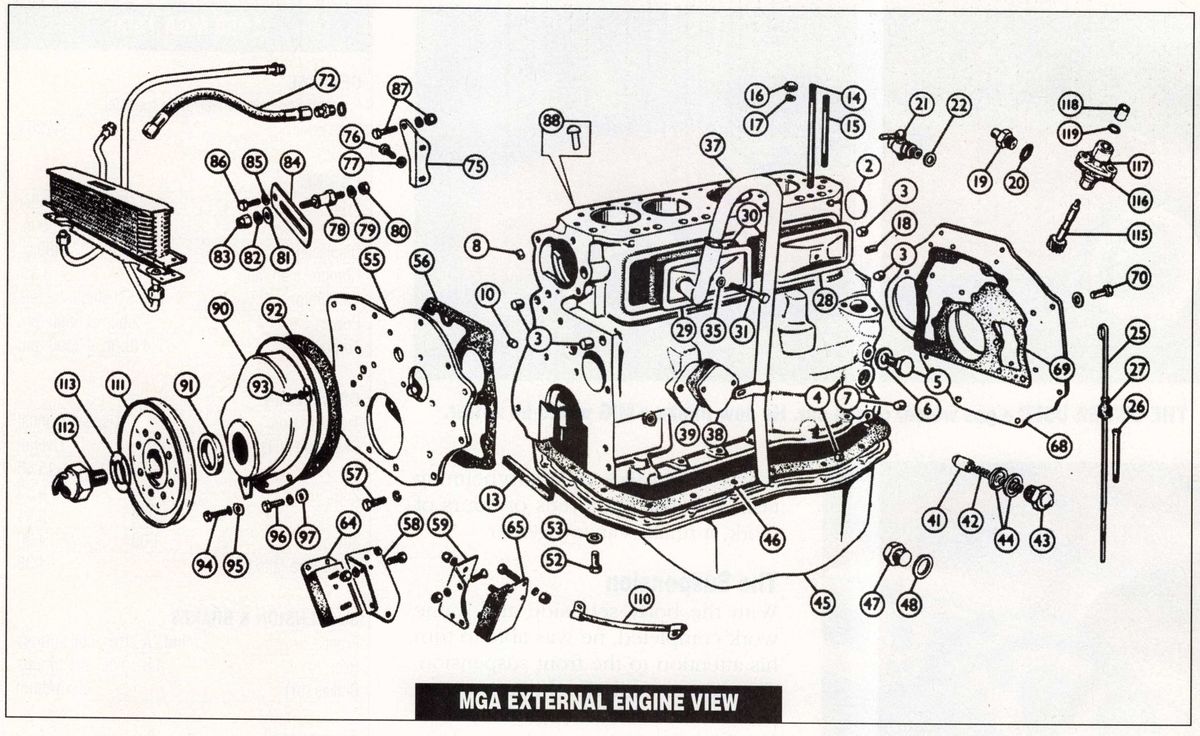
Many of the parts catalogs from the major MGA suppliers are filled with similar restoration tips and informative drawings and diagrams. They’re worth having as reference information.
During body repair and welding, Pabst used a “blind” panel-holding system — available from The Eastwood Co. (item 1286, code 4F13). To use this tool, position the new metal in place, drill a %-inch hole through both the repair part and body and insert the fastener with special pliers provided. The spring-loaded fastener grips the panels front and back.
With the repair panels held securely, Pabst then riveted and finally welded them in place. The fasteners are removed with the special pliers and the small holes welded over. He raves about the Eastwood panel holders.
Pabst performed most of his own welding with a gas welder he bought and taught himself to use. With the benefit of experience, he now thinks a MIG welder would have been a better choice because they are more precise, easier to handle and the extra heat from the gas welder makes it easier to warp panels.
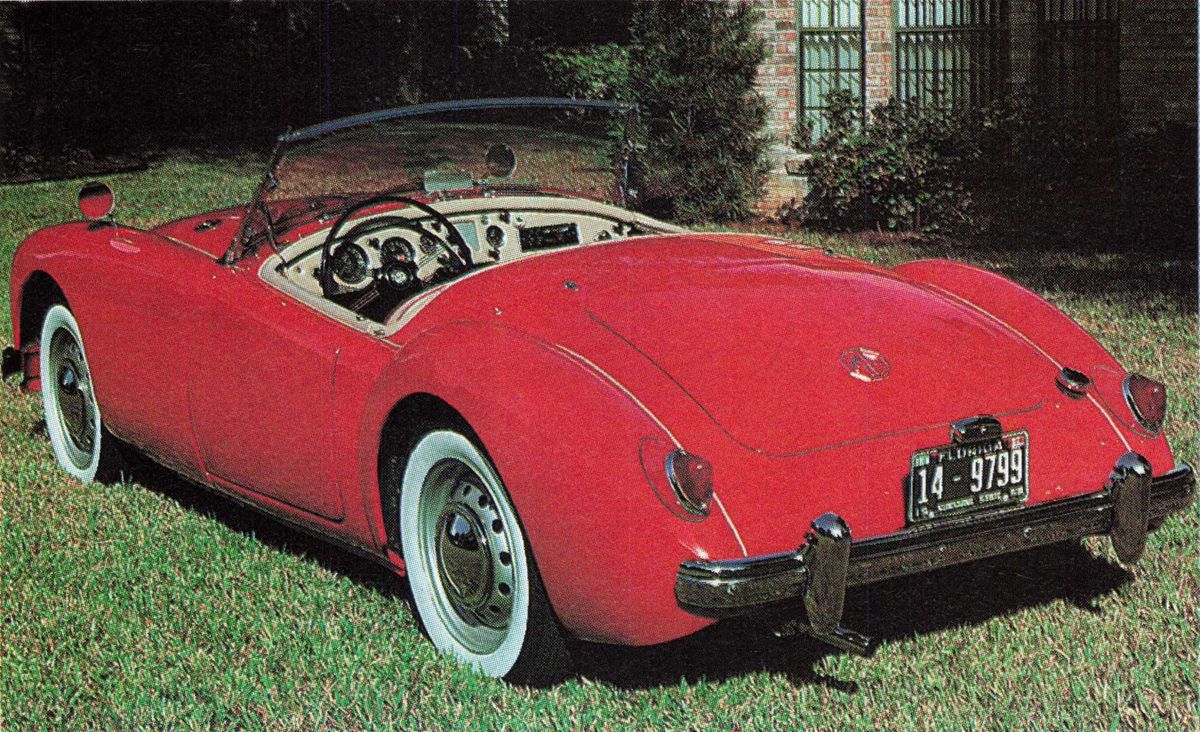
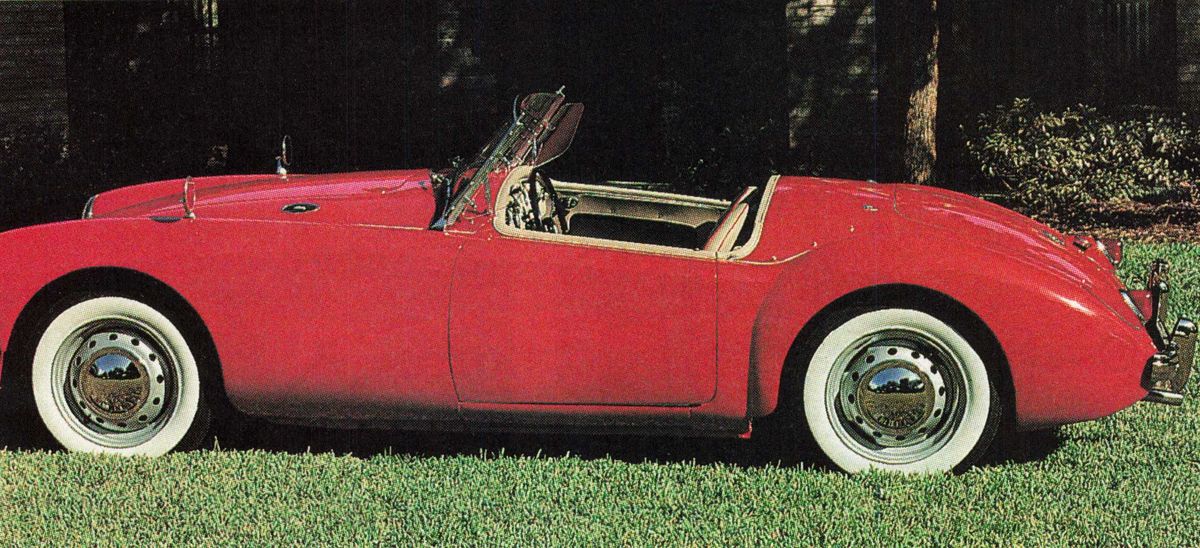
Pabst saved a lot of money by doing his own metal replacement and much of the prep work. He finished the body with an initial skim coat of filler where needed and then delivered it to a professional painter for finish body work and painting. Pabst liked the looks of a red MGA with biscuit interior on the front of the Moss MGA catalog, so he decided to copy it. His car originally was blue.
At times, Pabst says the body repair seemed like an overwhelming task. But after hundreds of hours of work, it finally came together.
The Suspension
With the body set aside and frame work completed, he was able to turn his attention to the front suspension. The A-arm and the kingpin were bent on the left side, apparently causing the left-steering problem and the shimmy. Pabst straightened the A-arm and took the kingpin to a machine shop for straightening. Moss recommends trunnion bushing replacement be done by a good machine shop, as the bushings have to be pressed in place and then reamed to size to receive the distance tube (spacers).

Moss also cautions that the lower-link bolt holes in the wishbones can be elongated due to wear, causing alignment problems, tire wear and a safety hazard. If the A-arms are badly worn or bent, replacement is a good idea.
MGA shock absorbers are Armstrong lever-arm type and can be rebuilt, exchanged for rebuilt units (about $110) or sometimes bought new.
Powertrain
Fortunately, the engine, transmission and differential seemed to work just fine.
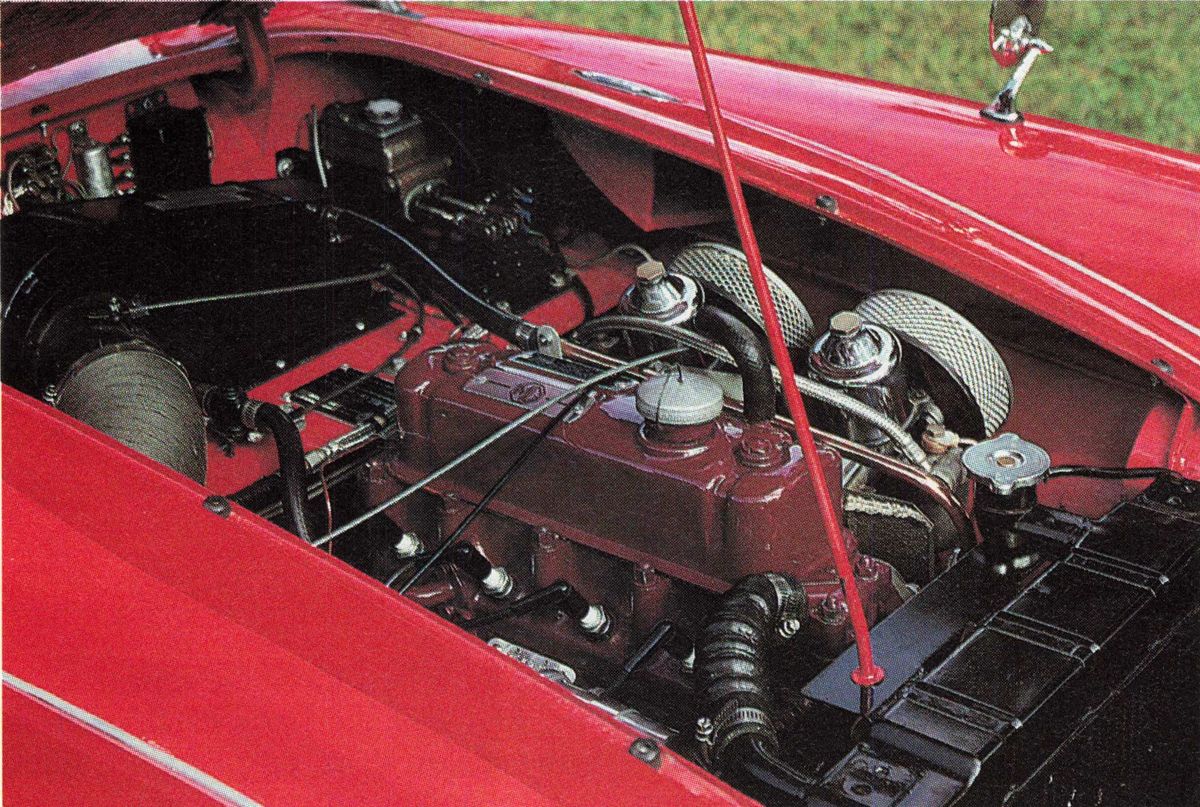
Pabst says he hasn’t bothered to research all the car’s numbers, but he believes the powertrain components are all original and correct for the year. He meticulously detailed the engine compartment in the proper colors. The Moss catalog can be a great help with paint colors; it lists the proper colors for engine bay components and all MGA sub-assemblies. Moss sells many of the proper paints and lists modern equivalents for some others.
For example, Moss lists the windscreen washer bottle bracket as “Tudor blue” with Krylon 3107 as a modern equivalent. Pabst had some difficulty locating paint to match the “school bus yellow” six-blade engine fan, but eventually a local Sherwin-Williams dealer helped him find an equivalent.
Quirks, Details and Gadgets
One of the joys of British cars — or frustrations, depending on one’s point of view — are the unique little mechanical gadgets in which British automotive engineers of the ’50s seemed to delight. Examples are the beautiful folding windscreen mechanism on the Austin-Healey 100-4, the minuscule gearbox that drives the mechanical tachometer on the Bugeye Sprite and, on the MGA, a pneumatic, self-canceling, turn-signal switch.
The switch on Pabst’s car didn’t work. He found a replacement in one of his parts catalogs, but thought the $200 price a bit steep and decided to try to rebuild it. “It’s a real Rube Goldberg device,” Pabst says. “I rebuilt this thing on the dining room table, and it was fascinating to see how it worked.”
As Pabst describes it, the signal knob on the dash activates a cam and rod that push a leather-sealed piston down a cylinder against spring pressure. A set-screw-adjusted bleeder valve determines how long it takes the piston to make the trip, down and back. and that determines how long the switch remains open and how long the turn signal continues to flash. By turning the set screw, it is possible to adjust the length of time the turn signal continues to flash from two to 15 seconds.
After he took the switch apart, gave it a thorough cleaning and softened the leather piston so it would seal properly, the switch worked beautifully, Pabst says. A 12-second operation interval seems about right, he says.
Under the hood, a properly restored MGA must have an original style, cotton-braided wiring harness: Pabst’s car needed rewiring, so he installed a Lucas-reproduction, cotton-braided wiring harness in the original colors. (The price for this type harness is about $200.) Pabst used a clever technique for keeping track of the various color-coded wires on the MGA wiring diagram. He bought a set of colored pencils and traced the wires on the diagram in the proper colors. He could then determine, at a glance, which color wire went where.
Every restorer at some point has to decide how to balance his own needs with the needs of accurate restoration. Pabst wanted a radio in his car. MGAs came with a blank plate on the dash that can be removed for placement of a radio, but the cars have a positive ground. Pabst says he had difficulty finding a radio that would work with the positive ground.
He found one, but the price ($300, AM only, no guarantee) was too high. Eventually, Pabst realized that what he really wanted was music, not necessarily a radio, so he bought a modern tape player, isolated it from the chassis on a Plexiglas shelf behind the dash and reversed the polarity by reversing the wiring. He installed an inline fuse for safety’s sake. It worked. The tape player looks a bit incongruous, but it would be easy to remove it and replace the blank panel on the dash for the sake of authenticity.
On the Road
After five years, 1240 hours and $7776, including A $500 purchase price, Pabst got his car on the road. Everything worked fine for the first 1000 miles. Then Pabst and his wife entered the car in the annual St. Augustine Christmas parade.
“When we drove to where the cars were assembling, we heard a bang and smoke started pouring out of the tailpipe,” Pabst said. The car smoked heavily when accelerating, but not as much at low engine speed.
“I said, ‘We’re committed; we’re gonna go through the parade,’ So I asphyxiated half of St. Augustine.”
Back in the garage, Pabst pulled the head and the oil pan. Rings on two pistons had broken, ruined the pistons and scored the cylinders.
While correcting these problems, Pabst decided to add hardened valves and valve seats (Moss recommends Stellite-faced exhaust valves and silicon-bronze valve guides) so he could feel safe running the car on unleaded regular. Another 100 hours and $1400, and he had the car on the road again.
Pabst and his wife drive the car for fun and show it at regional shows. The MGA took second overall at the St. Augustine British Car Classic MK VI show in October 1996.
Despite his success, no, he probably wouldn’t do it all over again with a car that far gone.
“My wife was very patient through this whole thing,” Pabst says. “She thought I was losing my head for a while.”


